
Simple Crochet Baby Girl Blanket - Free Pattern
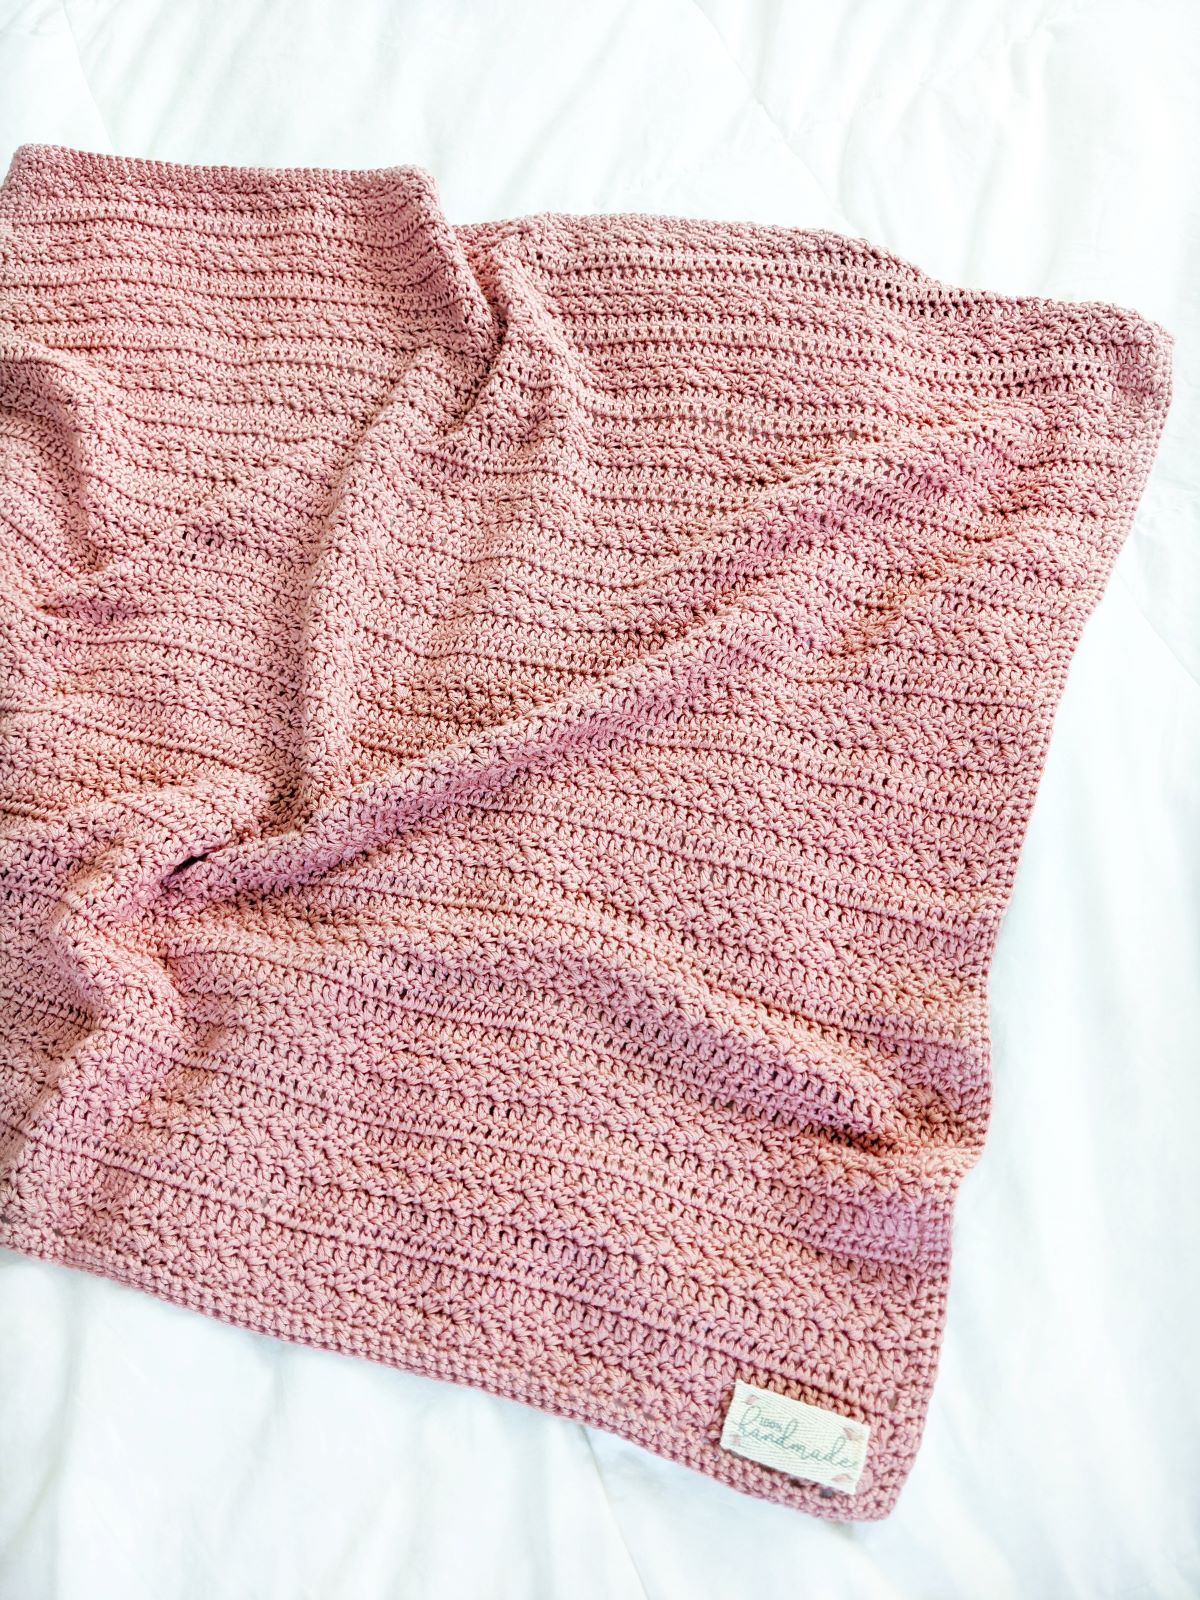
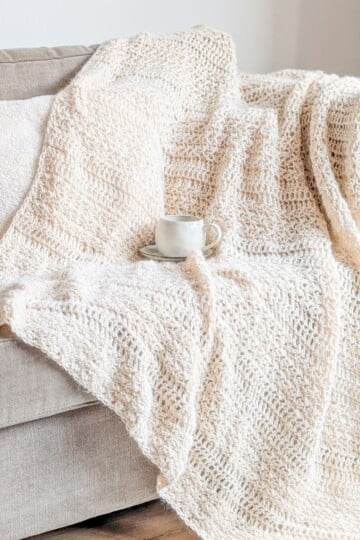
Looking to crochet a unique baby blanket for your little one or do you need a quick baby shower gift? If so, I've got a fun free crochet baby girl blanket pattern that's made using two different stitch combos.
It's simple, works up incredibly fast, and is totally beginner-friendly! It's similar to my modern striped crochet baby blanket pattern, but just a tad different. So if you like that pattern, I think you'll enjoy this one as well.
This free crochet blanket pattern is made using a lightweight number 3 yarn and a 4.0 mm hook. You can continue to read through for the inspiration behind my latest design or scroll down for the pattern.
This post contains affiliate links, which means I make a small commission at no extra cost to you. See my full disclosure here
Free Crochet Baby Girl Blanket Pattern
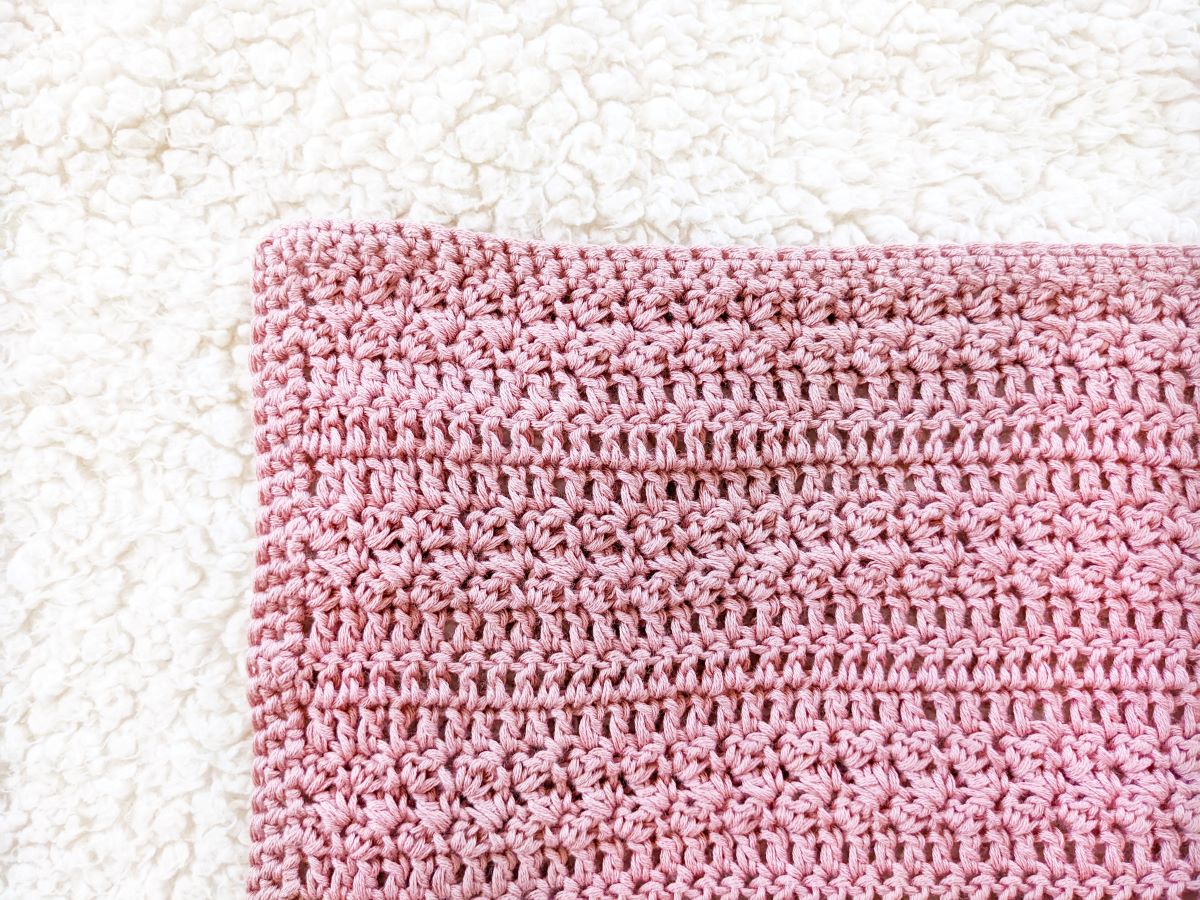
My latest free pattern is a simple crochet baby blanket. It's an easy-to-make crochet blanket that has two different stitch patterns. The first stitch used for the pattern is the Suzette stitch.
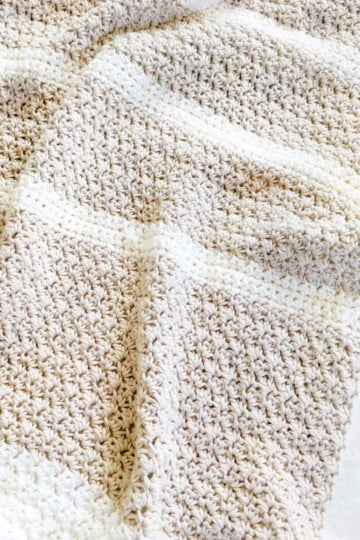
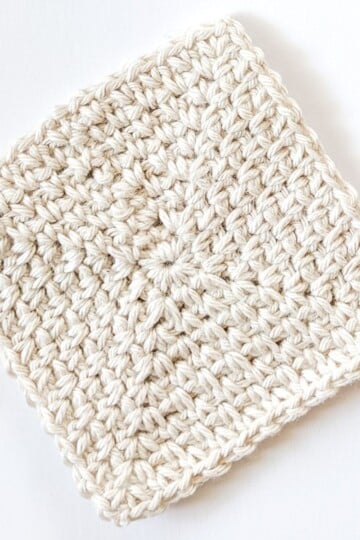
I love using the Suzette stitch and use it whenever I can in my patterns. It's an easy one-row repeat stitch that's made using single crochet and double crochet. It's perfect for beginners, as you really get to know how to work the basic crochet stitches.
The second stitch in the pattern is a simple double crochet stitch. So it's just going to be a repeat of the other stitch, but without the single crochet. Easy right!
I just loved how these two different stitch patterns look together and thought it would be perfect for this crochet baby girl blanket design.
A Crochet Baby Shower Gift Idea
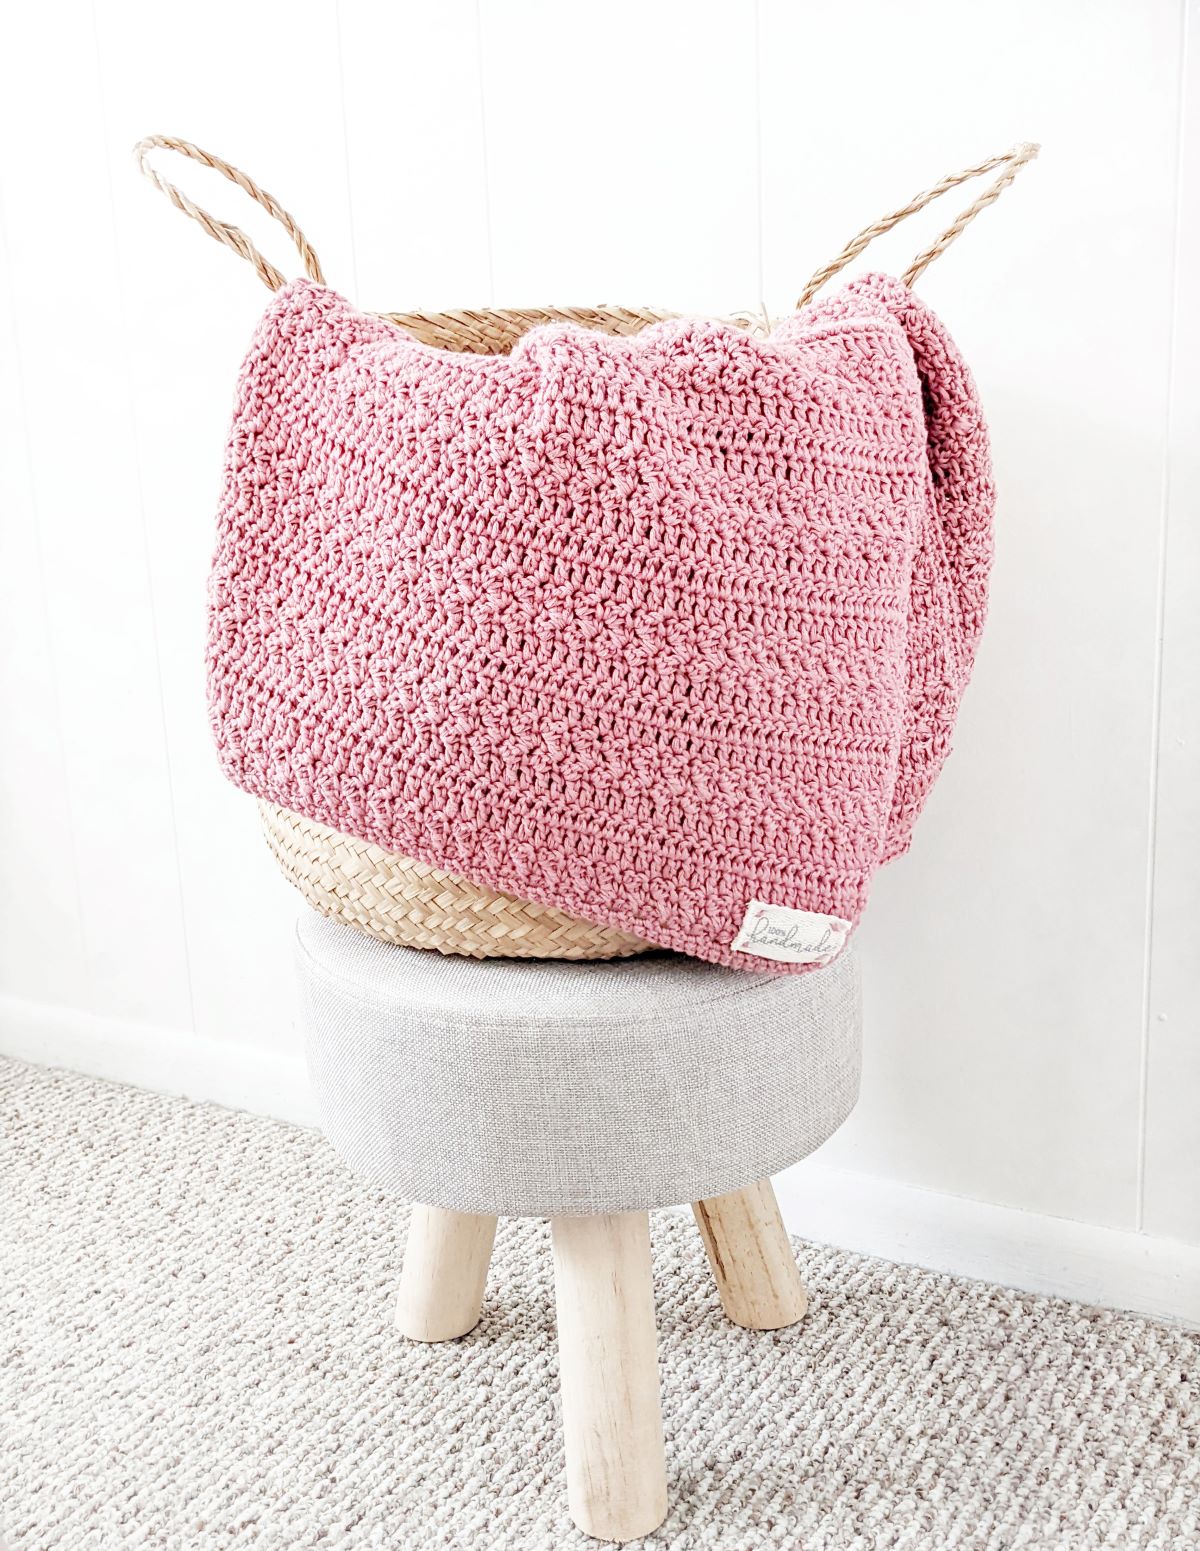
One thing I love about baby showers is seeing all the homemade gifts. So when I heard that my sister was throwing a baby shower for her friend, I thought it was the perfect time to design and make a crochet baby blanket.
Since we know the gender of the baby, which is a girl (and her favorite color!), I went ahead and made this in one color. But, you could also choose two different colors and switch between rows.
Or you could also pick one color for the blanket and another color for the border. So it's totally up to you! I also added some color combinations down below in case you need some color matching ideas.
The Yarn You'll Use for Your Crochet Baby Blanket Pattern
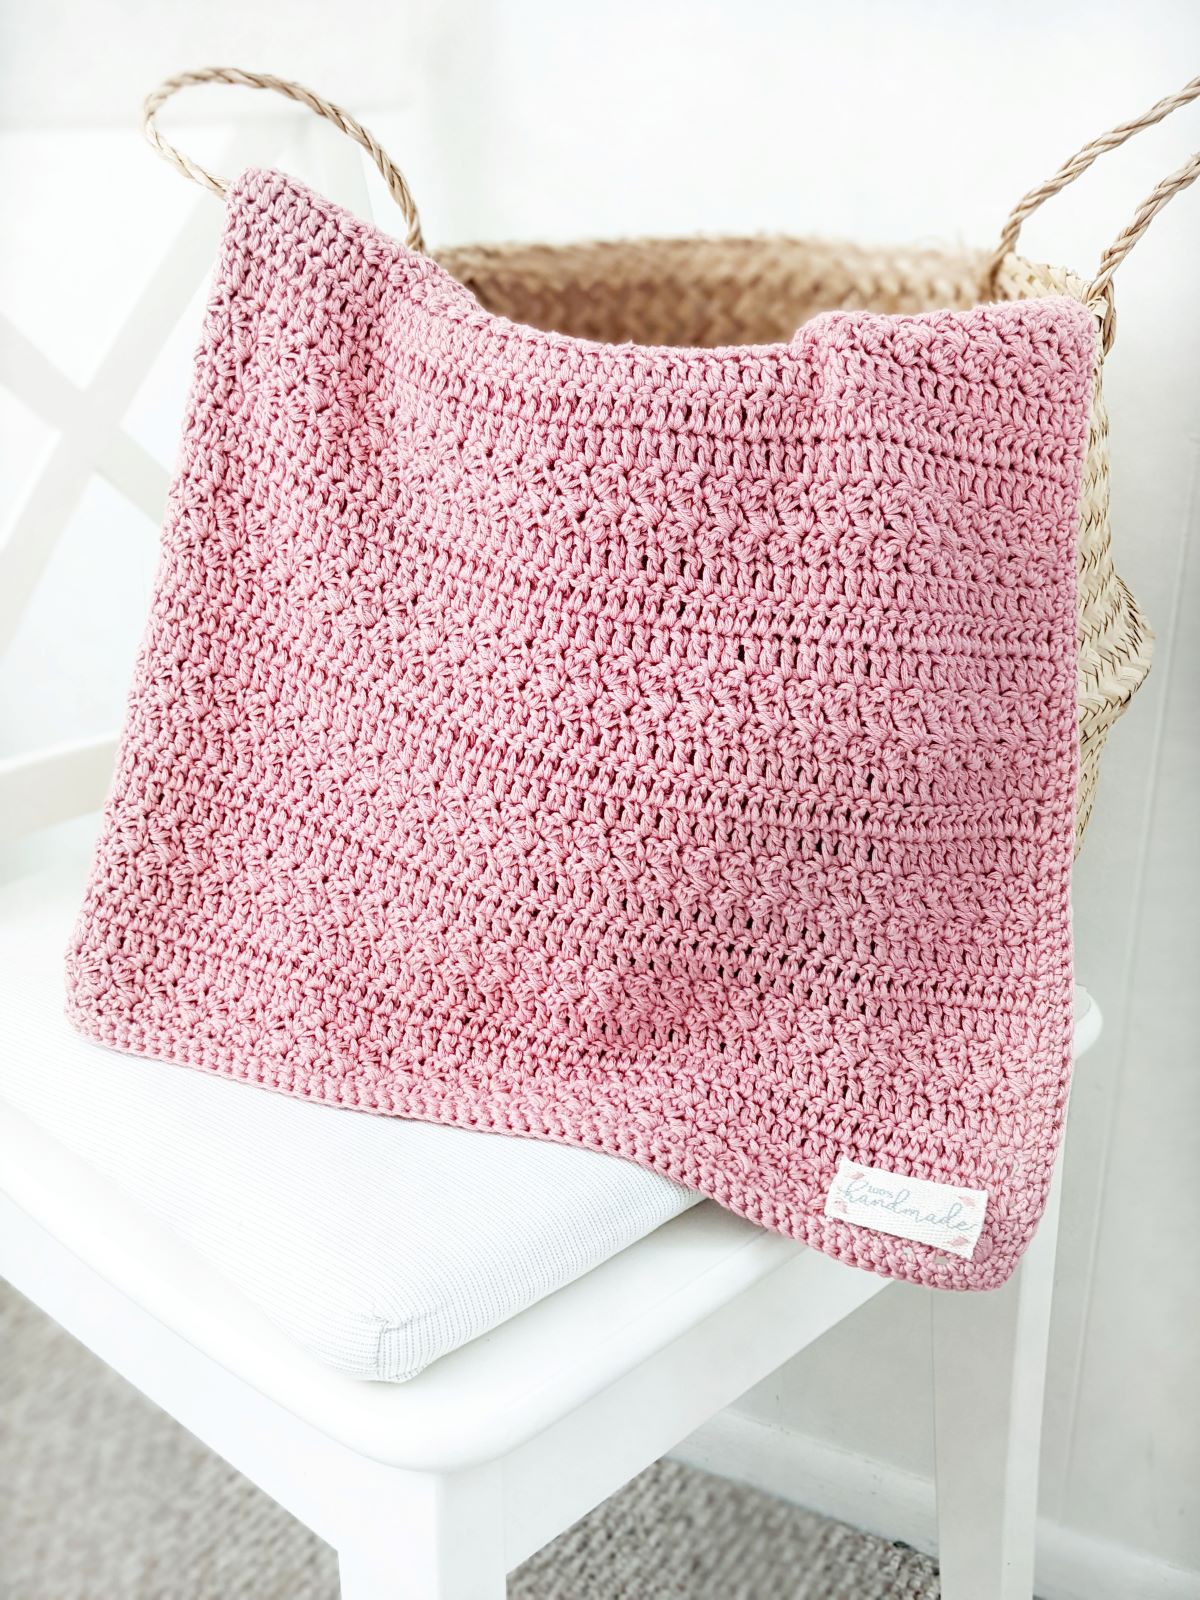
For this crochet baby blanket pattern, I used 4 skeins of Hobby Lobby's Yarn Bee Bamboo-Tiful in the color Rose. It's a lightweight category 3 yarn that's made from cotton and bamboo.
I love using this yarn and highly recommend it for this baby blanket pattern. Here's a list of some color combinations for this design:
- Linen – Rose
- Linen – Basil
- Rose – Mustard
- White – Sea Green
- Iron – Rose
- Linen – Papaya
If you want to use another yarn for this pattern, I would recommend Lion Brand Coboo yarn. It's also a lightweight number 3 yarn that's made from cotton and bamboo. They look and feel the same to me.
If you want to see an example of this yarn, take a look at this Shell Stitch Baby Blanket pattern or this Roundup of free Lion Brand Coboo yarn patterns.
How to Adjust the Size of Your Crochet Baby Blanket?
If you want to make a smaller or larger version of this crochet baby blanket pattern, all you need to do is adjust the starting chain. You also have to take the multiple into account, which is two.
So for a smaller blanket, you want to decrease the number of chains and for a larger blanket, you want to increase the number of chains.
If you need help figuring out what size you want your crochet blanket to be, check out this crochet blanket sizing guide post.
Other Free Crochet Blanket Patterns
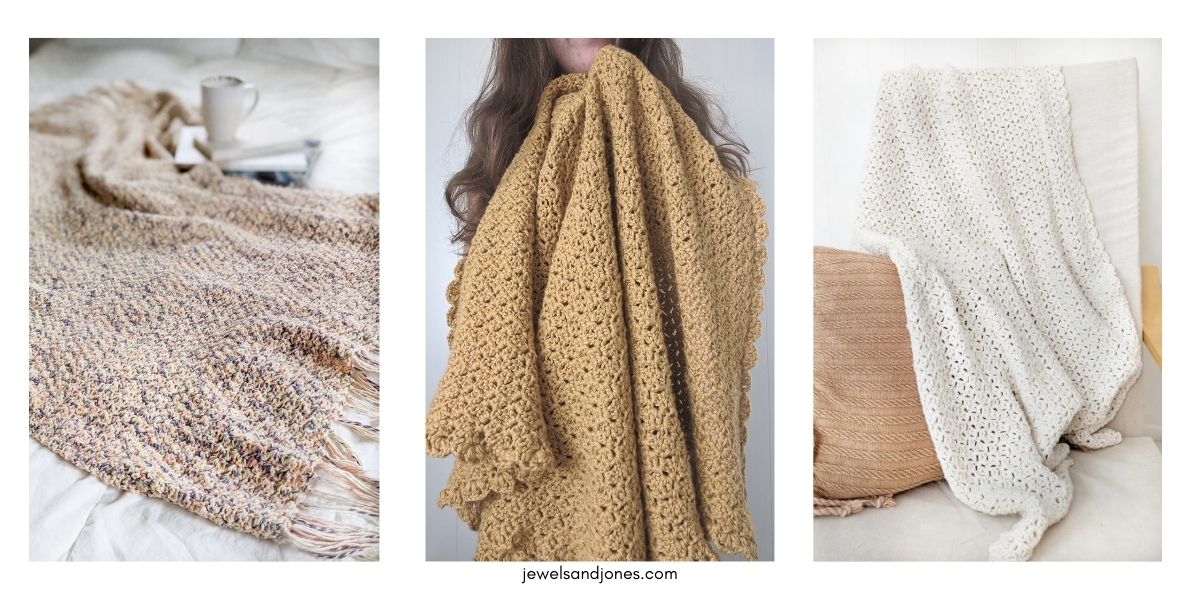
- Textured Crochet Blanket - If you love texture, you'll love this pattern. This blanket uses basic crochet stitches. Perfect for the beginner or advanced crocheter!
- Cozy Cotton Crochet Blanket - This pretty blanket features a fun puff stitch border and uses a one-stitch repeat.
- Easy One-Stitch Repeat Crochet Blanket - The ultimate beginner-friendly crochet blanket. This free blanket pattern also includes a guided video tutorial.
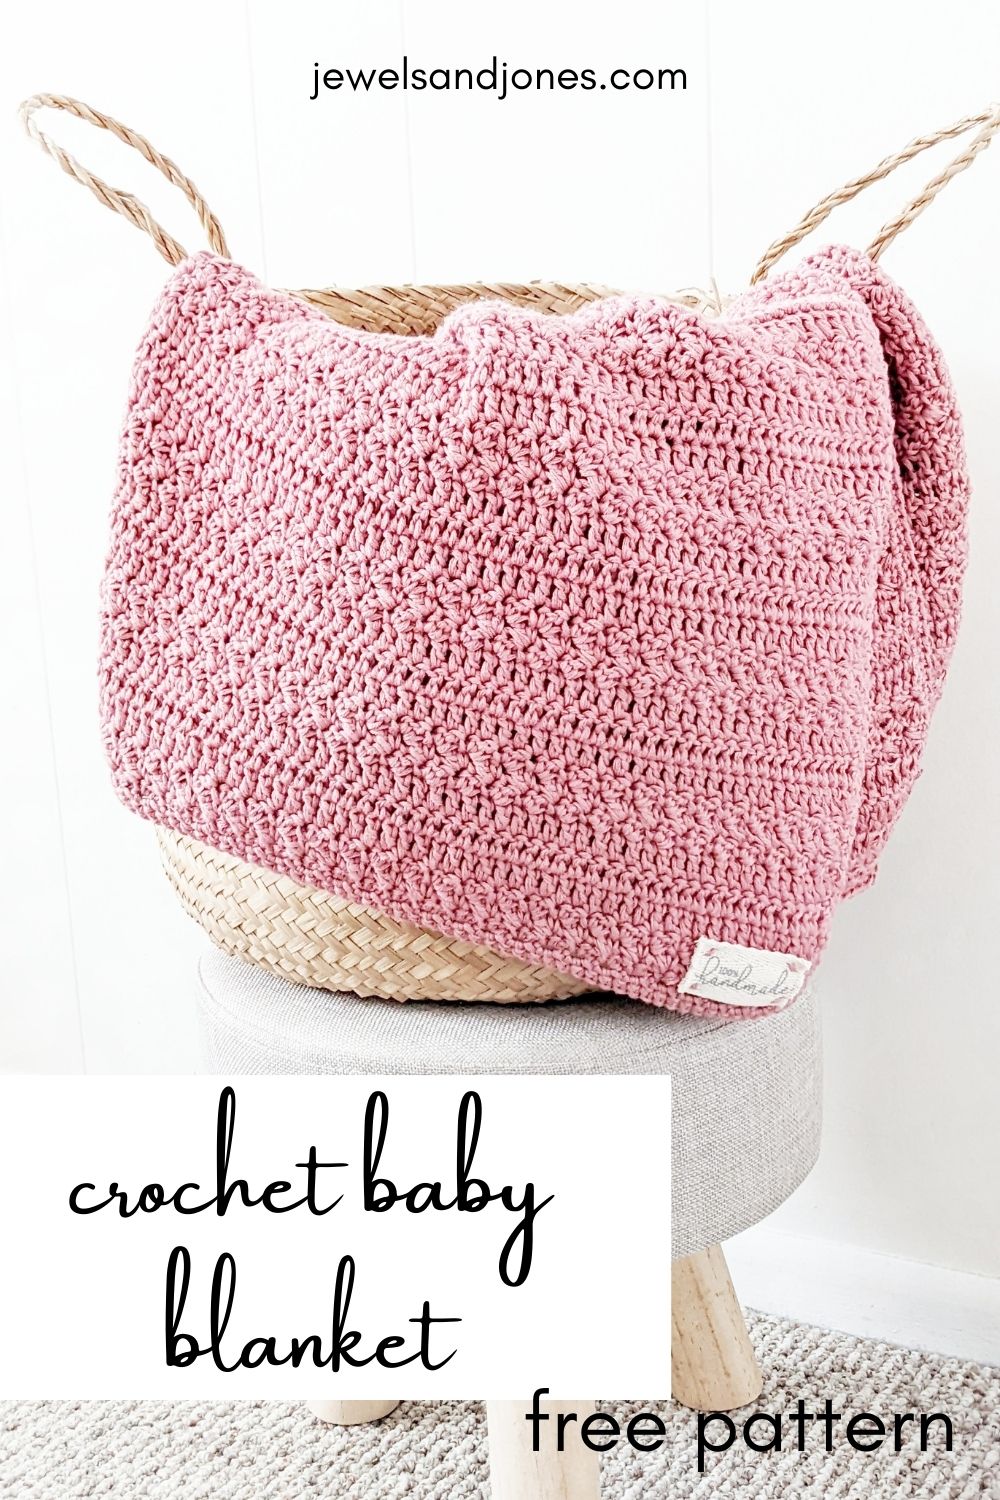
Free Crochet Baby Girl Blanket Pattern
Description:
Learn how to crochet a cute baby blanket for your little one with this free pattern. You can make this blanket in one color or choose two different colors and alternate between each row. This simple crochet baby blanket is made using two different stitches.
The first stitch the pattern calls for is the Suzette stitch and the second stitch is a double crochet. Both of these stitches are fun and easy to make!
Materials:
- 4 skeins of Hobby Lobby's Yarn Bee Bamboo-Tiful in the color Rose (Weight 3/ 4oz, 257yds), a total of 1,028 yards or you can use another lightweight category number 3 yarn.
- 4.0 (G) Crochet Hook.
- Darning Needle.
- Scissors.
- sew on label (optional).
Gauge:
16 stitches x 12 rows = 4" inch square in double crochet.
16 stitches x 12 rows = 4" inch square in suzette stitch.
Abbreviations:
ch – chain: Yarn over, pull through loop on hook.
sc – single crochet: Insert hook into stitch, yarn over and pull through, yarn over and pull through last two loops on hook.
dc – double crochet: Yarn over, insert hook into stitch and pull through, yarn over and pull through first two loops on hook, yarn over and pull through last two loops on hook.
Size of Baby Blanket:
30" inches x 30" inches
Pattern Notes:
- Pattern written in U.S Terms.
- Two different stitch patterns are used for this pattern (double crochet, and the suzette stitch).
- Guided video tutorial for this pattern can be found here.
- A guided video tutorial for the suzette stitch can be found here.
- A guided video tutorial for double crochet can be found here.
- ch 1 does not count as a stitch for the Suzette stitch and ch 3 does not count as a stitch for the double crochet rows.
- Total stitches for row are indicated between ( ).
Pattern
ch 120
R1: In second ch from hook, (1sc,1dc) in same chain. Skip next ch, *(1sc,1dc) in next ch, skip 1 ch. Repeat from * till last two ch. skip next ch, sc in last ch. Turn. (119)
R2: ch 1 , (1sc, 1dc) in first stitch , skip 1 st. *(1sc,1dc) in next st, skip 1 st. Repeat from * till last two st. skip next st, sc in last st. Turn. (119)
R3: Repeat row 2.
R4: ch 3, turn, dc in first stitch and across (last double crochet will be made in the last single crochet stitch of the previous row). (119)
R5: Repeat row 4.
R6: Repeat row 4.
R7,8,9: Repeat row 2.
R10, 11, 12: Repeat row 4.
R13, 14, 15: Repeat row 2.
R16, 17, 18: Repeat row 4.
R19, 20, 21: Repeat row 2.
R22, 23, 24: Repeat row 4.
R25, 26, 27: Repeat row 2.
R28, 29, 30: Repeat row 4.
R31, 32, 33: Repeat row 2.
R34, 35, 36: Repeat row 4.
R37, 38, 39: Repeat row 2.
R40, 41, 42: Repeat row 4.
R43, 44, 45: Repeat row 2.
R46, 47, 48: Repeat row 4.
R49, 50, 51: Repeat row 2.
R52, 53, 54: Repeat row 4.
R55, 56, 57: Repeat row 2.
R58, 59, 60: Repeat row 4.
R61, 62, 63: Repeat row 2.
R64, 65, 66: Repeat row 4.
R67, 68, 69: Repeat row 2.
R70, 71, 72: Repeat row 4.
R73, 74, 75: Repeat row 2.
Do not cut yarn.
You're now finished with the blanket portion of the pattern. Now we will work the border in continuous rounds. You will be making a single crochet border (check out the step-by-step tutorial of how to make a single crochet border here).
How to Crochet a Border Around Your Baby Blanket
You want to start off by chaining 1 at the top left corner of your blanket and continue making single crochets along the edges of the blanket. Once you have reached a corner, make 3 single crochets in each corner.
Continue to repeat this for one more round. If you find that your edges are starting to curl, make an extra single crochet to each stitch.
Once you have finished your last stitch, make a slip stitch and tie a knot. Finally, cut your yarn and weave in your ends.
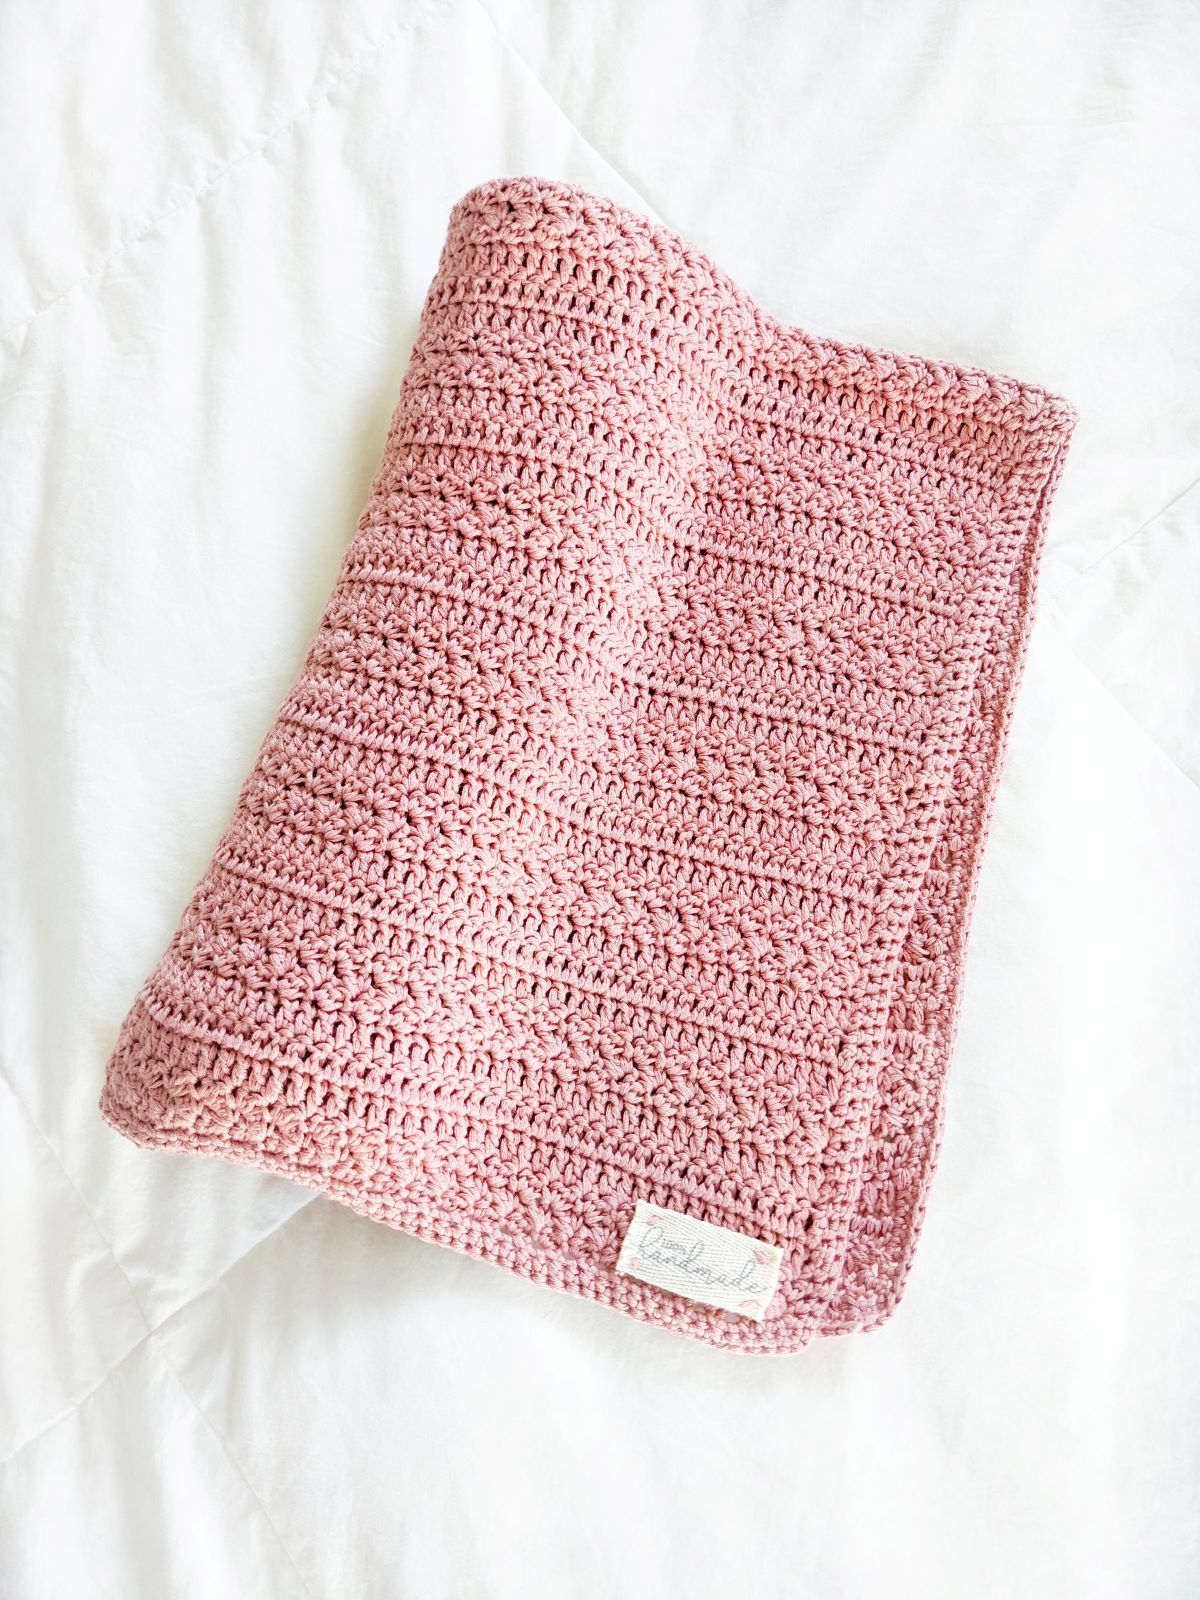
Last but not least, make sure to block your blanket with a blocking tool to smooth out any curling that occurred during the process of making this crochet baby blanket.
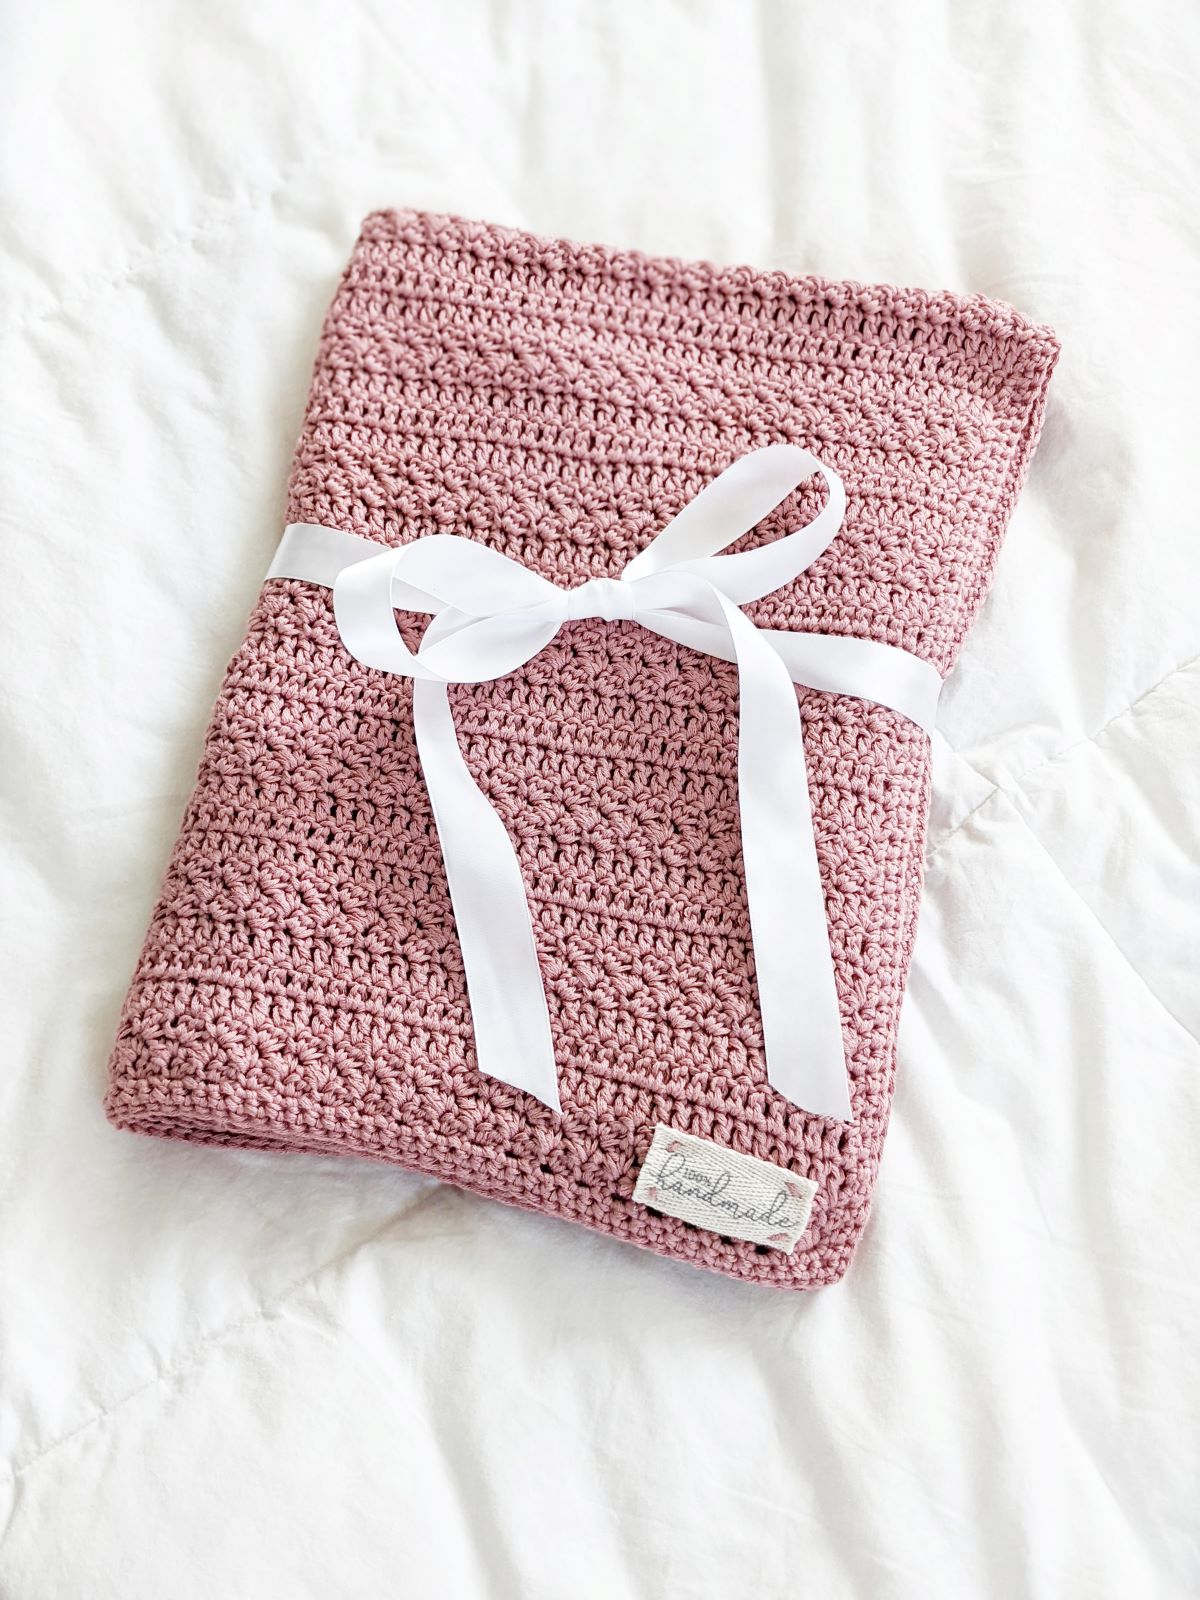
I hope you enjoyed making this cute crochet baby girl blanket! I added a cute little white bow to mine and I might add a little stuffed animal to it as well.
Absolutely beautiful! I have a question. When you insert the hook into the chain, are you going through both loops or just the front? In the video it appears you are going through front loop only? Wondering if that’s how you achieved the raised line through row. Thank you
June Behrend
Hi there, thank you so much! So for this pattern, you want to work through both loops. I hope this helps, but please let me know if you have any other questions. Thank you, Nicky.
Can this pattern be done in stripes?
Hi there,
Yes, you can make this pattern in stripes. I would do it every 3 rows, so I would crochet the suzette stitch in 1 color and then switch the colors when you get to the double crochet rows. You can also alternate every other row and carry the yarn along the side. I hope this helps, good luck! 🙂
I made this in a soft pink cotton from South Africa, turned out beautiful. Thank you for your pattern.
Thank you for the pattern and instructions. I am new to crochet and just made my this as my first baby blanket. It’s definitely not perfect but it still looks nice.
Thank you so much! I'm so glad you liked making the pattern and welcome to this great craft 😊
Your welcome! I'm so glad you enjoyed it. Also, that's so cool that you're from South Africa. I hope to visit soon in the future! 😊
How would you adjust this pattern for a 40 x 52 blanket?
Hi there, you can make the blanket a different size by adding additional chains. The multiple for this stitch pattern is 2.
Love making this just a quick question for where to find someone the video?just want to check the finishing round
Hi there,
Thank you! So glad you're enjoying the blanket. I just added the video to the blog post, it should be under the notes section. 😊
Could you recommend a good blocking tool and any helpful pointers?? This is my first project besides a wash cloth. I’ve searched “how to” block online but would love some guidance. Thank you!
Hi there,
Can I use yarn weight #4 for this pattern? Thanks
Hi, yes you can definitely use a worsted weight number 4 yarn for this blanket pattern.
Hi there, so there's a couple of different ways you can block a crochet project. My personal favorite is to lay out my project on blocking mats (I purchased a set from Amazon) and lightly steam it with an iron. You can also do the soaking method, which is putting your project in a bucket of water, rinsing it out carefully, and laying it flat to dry on blocking mats. I hope that helps and good luck! 😊
Thank you! This pattern turned out so nice. It is simple and elegant!
You're welcome! I'm so glad you enjoyed the pattern. 😊
@Nicky, I’ve finished my blanket and have blocked it. Now I’m going to give as a gift. What care instructions do you provide for this sweet blanket or how have you washed/dried ? Thank you for this precious blanket pattern!! Carol
Hi there, thank you so much! I'm so glad you enjoyed making the pattern.😊 To answer your question, I like to put mine in the wash machine on a gently cycle and then I let it air dry. You can also carefully just handwash it and then let it air dry outside.
Thank you for such a great pattern! I love the texture of this one. Made a striped version about twin size for a 4 year old girl & she loves it!
You're welcome! I'm so glad you enjoyed making the pattern. 😊
Any tips for newbie?? New to crochet over here and I followed the pattern for chaining 120 then doing the suzette stitch but I don't have 119 for the next row... I keep ending up with 80? Can't seem to figure out where I am going wrong!
Hello, welcome to crochet! I think your stitches are decreasing as you go to work on the following row because you should end up with 119. I would recommend adding a stitch marker to the end of the row/stitch and this way you know where to place your last stitch. I would try that and see if it works. 😊
Can not find your tutorial video on the single border for this stunning blanket. Kindly please repost the video, or guide me on how to find the video.???? I have finished the blanket and I am not pleased with the way I did my border, so I need your help please. Fist time ever finishing a crochet blanket.
Hi there, I don't have a video tutorial yet for a single crochet border, but I will make sure to add one. In the mean time though, I would recommend going to YouTube, they have some wonderful tutorials on how to make a single crochet border. 😊
Where can I find the labels you used on your blanket?
I found the labels at my local craft store (hobby Lobby) in the crochet section. 😊
Thank you for this beautiful pattern! I am new to crochet, and love learning from you. I just finished this pattern, but want to make another blanket. If I wanted to increase the size of my next blanket by 4-6 inches on each side, how would I adapt this pattern? I know you say it is a multiple of 2, but what does that mean? How do I know how many initial chains/additional rows to add? Thank you so much!
Thank you so much! 😊 I'm so glad you enjoyed making the pattern. To answer your question, I would make a gauge swatch and calculate how many stitches and rows you get in 1 inch. Then you want to times that amount with the width and length you want your blanket to be. So your foundation chain needs to be an even number because the stitches call for a multiple of 2. So you can use any number, as long as it's a multiple of 2. I hope that helps!
Absolutely love this blanket and how it is turning out. I am almost done with the main blanket portion but my blanket is not quite as big as I was hoping. Any techniques for widening the blanket? Could I do a thicket border, either by doing multiple layers of this border or using another thicker border?
Thank you!
Thank you so much! I'm so glad you're enjoying the pattern. I would add additional border rows to the blanket to make it wider. In the pattern, it says to do a single crochet border row, but you might want to try a double crochet border row. The stitches are a bit higher, then single crochet stitches. Here's a tutorial for a double crochet border row: https://jewelsandjones.com/double-crochet-border-tutorial/
@Nicky,
I will try that. Thank you very much!
This is a beautiful pattern and I went to pick up the yarn and hesitated because it is not machine dryable. I want this to be functional as well as adorable! Have you washed and dried this blanket yet and if so, what was the outcome?
Hi there, yes you can definitely wash and dry this blanket. One of my readers made the pattern, and washed + dried it, and it came out fine. She does recommend putting it in a washer bag though. You can also make this pattern with cotton yarn if you prefer a more durable version. 😊
Thank you for the pattern and tutorial. I haven't crocheted in 30 years! I'm going to make this for my first grandbaby. I'm wondering if I can add a scalloped edge? If so,
how? Thank you!
You're welcome and congratulations, that's so exciting! I don't have a tutorial yet for a scalloped edge, but I do have a picot border tutorial on my blog. I think that would look good as well with this pattern. Here is the tutorial if you would like to check it out: https://jewelsandjones.com/crochet-picot-stitch-border-tutorial/
Thank you for this pattern! I needed a beautiful blanket for 3 weight yarn and this is perfect. Question- where do you get or have made the little stitched on “handmade” patch? I want that and not sure how to make or where to order from. Thank you!!
Taryn
You're welcome! 😊 I found it at my local hobby lobby store, but I believe you can find these on Etsy as well.
I read your pattern and it had only 1 row of the rossettte stitch but in the picture there seems to be 2 rows. Am I reading it wrong?
Hi there, thanks for your question. You're going to make 3 rows of the suzette stitch. I hope that helps! 😊
Hi, thanks a lot for this free pattern. It is really beautiful, how my blanket turned out. I made it with cotton bamboo Drops yarn in vanilla yellow, and also it was my first time blocking a crochet garment. I am proud of myself, I think this blanket is the most beautiful crochet item I have made so far - thank to your clear instructions.
Hi there, you're welcome! I'm so glad it turned out well. Thank you for sharing 😊.
@Nicky, since your skipping a stitch on the Suzette rows wouldn't you have have the stitches for those rows?
I'm sorry, what do you mean?
Hi Nicky, how many rows did you do for the single crochet border? I’m the pictures it appears to be three, but the instructions don’t specify going around more than once.
Thank you!
Hi there, I went around three times for the border. You can make more or less depending on how big you want your border to be.
Hi, this is beautiful. I’m on my third row and I see that my second row is raised (or sunk depending on which direction the work is going). Is this right? Did I do something wrong?
Hi there, I would double check that you put your stitches in the correct spot for the third row. It sounds like the stitches might not be in the correct spot.
Hello, I’m wondering if you could add a scalloped or fancier edge to this blanket. Do you have a tutorial for that?
Hi there, yes, I've got a few border tutorials on my website. I would recommend the picot stitch border for this blanket.
I'm a beginner but learning quickly. I did the first 3 rows of suzette stitch and will be changing color. Do I have to cut and weave in the ends every 3 rows that I change color?
Hi there, yes, you can either do that or carry the yarn along the sides of the row. I don't yet have a tutorial on how to change colors when carrying it on the side of the row, but there are some wonderful YouTube tutorials that follow this technique. 😊
I’m 1 skein into the pattern and my blanket keeps getting wider. Is there a way to fix it and add extra stitches toward the bottom or should I start over? I’m so sad because it’s been hours of work so far.
Hi there, I hate to say it, but it might be best to start over. I would recommend placing a stitch marker in the last stitch of the row and the very first stitch of every row. This way you know where to place the first and last stitch. This will also help keep those edges straight and it also helps with not adding an extra stitch. 😊