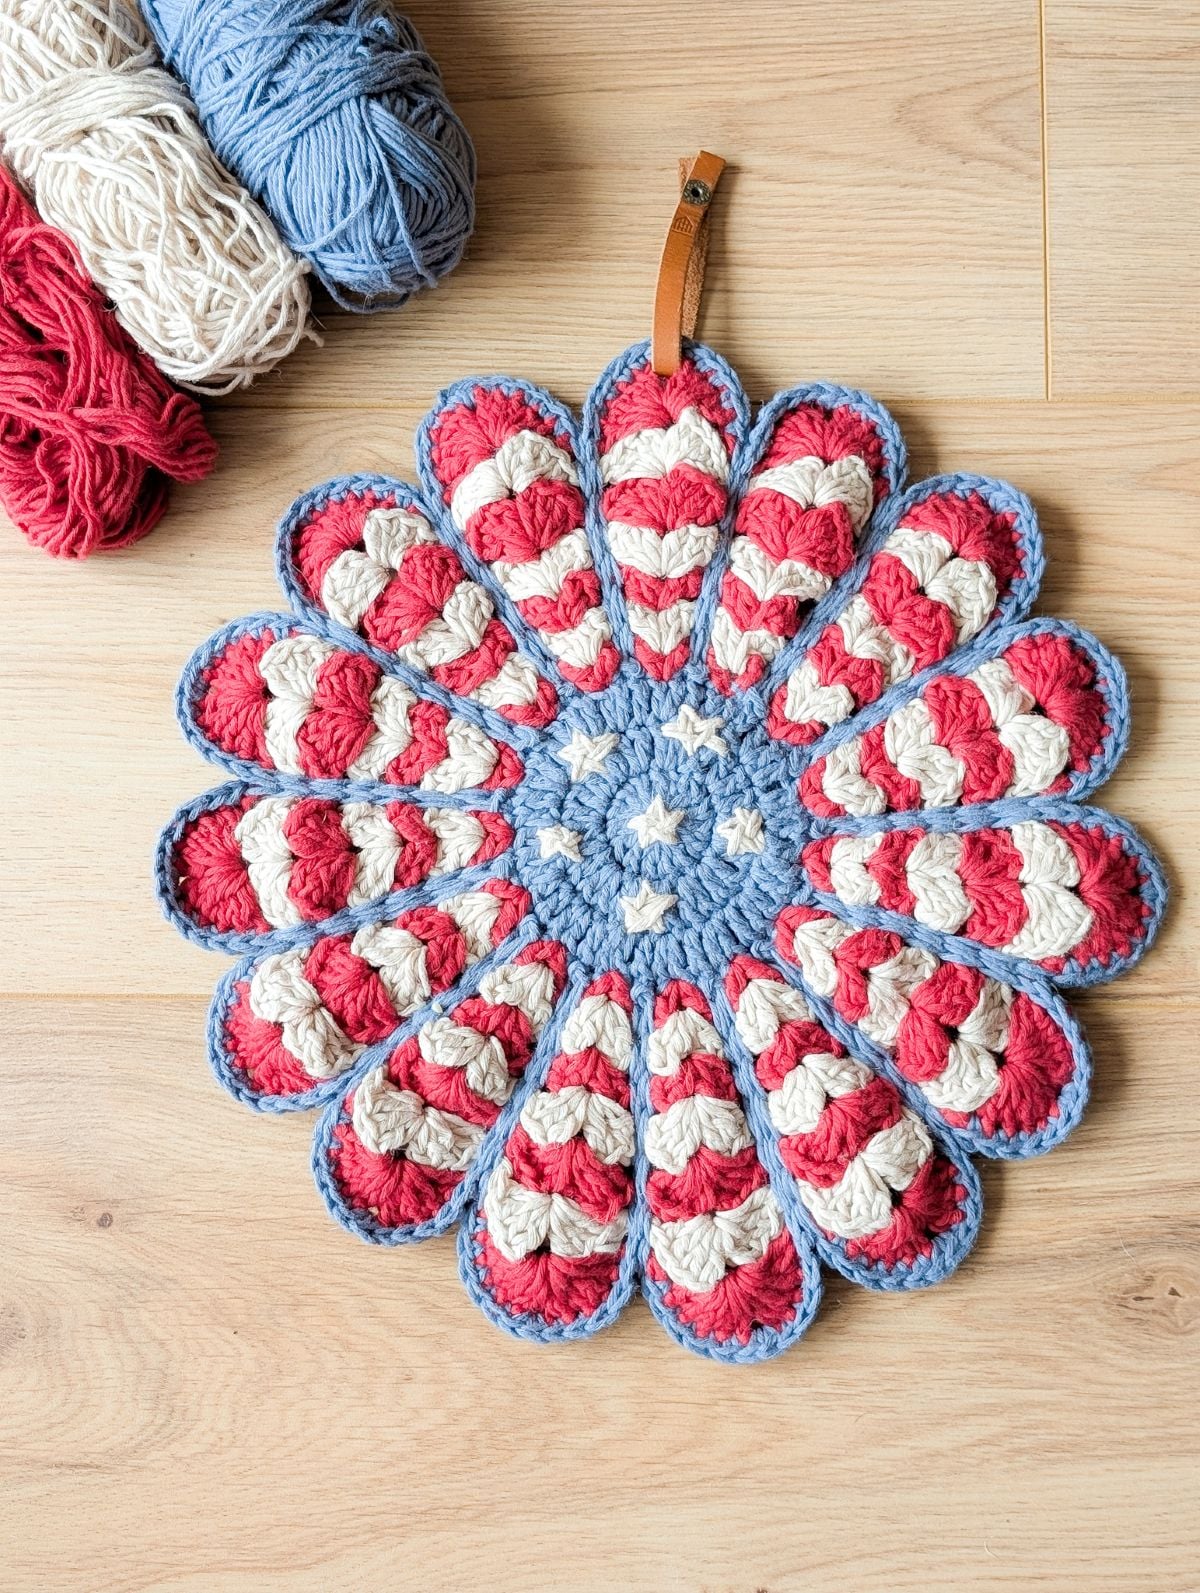
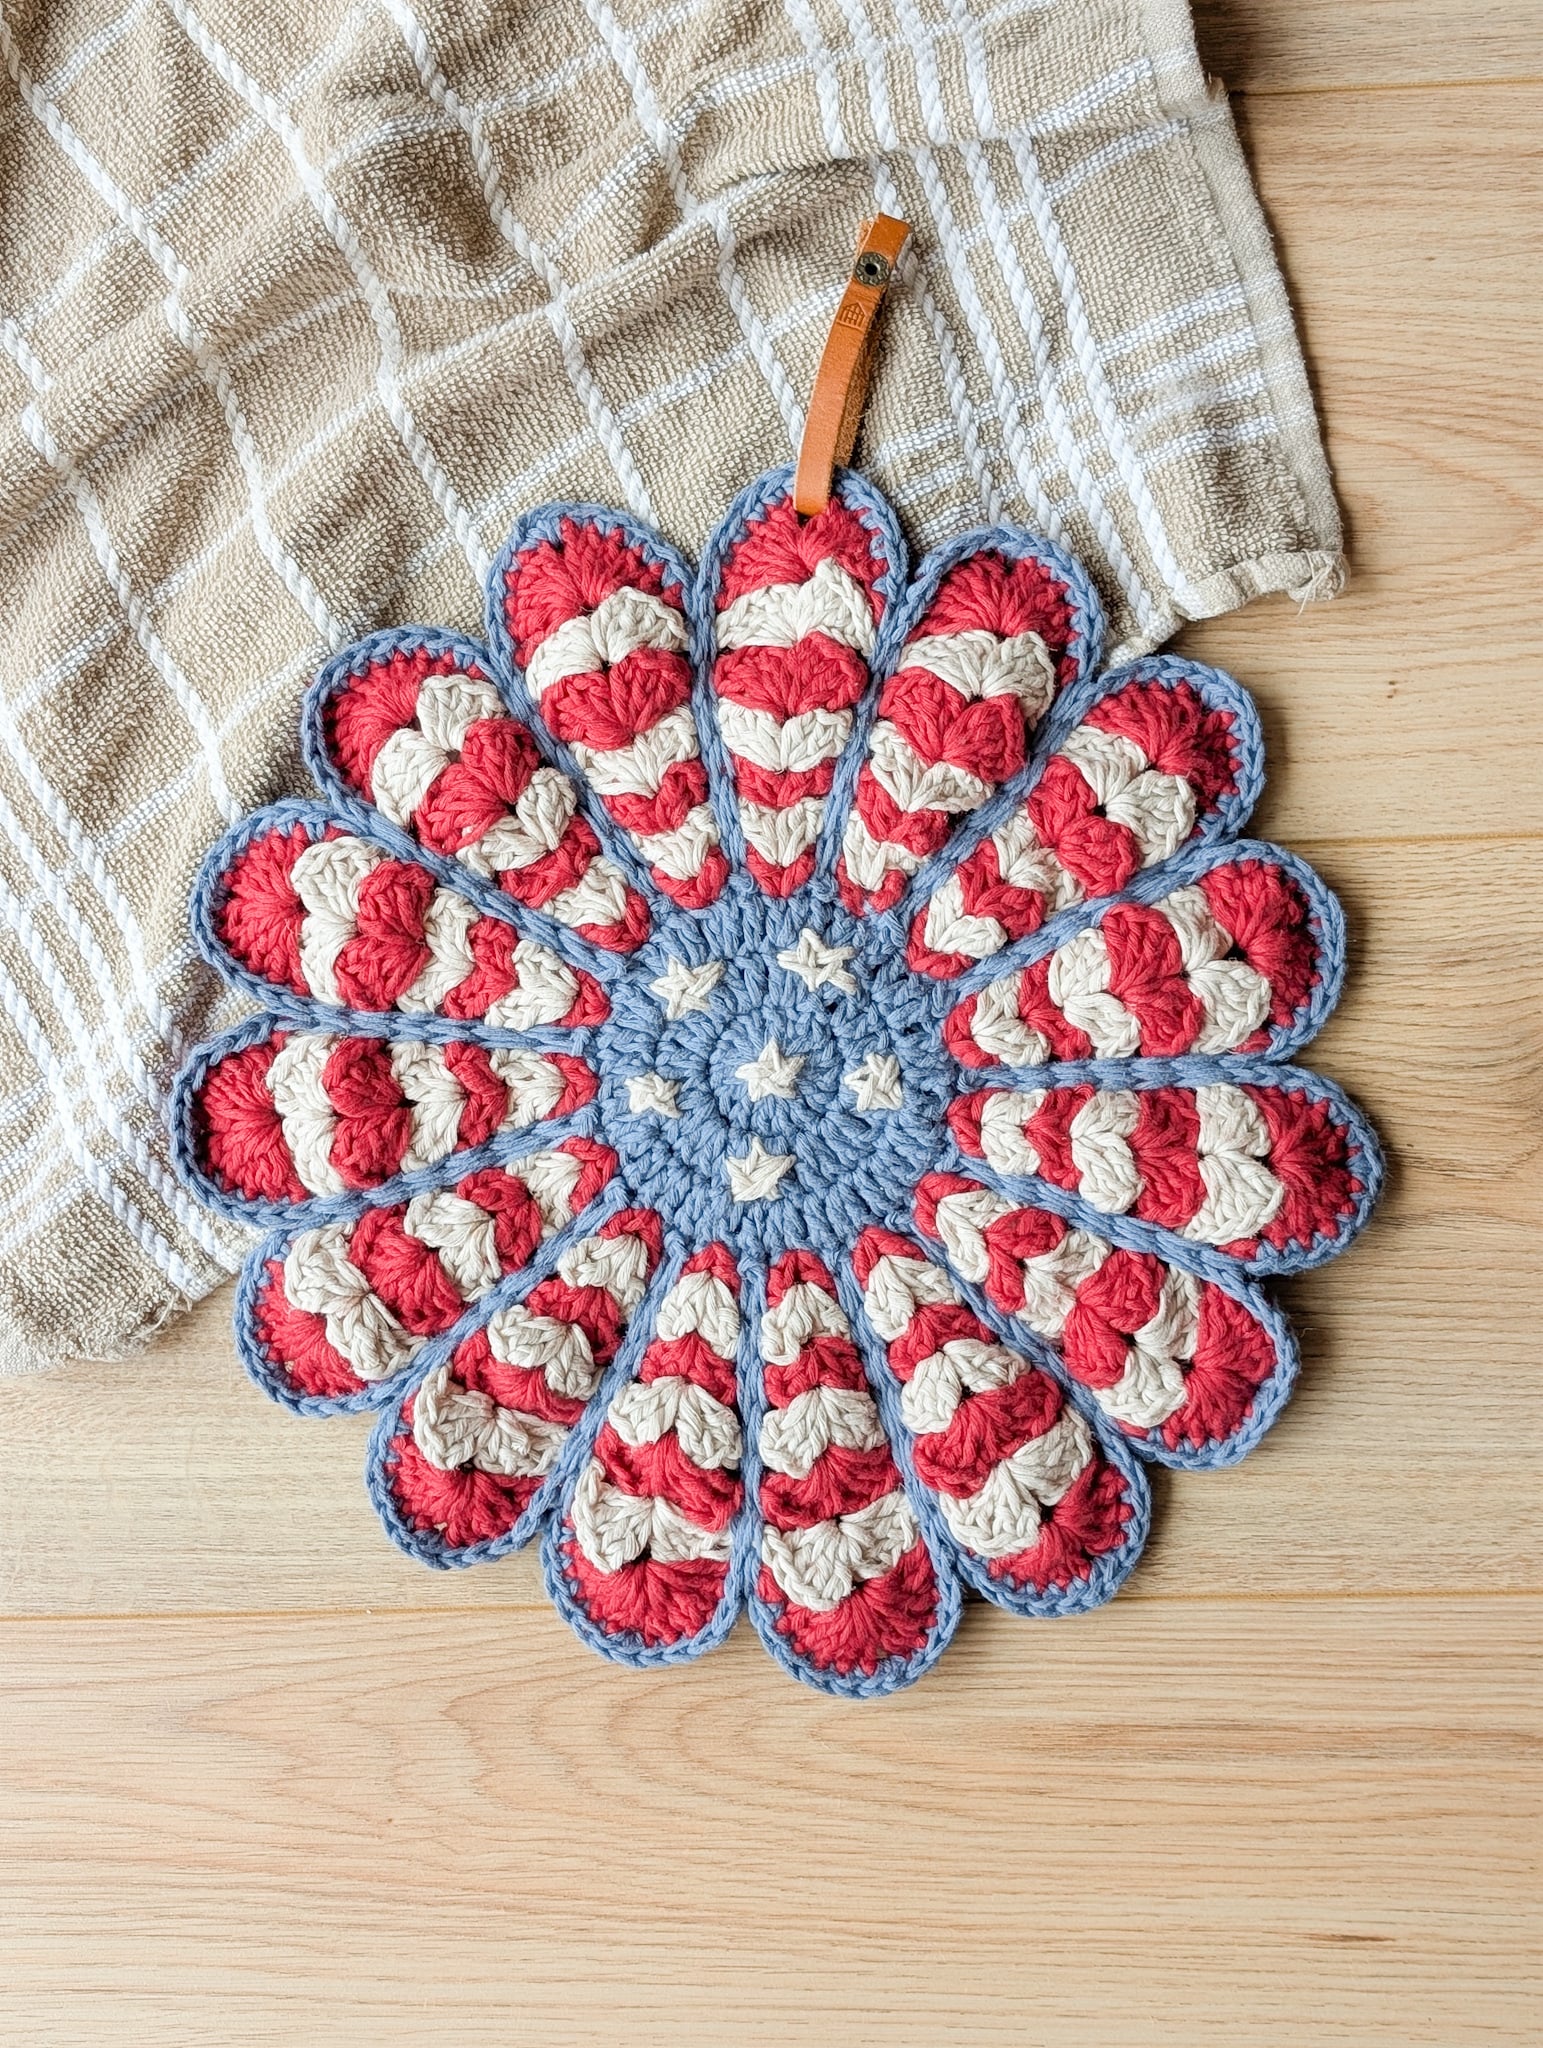
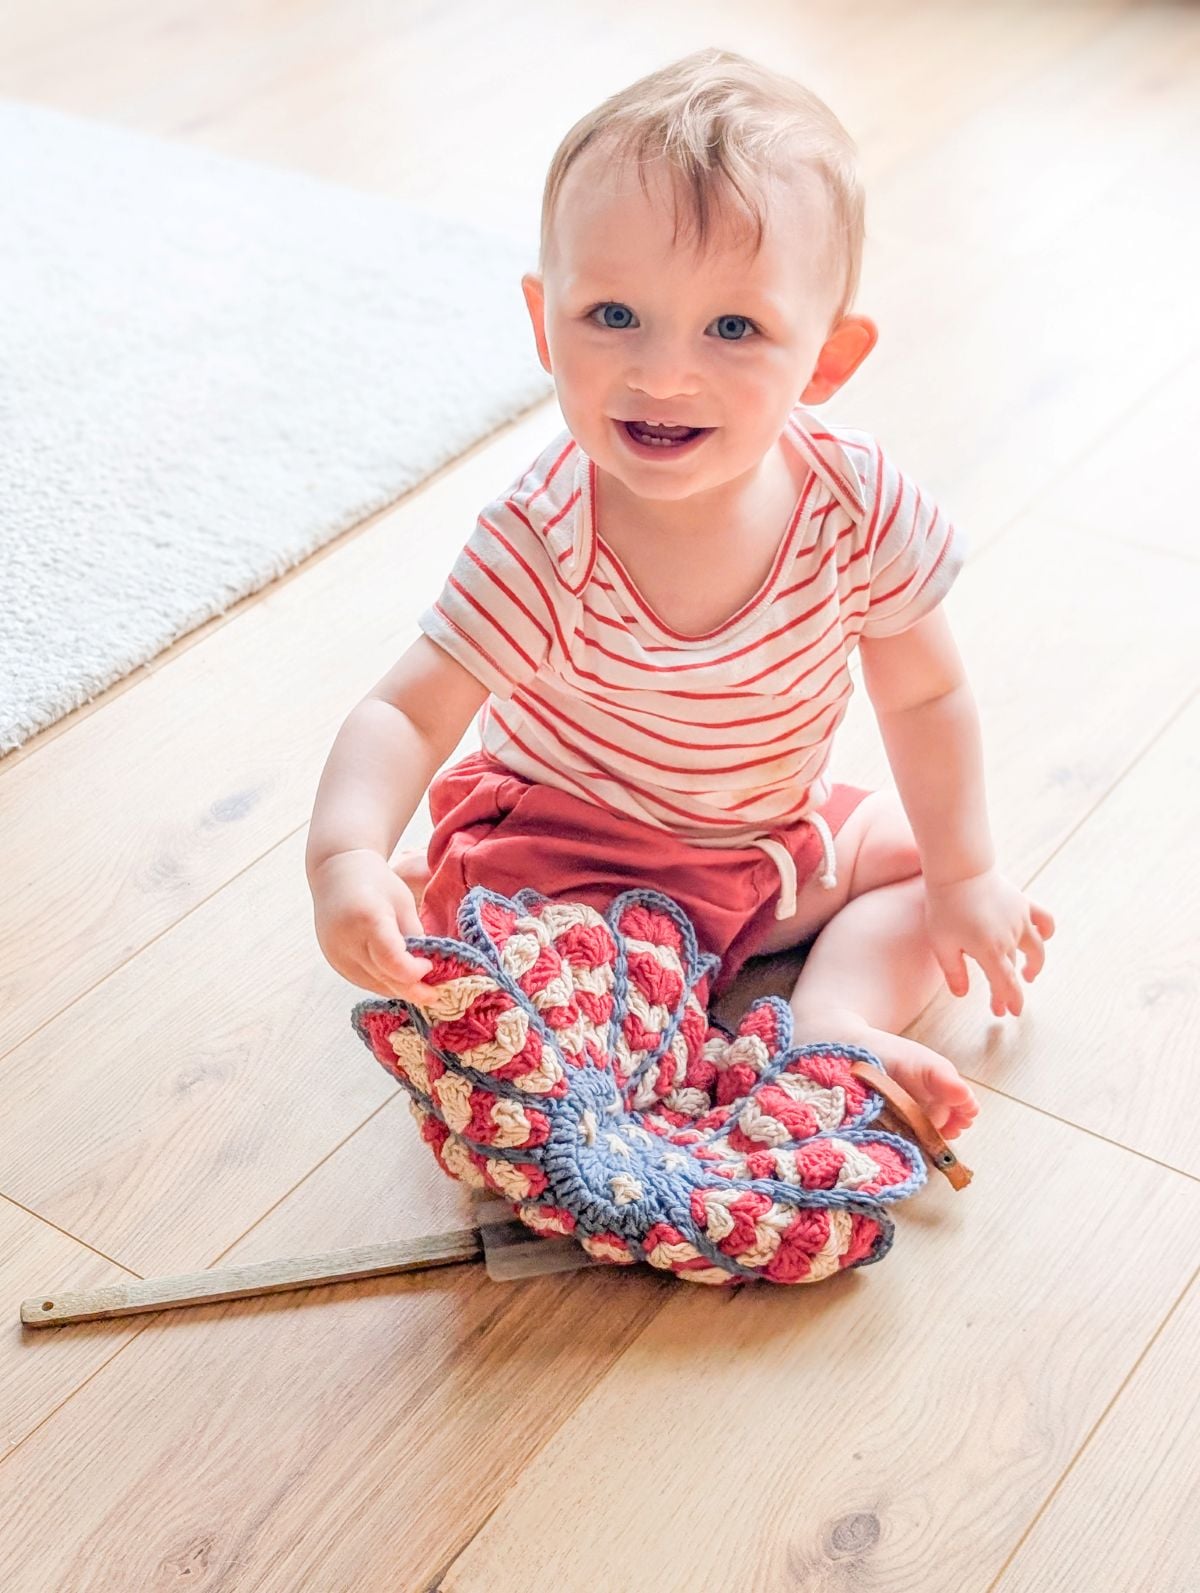
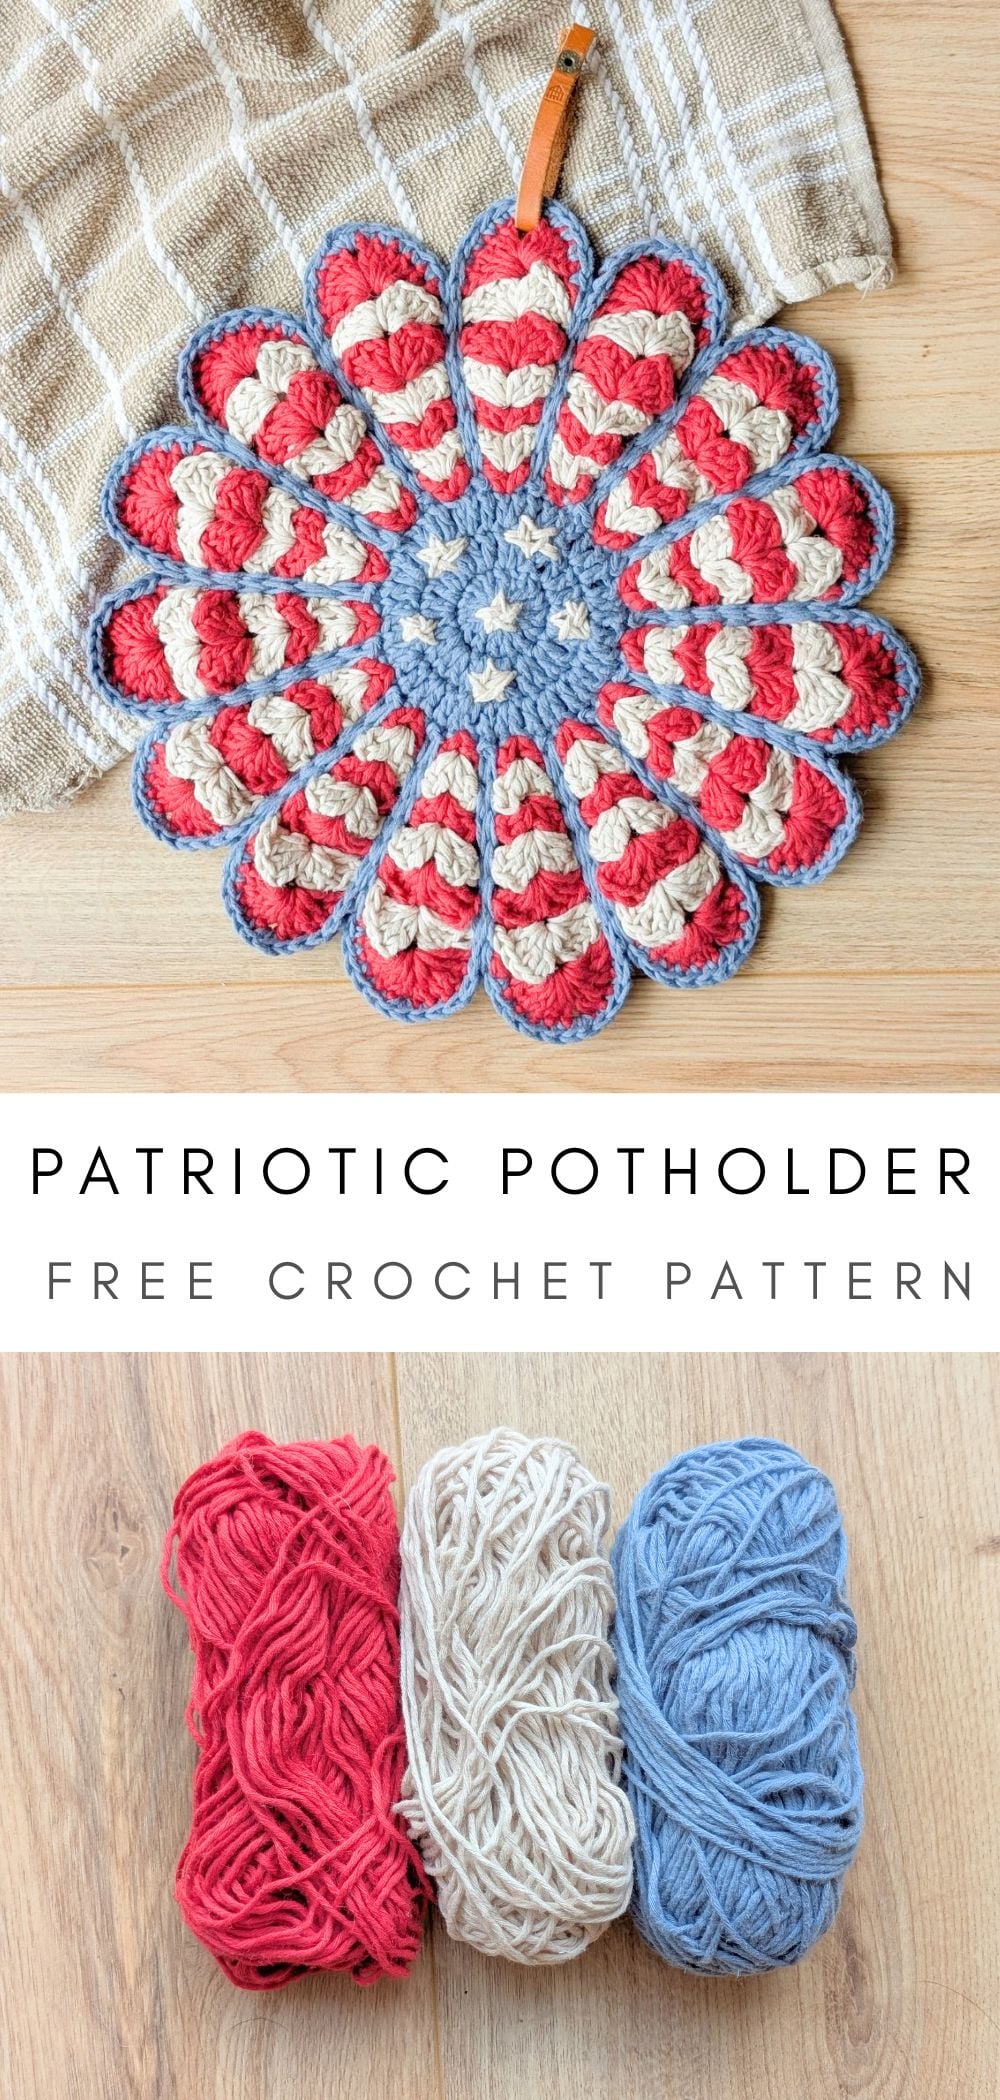
Looking for a quick and festive crochet project for summer? This patriotic crochet flower potholder is the perfect way to add a little red, white, and blue to your kitchen.
It’s simple, beginner-friendly, and comes together faster than you’d think. Making it perfect for last-minute 4th of July decor or gifts.
You can find the free patriotic crochet potholder pattern and step-by-step video tutorial down below or grab a printable PDF pattern down below.
This post contains affiliate links, which means I make a small commission at no extra cost to you. See my full disclosure here.
Free Patriotic Crochet Flower Potholder Pattern
If you’ve already made my vintage crochet flower potholder pattern, then you know just how fun (and a little addictive!) this pattern can be. It’s one of those timeless designs that looks beautiful in just about any color combination (which is exactly why I couldn’t resist giving it a patriotic twist).
With summer right around the corner, I wanted something festive, quick to make, and perfect for adding a little handmade charm to my kitchen. Enter: this red, white, and blue version of my classic flower potholder pattern.
It has all the same vintage-inspired details, just with a bold, all-American color palette that’s perfect for the 4th of July. The best part? If you’ve already made the original pattern, you’ll know exactly how to make this one.
It’s the exact same pattern, just a simple switch of colors and different yarn weight to create a whole new look.

And if you’re never made it before, don’t worry! I’ll walk you through everything you need to make your own patriotic crochet flower potholder from start to finish. There's even a step-by-step video tutorial to help you along the way.
So grab your favorite worsted -weight cotton yarn in shades of red, white, and blue, and let’s make something fun, festive, and just a little bit nostalgic.
Add the Patriotic Crochet Flower Potholder Pattern to your Ravelry queue here.
Purchase an ad-free copy of the Patriotic Crochet Flower Potholder Pattern here.
Pattern
Materials:
- 1 skein of Lion Brand Cotton Hemp Yarn in the color Cherry (Weight 4/3.5oz 164 yds), a total of 164 yards or you can use another worsted weight number 4 yarn.
- 1 skein of Lion Brand Cotton Hemp Yarn in the color Husk (Weight 4/3.5oz 164 yds), a total of 164 yards or you can use another worsted weight number 4 yarn.
- 1 skein of Lion Brand Cotton Hemp Yarn in the color Neptune (Weight 4/3.5oz 164 yds), a total of 164 yards or you can use another worsted weight number 4 yarn.
- 4.5mm (G) mm Crochet Hook.
- Stitch Markers.
- Darning Needle.
- Scissors.
Potholder Size:
Crochet flower potholder (petal to petal) – 12 1/2" inches.
Gauge:
14 double crochet stitches x 6 rows = 4" inch square.
Abbreviations:
st - stitch.
ch – chain: Yarn over, pull through loop on hook.
slst – slip stitch: Insert hook into stitch, yarn over, pull through stitch and loop on hook.
sc – single crochet: Insert hook into stitch, yarn over and pull through,
yarn over and pull through last two loops on hook.
dc – double crochet: Yarn over, insert hook into stitch and pull through, yarn over and pull through first two loops on hook, yarn over and pull through last two loops on hook.
Notes:
- Pattern written in U.S terms.
- This pattern is explained in 4 parts. Part 1 explains how to crochet the petals. You will crochet 2 petals. Part 2 explains how to make the stars on the circle part of your petal. Part 3 explains how to seam your potholder together, and part 4 explains how to add a loop to your potholder.
- For step-by-step photos, click here to view the original post.
- For a guided video tutorial explaining how to make the potholder, click here. The video tutorial uses a different hook size and yarn, but it is the same pattern. Just different weights of yarn + hook.
- The guided video tutorial included in this blog post will show how to make a seamless color change and how to embroider the stars on the potholder.
- Total stitches for row are indicated between ( ).

Part 1: Crocheting the Petals
Make 2 flowers petals.
Starting with the color Neptune,
Round 1: Make a magic circle, and chain 3 (counts as a dc). Now make 14 dc within your magic circle, and join with a slst to the 3rd chain. (15 sts).
Round 2: ch 3 (counts as a dc). Make 1 dc in the same st that ch is coming from. Make 2 dc in each remaining st. Join with a slst to the third ch. (30 sts).
Round 3: ch 3 (counts as a dc). *Make 2 dc in the next st. Make 1 dc in the st after that. Rep from * to the last st. Make 2 dc in the last st. Join with a slst to the third ch. (45 sts).
Now make another slst in the following chain, and then make 1 more slst, but as your finishing your last slst, change to the color Cherry for a seamless color change.
Round 4: ch 4 (counts as 1 dc + ch), then make 1 dc in the same st that ch is coming from. *Skip 2 st, then make (1 dc, ch 1, 1 dc) in the following st, then ch 1. Rep from * till last 2 st. Then slst to 3rd ch, and make 1 more slst in the following space. (15 groups of (1dc, ch 1, 1 dc)).
Switch to color Husk
Round 5: ch 3 (counts as a dc), then make another dc, ch 1, and 2 dc in ch 1 space from previous row and ch 1. *Skip the next ch space, and work (2 dc, ch 1, 2 dc) in the following ch 1 space from previous row, and ch 1. Rep from * till last chain. Then slst to 3rd chain, and make 1 more slst in the space from the previous row. ((15 groups of (2 dc, ch 1, 2 dc)).
Switch to color Cherry
Round 6: Repeat round 5.
Switch to color Husk
Round 7: ch 3 (counts as a dc), then make 2 dc, ch 1, and 3 dc in ch 1 space from previous row and ch 1. *Skip the next ch space, and work (3 dc, ch 1, 3 dc) in the following ch 1 space from previous row, and ch 1. Rep from * till last chain. Then slst to 3rd chain, and make 2 more slst in the next 2 st from the previous row. ((15 groups of (3 dc, ch 1, 3 dc)).
Switch to color Cherry
Round 8: ch 3 (counts as a dc), then make 3 dc, ch 2, and 4 dc in ch 1 space from previous row and ch 1. *Skip the next ch space, and work (4 dc, ch 2, 4 dc) in the following ch 1 space from previous row, and ch 1. Rep from * till last chain. Then slst to 3rd chain, and make 3 more slst in the next 3 st from the previous row. ((15 groups of (4 dc, ch 2, 4 dc)).
Switch to color Husk
Round 9: Repeat row 8.
Switch to color Cherry
Round 10: ch 3 (counts as a dc), then make 4 dc, ch 2, and 5 dc in ch 2 space from previous row and ch 1. *Skip the next ch space, and work (5 dc, ch 2, 5 dc) in the following ch 2 space from previous row, and ch 1. Rep from * till last chain. Then slst to 3rd chain, and make 4 more slst in the next 4 st from the previous row. ((15 groups of (5 dc, ch 2, 5 dc)).
Finish off and weave in your ends.
Part 2: Adding Stars
For this part, you will need a sharp darning needle and the yarn color husk. You will add the stars to the circle part of your potholder. I added a total of 6 stars to my potholder, but you can add as many as you like.
I made my stars by making a basic triangle, and them making an upside triangle on top of the first triangle. I then went back and forth over the lines to close the stars up.
The steps down below explain how I made the stars. You want to make 2 triangles (one facing the correct way, and the other facing downwards over the other triangle).
Step 1: Starting in the center, bring the needle up from the back to the front (this is your first corner).
Step 2: Insert the needle into a second corner (to the side) and pull through.
Step 3: Now bring the needle up, but insert it into the third corner (to the side) and connect it with one of the corners to form your triangle.
Step 4: Now repeat steps 1-3 to make another triangle over the one you just made. Making sure it's facing downwards.
Step 5: Once both triangles have been made, fill it in with the yarn by working your yarn backwards and forwards.
Continue to repeat these steps until you have 6 stars on your circle.
Part 3: Seaming Your Petals Together
Now you're going to seam your two flower petals together to create the potholder. The next set of instructions is explained in steps as I found it easier to explain.
Step 1: Place your two flower petals on top of each other, making sure that the right side is facing up (you want the wrong sides facing each other).
Step 2: Then place a stitch marker at the top of every 3rd group to hold the two flower petals together.
Step 3: Once you have added your stitch markers, grab your yarn (color Neptune), and reattach it to the ch 2 space of any one of the groups.
Step 4: Then work 5 sc in each of the dc stitches from the group of 5 (making sure that you're working your hook through both of the petals), and then work a slst in the ch 2 space from the previous row.
Step 5: Now work 6 more slst going down in each ch 2 space, making sure not to pull tight on your slst. You want your slst to be loose for this part of the tutorial. If you create very tight slst, your groups will start to bunch together and your petals will start to curve upward.
Step 6: Once you have worked your slst going down, make 1 slst in the third round of your circle. Then work another slst in the following stitch, and then work your way back upwards making slst in each ch 2 space.
Step 7: Then continue by working 5 more sc in each dc stitch from the group of 5, and then work 3 sc in the space between the group of 5.
Step 8: Repeat steps 4-7 for each petal. Once you have finished working your last petal, slst to the first dc within the group of 5.
Step 9: Remove all your stitch markers, and finish of your work.
Part 4: How to Add a Loop to Your Potholder
Step 1: Reattach your yarn (color Neptune) to any petal of your potholder and chain 20.
Step 2: Once you have chained 20, slip stitch it to the center of the ch 2 space.
Step 3: Work 20 sc within your loop.
Step 4: Cut your yarn and finish off your work.
You're finished with your crochet flower potholder pattern!