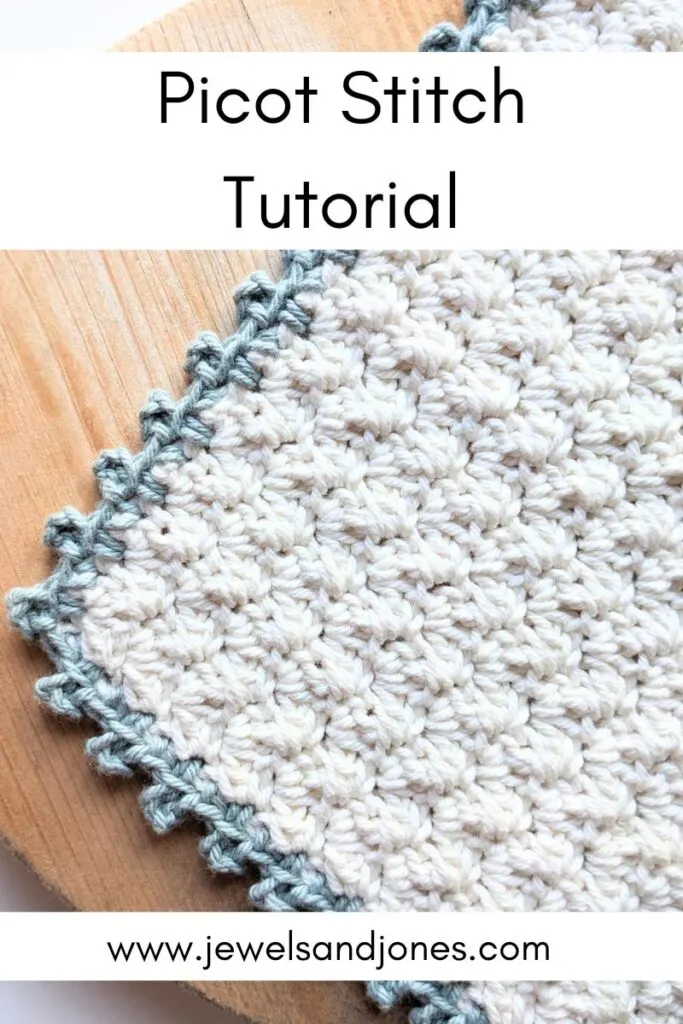
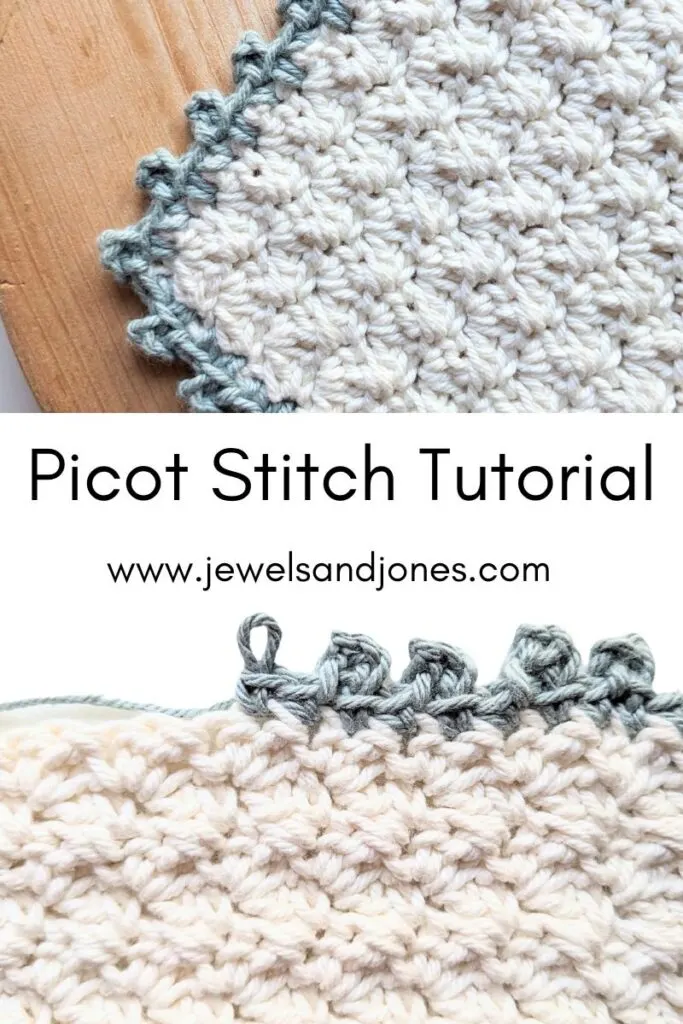
Are you looking for an easy crochet border for your current project? If so, today’s tutorial on the picot stitch might just be perfect for you. This crochet stitch is easy to learn and can be added to a variety of different crochet projects.

This post contains affiliate links, which means I make a small commission at no extra cost to you. See my full disclosure here.
I love adding the picot stitch border to my crochet projects because I think it adds the perfect finishing touch. It’s also a good way to spruce up a simple project, so definitely give this stitch a go if you’re looking for a cute, yet easy-to-make crochet border.
And if you would like to see an example of this stitch, make sure to check out these crochet washcloths that use the picot stitch.

What stitches are used to make the picot stitch?
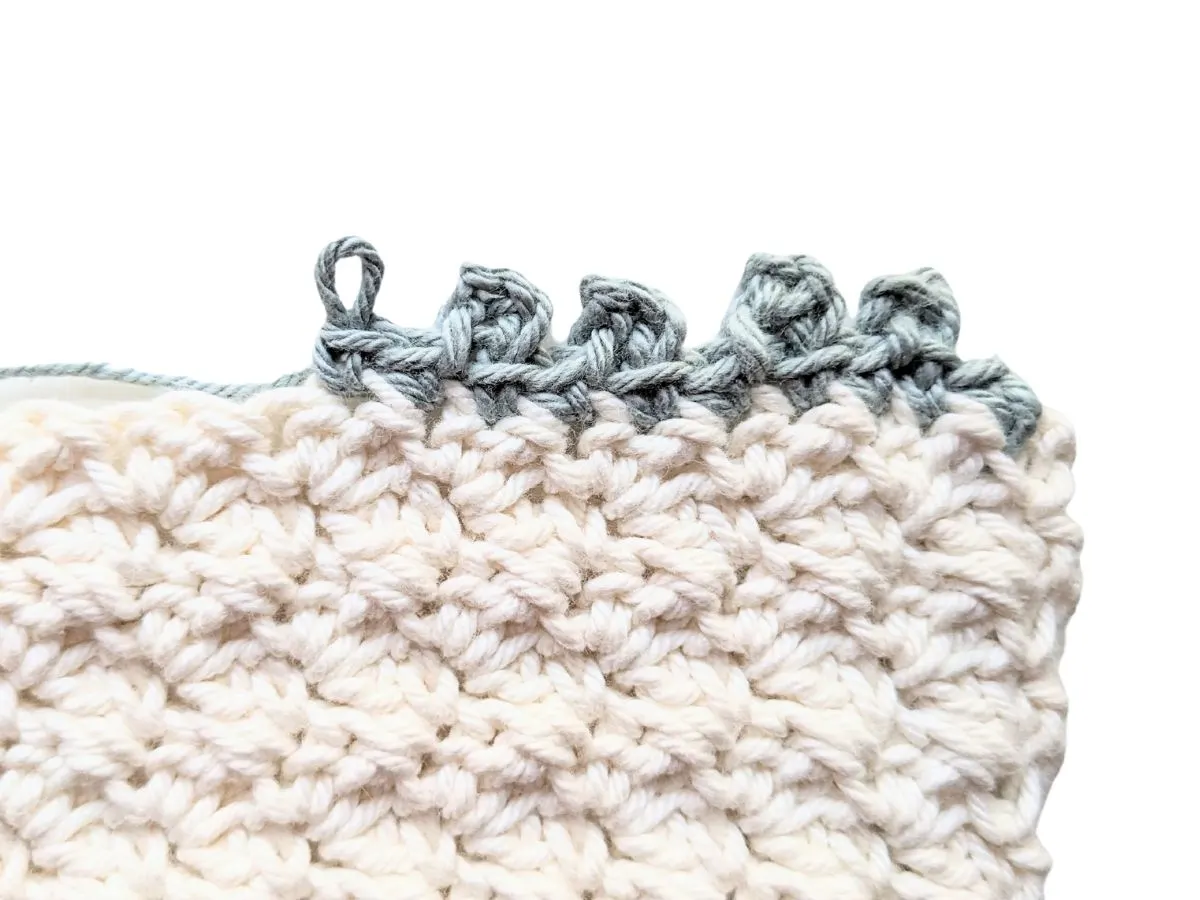
The picot stitch pattern is made using just three basic stitches: chain, single crochet, and slip stitch. You’ll first make two single crochet stitches, then you will chain three, and finally, you will slip stitch to the top front loop of your single crochet stitch.
That’s it! If you need a refresher on how to make these three stitches, then take a look down below.
If you’re more of a visual learner, make sure to check out our YouTube Channel.
- ch – chain: Yarn over, pull through loop on hook.
- ss – slip stitch: Insert hook into stitch, yarn over, pull through stitch, and loop on hook.
- sc – single crochet: Insert hook into stitch, yarn over and pull through, yarn over and pull through last two loops on hook.
Alright, let’s get started!
Materials You Will Need to Make this Stitch
Since this is just a practice swatch, there’s not much that you need. But here are the things that I used for this tutorial.
- Cotton Yarn. I made a basic 4″ by 4″ inch swatch using the suzette stitch and my favorite cotton yarn by WeCrochet.
- 4.0 mm crochet hook. I used a basic wooden crochet hook for this tutorial.
- Stitch markers. You might find stitch markers helpful to note when you start the border.
- A pair of scissors to cut your yarn.
- A darning needle to work in your tail end.
Crochet Picot Stitch Edging Tutorial
Step 1: Insert your hook into your last stitch of your last row and make 2 single crochets.
If you’re using a different color, reattach your yarn to the last stitch of your last row, chain 1, and make 2 single crochets.

Step 2: chain 3.

Step 3: Then make a slip stitch in the top front loop of your single crochet stitch.

You’re finished! At this point, you should have a completed picot stitch. Now you just want to repeat that sequence into every stitch to create your border.

Crochet Picot Stitch Video Tutorial
I hope you enjoyed this tutorial. Don’t forget to save this post for future reference and if you enjoyed this tutorial, make sure to check out the other stitch tutorials down below.
Other Crochet Stitches You Might Like

- Crochet Shell Stitch Tutorial. / 2. Crochet V-Stitch Tutorial. / 3. Reverse Blanket Stitch


Kim
Saturday 16th of March 2024
How do you change colors in the border? Is it the same as in the body?