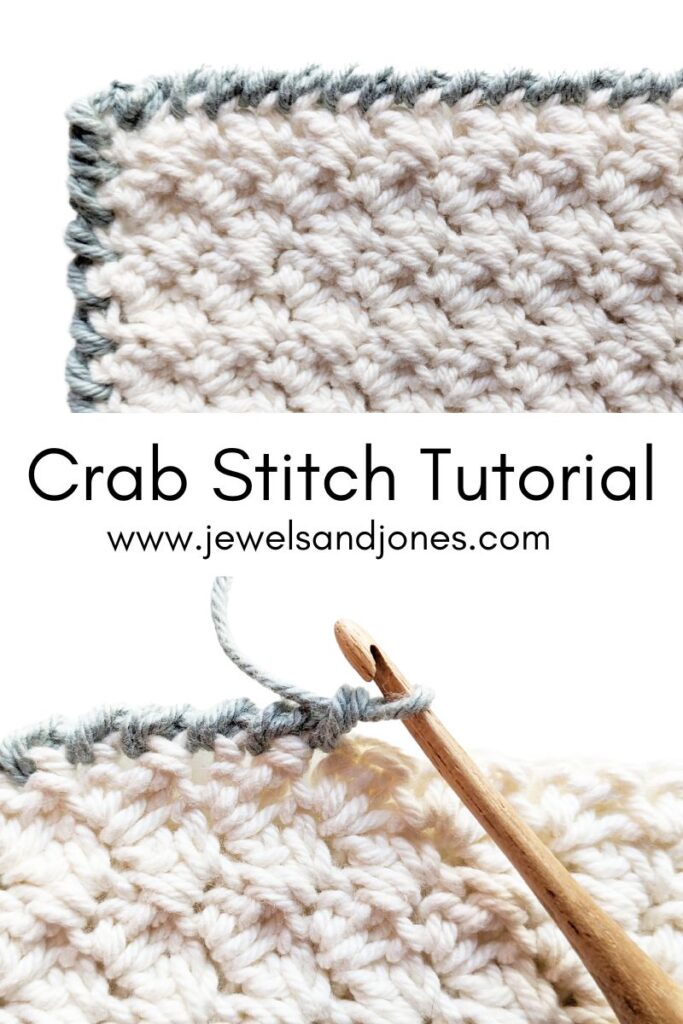
In this tutorial, you'll learn how to crochet the crab stitch and how to add this stitch to any border. The crab stitch is made using only one stitch, which is the reverse single crochet stitch.
So if you can make a single crochet stitch, you can totally make this stitch! This crochet tutorial includes step-by-step photos and a guided video tutorial.

This post contains affiliate links, which means I make a small commission at no extra cost to you. See my full disclosure here.
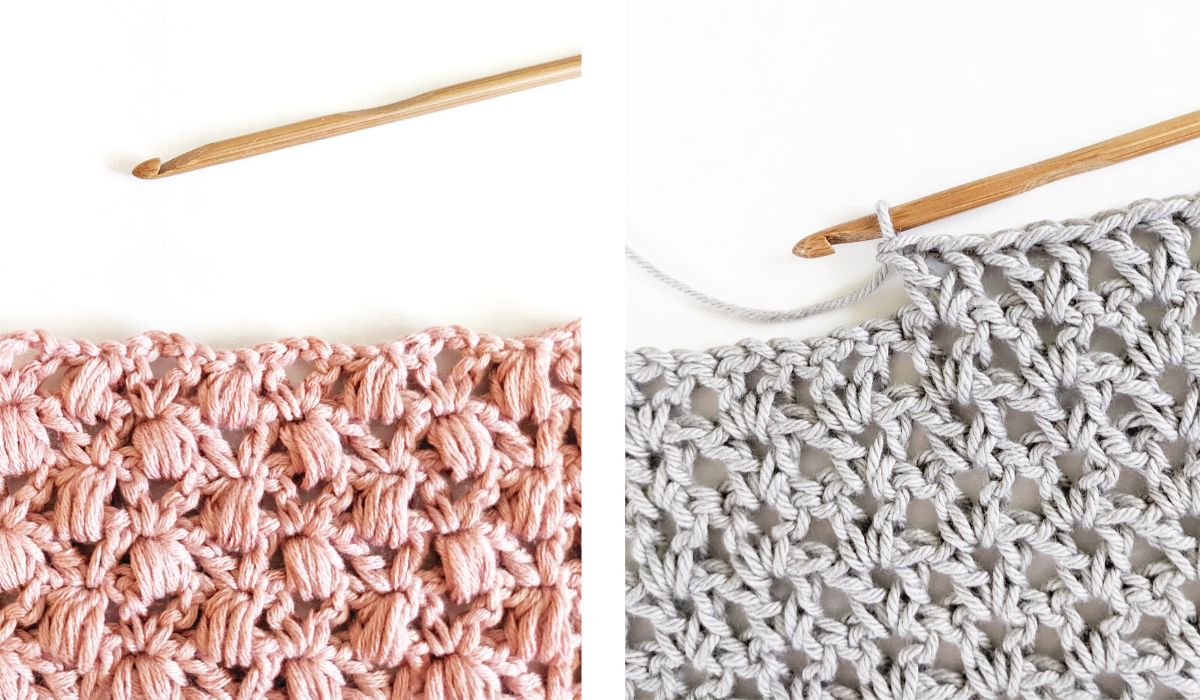
The crab stitch is a great stitch to use for a variety of different projects. You can pretty much use it for any project that needs a border. I love using this stitch because I love the way it looks, it also doesn't take too long to make.
Plus, it requires very little yarn. So it's perfect if you have some scrap yarn left! If you would like to see some examples of this stitch, make sure to take a look at these crochet washcloths that use the crab stitch border or these cute crochet coasters.

What Stitches Are Used to Make The Crab Stitch?
The crab stitch uses only one stitch, which is the reverse single crochet stitch. It might sound a little bit confusing at first, but I promise you it's not. It's just a matter of putting your crochet hook in the right position.
You're still yarning over like a regular single crochet stitch, just putting it in the opposite direction. So instead of working right to left, you'll be working left to right.
Alright, let's get started!
Materials You Will Need to Make This Stitch
Since this is just a practice swatch, there's not much that you need. But here are the things that I used for this tutorial.
- Cotton Yarn. I made a basic 4" by 4" inch swatch using the suzette stitch and my favorite cotton yarn by WeCrochet.
- 4.0 mm crochet hook. I used a basic wooden crochet hook for this tutorial.
- Stitch markers. You might find stitch markers helpful to note when you start the border.
- A pair of scissors to cut your yarn.
- A darning needle to work in your tail end.
Crab Stitch Border Tutorial
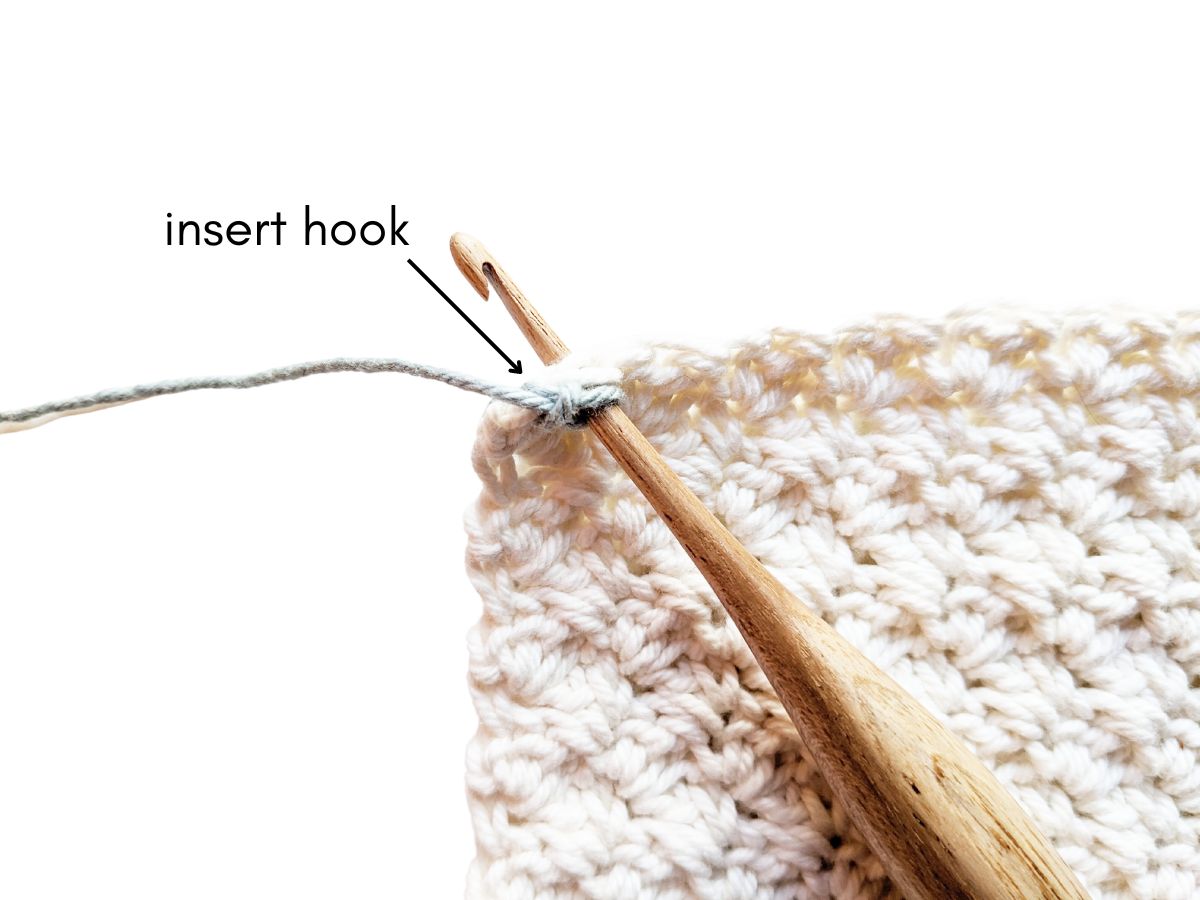
Step 1: Insert your hook into your last stitch of your last row.
If you're using a different color, reattach your yarn to the last stitch of your last row and chain 1.
Note: You're going to work left to right, since you're making a reverse single crochet.
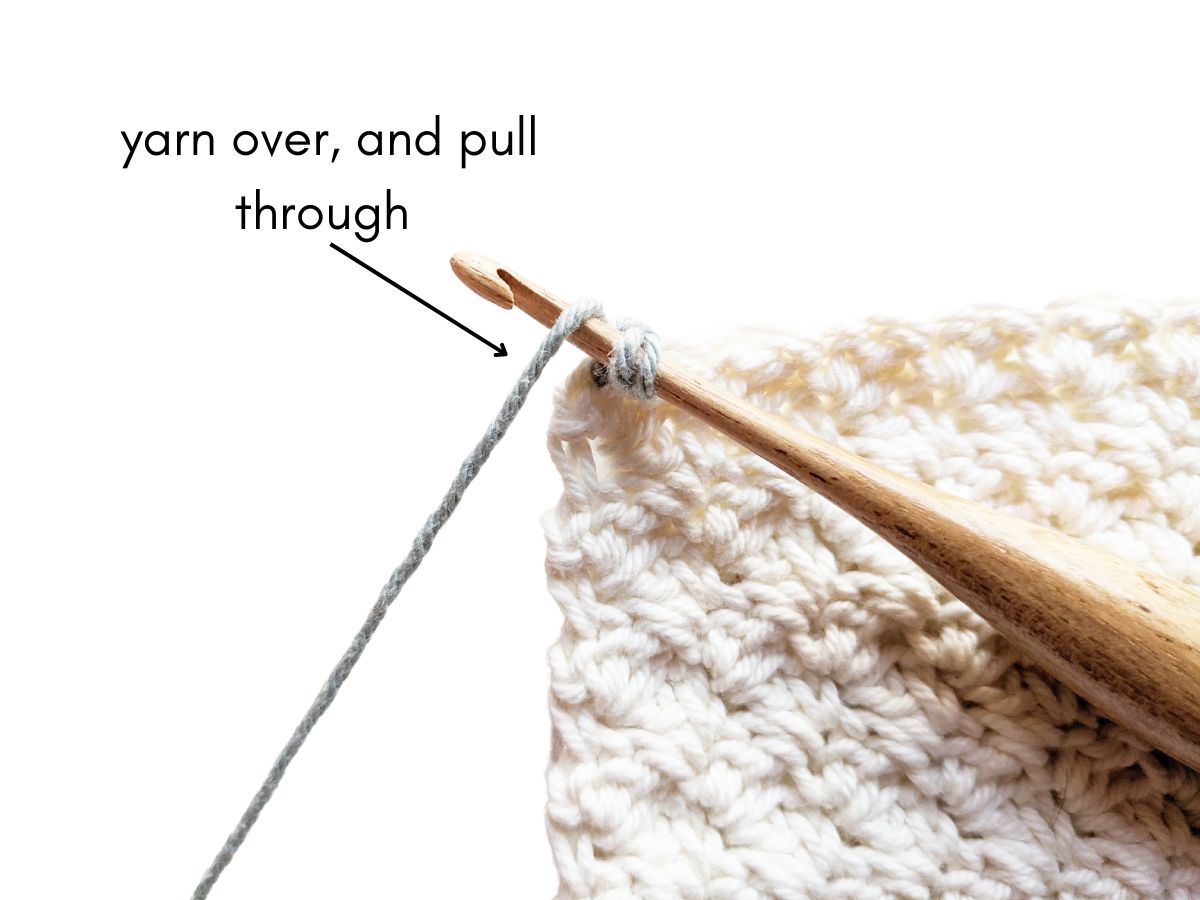
Step 2: Yarn over.

Step 3: Pull through (2 loops left on hook).

Step 4: Yarn over, and pull through last two loops on hook.

You're finished! At this point, you should have a completed crab stitch. Now you just want to repeat that sequence into every stitch to create your border.

Crab Stitch Border Video Tutorial

I hope you enjoyed this tutorial. Don't forget to save this post for future reference and if you enjoyed this tutorial, make sure to check out the other stitch tutorials down below.
Other Easy Crochet Stitch Tutorials
Manisha
Sunday 16th of July 2023
It was redoing what I did long back.Thank you for letting me know the name.Very simply and wonderfully explained.
Nicky
Tuesday 18th of July 2023
Thank you. I´m glad the tutorial was helpful.