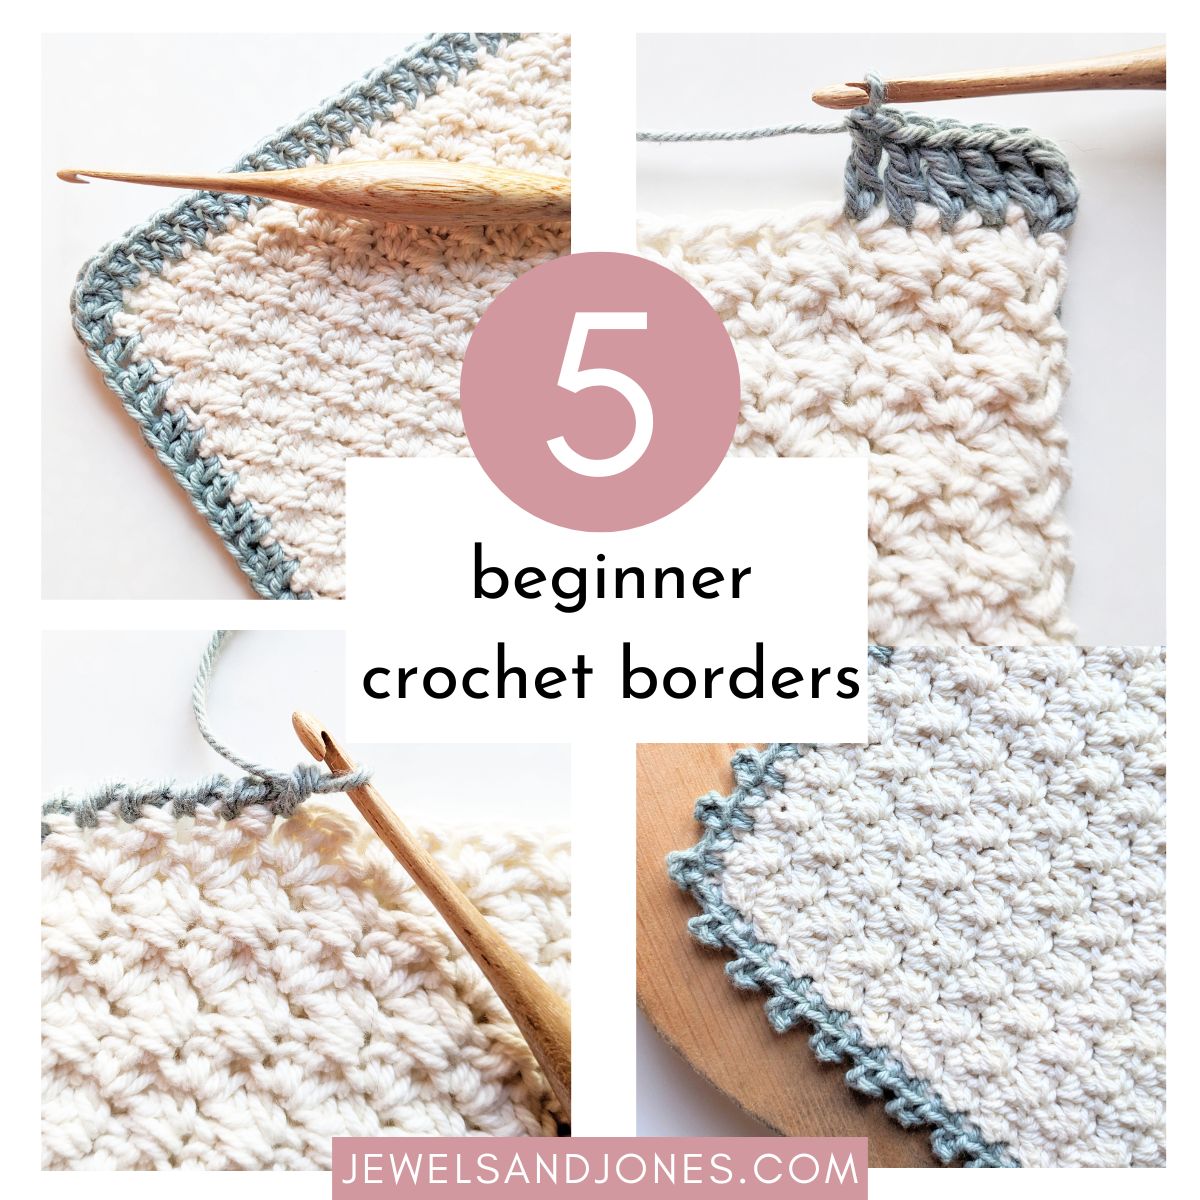
Are you a beginner in crochet and want to start adding borders to your projects? If so, you've come to the right place. Today, I'm going to show 5 easy crochet borders that are perfect for beginners!
Each one of these border tutorials includes step-by-step photos and a guided video tutorial. So grab some yarn and a hook, and get ready to make some really simple borders.
Crochet Borders (Edgings)
Borders are great to add to your crochet projects because not only does it add the perfect finishing touch, but it can also turn an uneven edge into a straight one.
Borders are also great to use when you need to add some length to a project. For example, let's say you want to make your blanket longer on the sides or maybe you want to add some length to your cardigan, all you would have to do is add a border.
So whether you use it for decorative purposes or you want to straighten your edges, adding a simple border can really help. The roundup down below is geared for absolute beginners, but it's also great to use for more experienced crocheters.
I personally love crocheting the basic ones made with foundation stitches because I love how simple and clean they look.
Alright, let's start our roundup! But first, here are some helpful tips when making a border.
Helpful Tips When Crocheting a Border
- Increase Hook Size - You might find it helpful to go up one hook size when making a crochet border (sometimes a pattern might call for this as well).
- Stitch Markers - Adding a stitch marker to the beginning stitch of your border makes it easier to see where to place your last stitch when ending your round.
- Single Crochet Border - I find that a single border works best when making an uneven edge look straight.
Also, here is a helpful tutorial on how to add yarn in a different color to crochet your border.
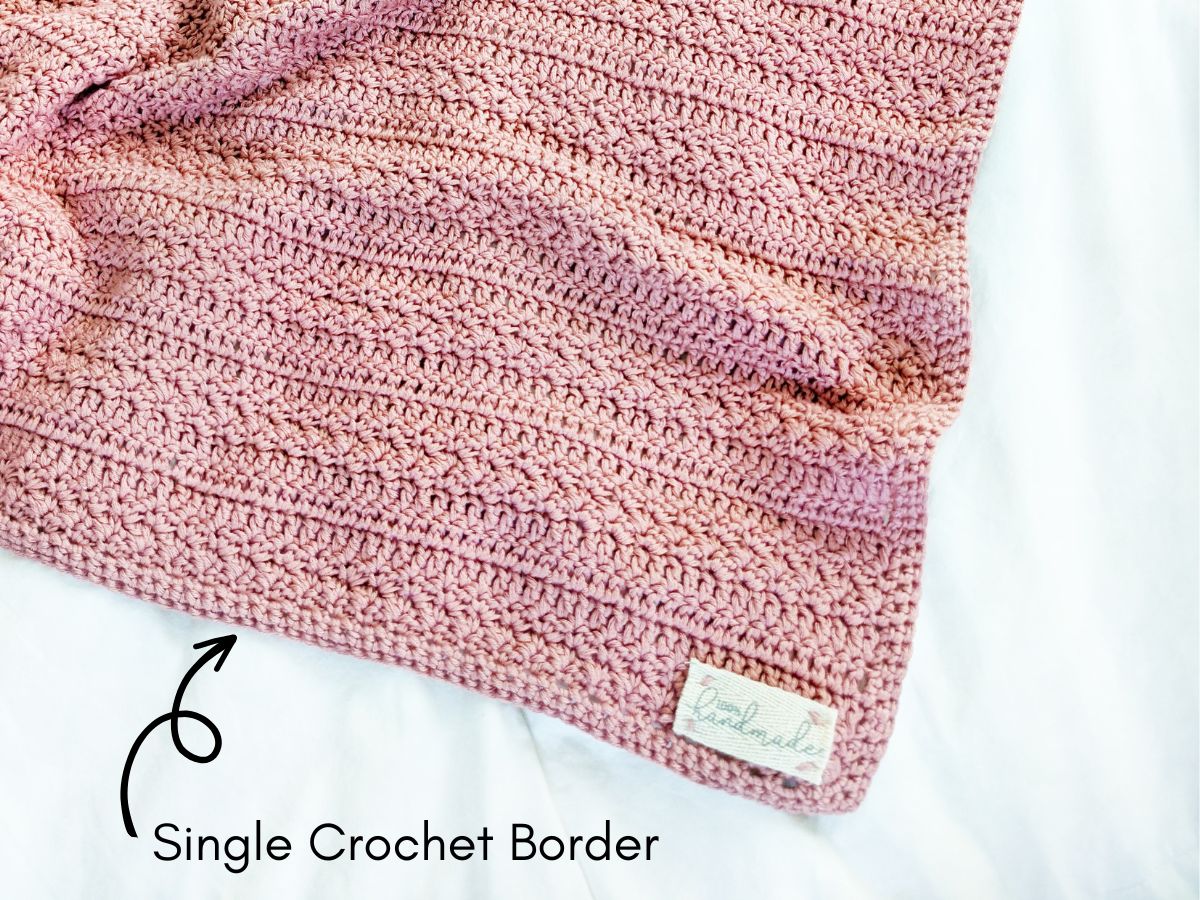
1. Single Crochet Border
The first border on the list is a simple single crochet border. This one is great to learn if you're a beginner because most likely you'll be familiar with how to make a single crochet stitch. So I think this is a great one to use if you've never made a border before.
The tutorial linked down below is explained step-by-step with photos and a guided video tutorial.
Tutorial Link: Single Crochet Border
Here is also an example of a single crochet border on a baby blanket.
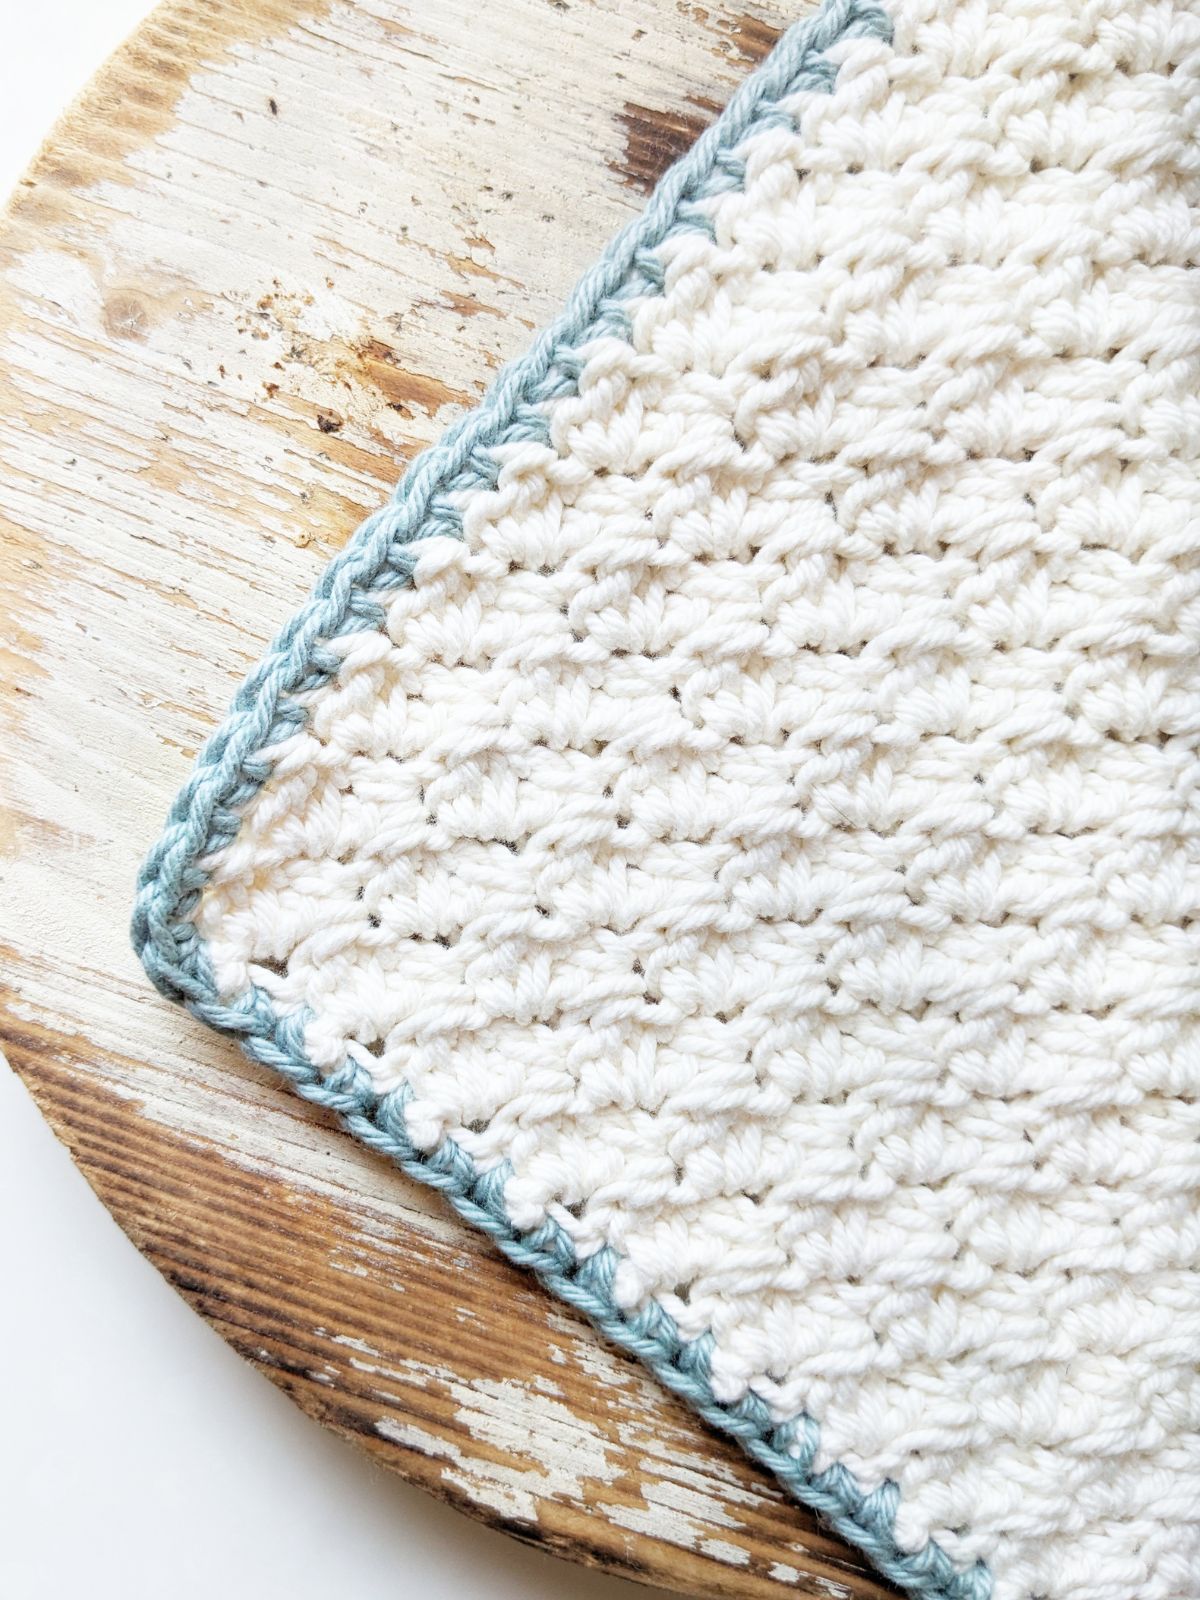
2. Half Double Crochet Border
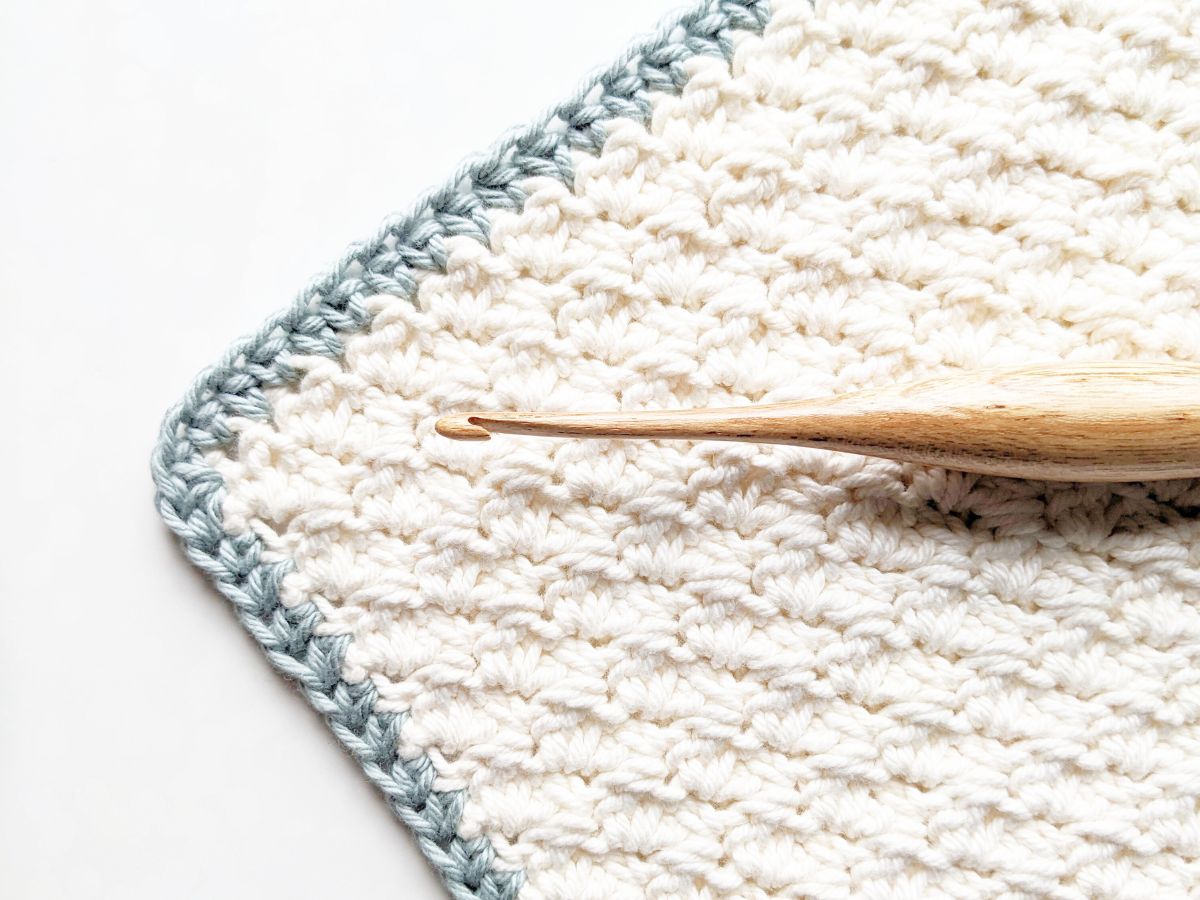
The second border on the list is a half double crochet border. So if you're not a fan of making single crochets, definitely give this one a go. It's also a bit faster than a single crochet border.
The tutorial linked down below is explained step-by-step with photos and a guided video tutorial.
Tutorial Link: Half Double Crochet Border
3. Double Crochet Border
Next on the list is a double crochet border. This border is great to use if you want to add some length to your project. For example, maybe you want to add some length to your crochet cardigan or crochet blanket, this border would be great to use.
Tutorial Link: Double Crochet Border
Alright, the last two borders on the list are for beginners who want to venture out a little bit, but not too much.
4. Crab Stitch Border

The first border I recommend making after mastering the first three on the list is the crab stitch border. This border is made using a reverse single crochet stitch. So all you have to do is make a single crochet stitch in reverse order.
You will be working from left to right, instead of right to left. The tutorial link down below explains how to make this border step-by-step with photos and it also includes a guided video tutorial.
Tutorial Link: Crab Stitch Border
5. Picot Stitch Border

The last border on the list is the picot stitch border. I think this border is great for beginners because all you need to know is a chain, slip stitch and single crochet. If you're comfortable making these stitches, you can totally make this border.
The tutorial linked below includes step-by-step photos and a helpful video tutorial.
Tutorial Link: Picot Stitch Border
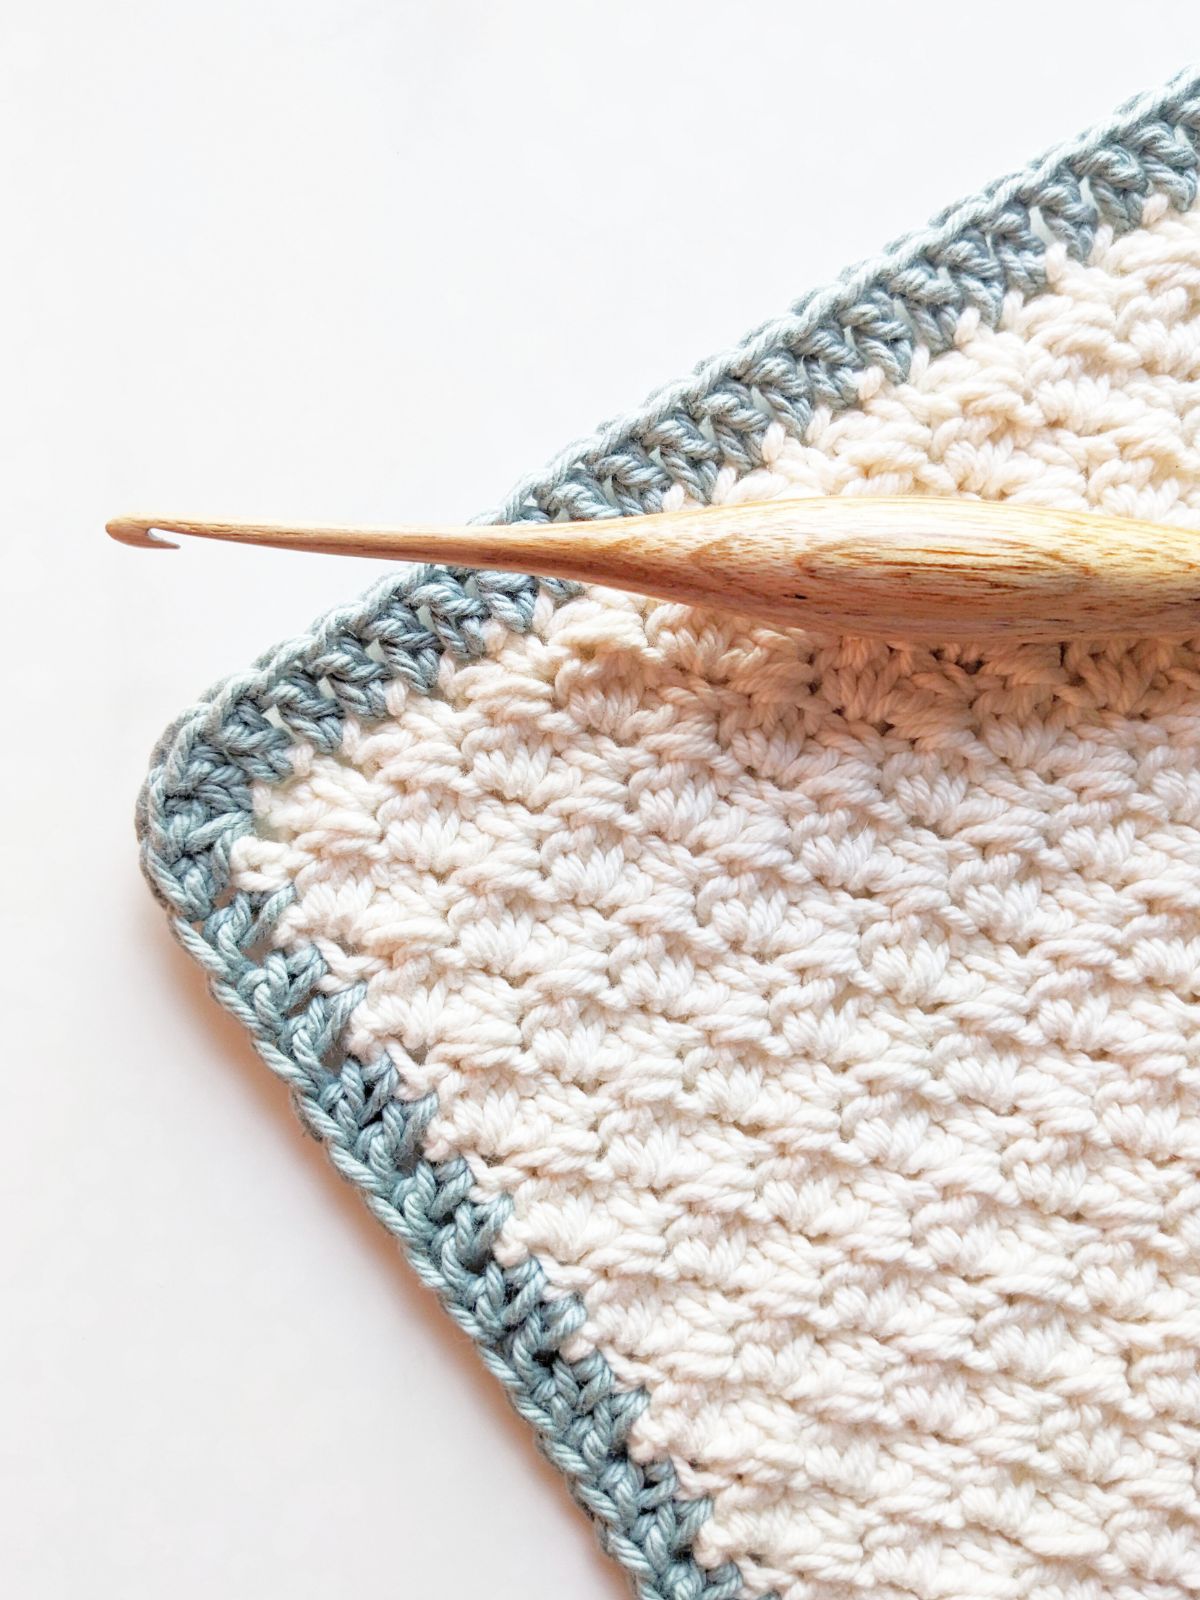
Here is also an example of a washcloth I made using the crab stitch border and the picot stitch border.

And that's the end of this roundup! I hope you enjoyed it and found it useful.
Don't forget to save and PIN this post for future reference.
