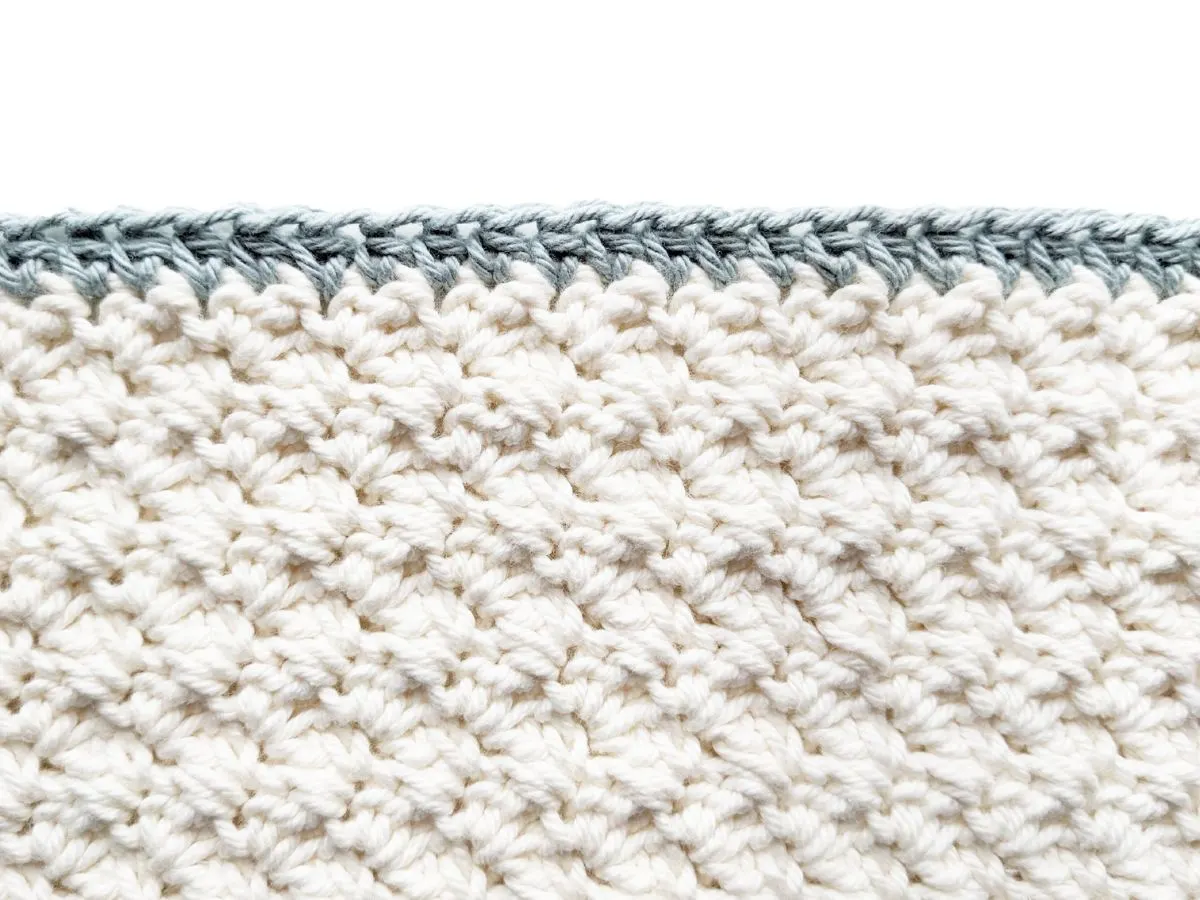
In this tutorial, you’ll learn how to make a half double crochet border around your project. A half double crochet border is simple to make and great for beginners.

This post contains affiliate links, which means I make a small commission at no extra cost to you. See my full disclosure here.
Half Double Crochet Border for Beginners
A half double crochet border is great to make as it requires only one stitch. So if you’re comfortable making a half double crochet stitch, you can totally make this easy border.
I love making simple crochet borders using the foundation stitches because I find it adds the perfect finishing touch. This post is actually part of my crochet border series, so if you would like to check out other borders using the basics, make sure to click the links down below.
- How to Attach Yarn to Crochet a Border
- Single Crochet Border Tutorial
- Double Crochet Border Tutorial
Materials You Will Need to Make a Border
Since this is just a practice swatch, there’s not much that you need. But here are the things that I used for this border tutorial.
- Practice swatch or current project. I made a basic 4″ by 4″ inch swatch using the suzette stitch and my favorite cotton yarn by WeCrochet.
- 4.0 mm crochet hook. I used a basic wooden crochet hook for this tutorial.
Alright, let’s get started!
How to Make a Half Double Crochet Border
Step 1: Insert your hook into the last stitch of your last row, and make a half double crochet.
If you’re using a different color, reattach your yarn to the last stitch of your last row, chain 2, and make a half double crochet in the same stitch you attached your yarn to.
Note – to make a half double crochet: Yarn over, insert hook into stitch, yarn over, and pull through stitch. Yarn over one more time and pull through the last three loops on the hook.

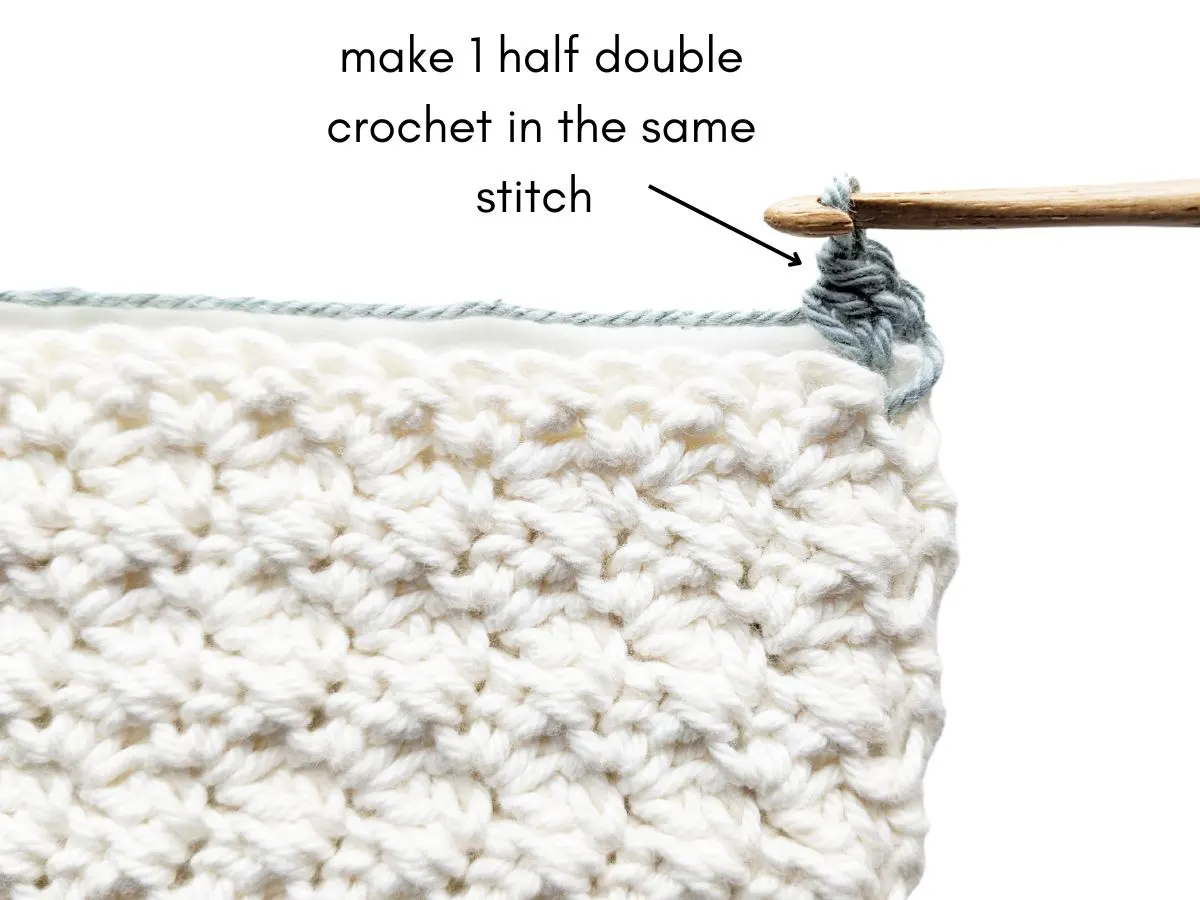
Step 2: Then continue to make 1 half double crochet in each stitch across the row.

Step 3: Once you have finished one side and you’ve reached a corner, make 3 half double crochets in the same stitch.
Note – if you find that your corner is rounding or looks tight, add an extra half double crochet stitch.
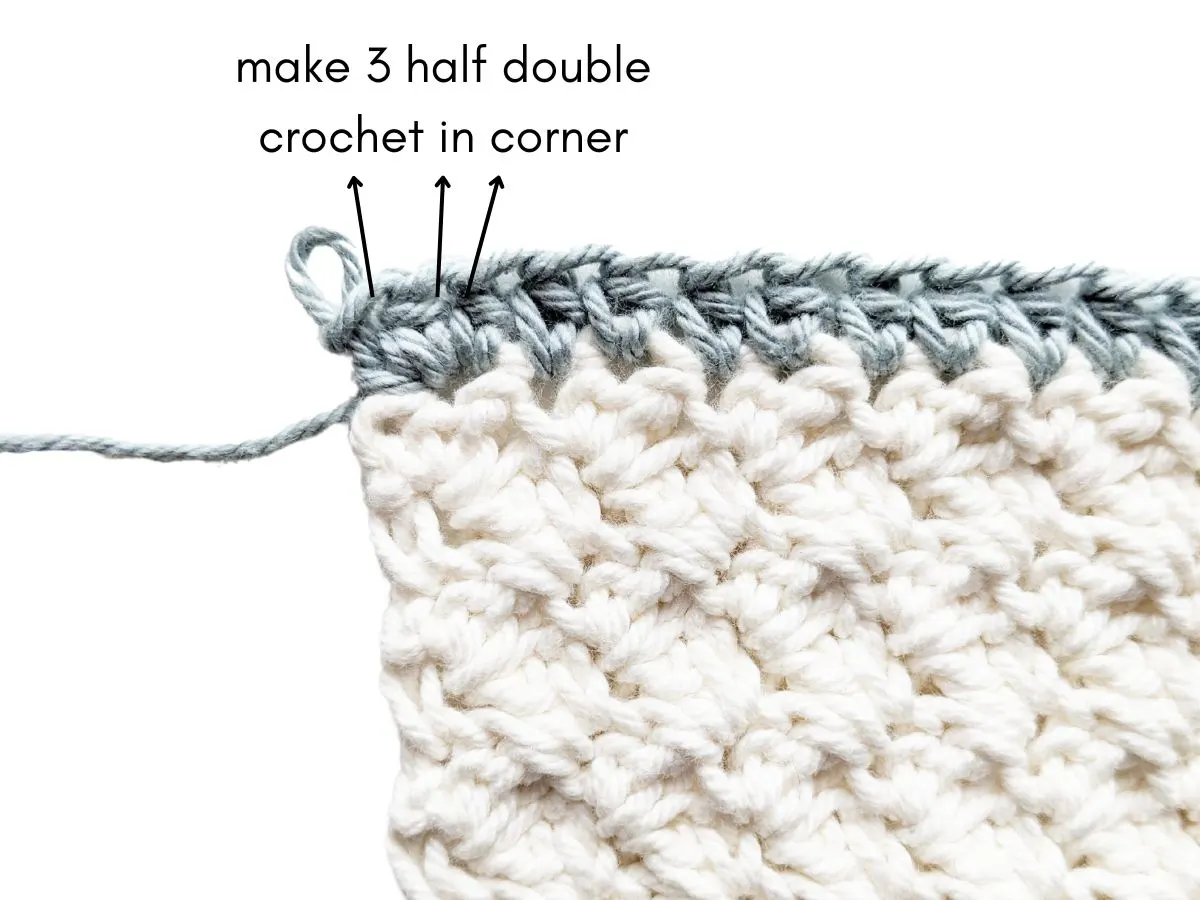
Step 4: Then continue making a half double crochet in each stitch on the side of your crochet project.

Now continue to repeat this sequence all the way around your crochet project. Once you have finished your border, slip stitch to the first stitch.
And that’s it, you’re finished! I hope you enjoyed this tutorial and don’t forget to save this post for future reference.
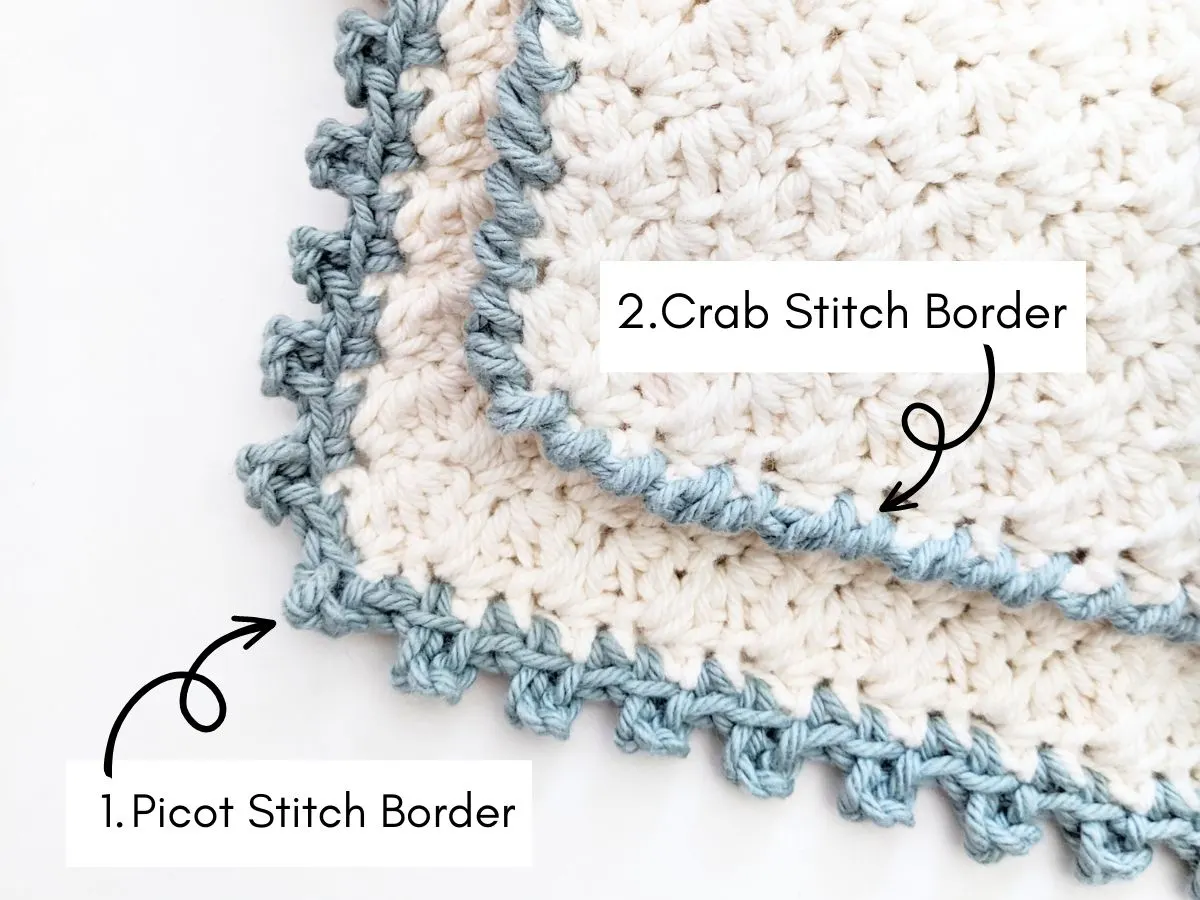
Other Crochet Borders You Might Like
PIN IT for later

Laura Bassett
Sunday 14th of April 2024
Do you have a tutorial on the stitch you used for the blanket? It is lovely!
Nicky
Tuesday 16th of April 2024
Hi there, I used the suzette stitch for the example in the tutorial. Is that what you mean? If so, I do have a video tutorial for the suzette stitch on my YouTube Channel. 😊
Donna
Sunday 3rd of March 2024
Ty explained very well. Made it easy to follw
Nicky
Monday 4th of March 2024
You're welcome! 😊 Glad it was helpful.