
Log Cabin Crochet Christmas Blanket - Free Pattern
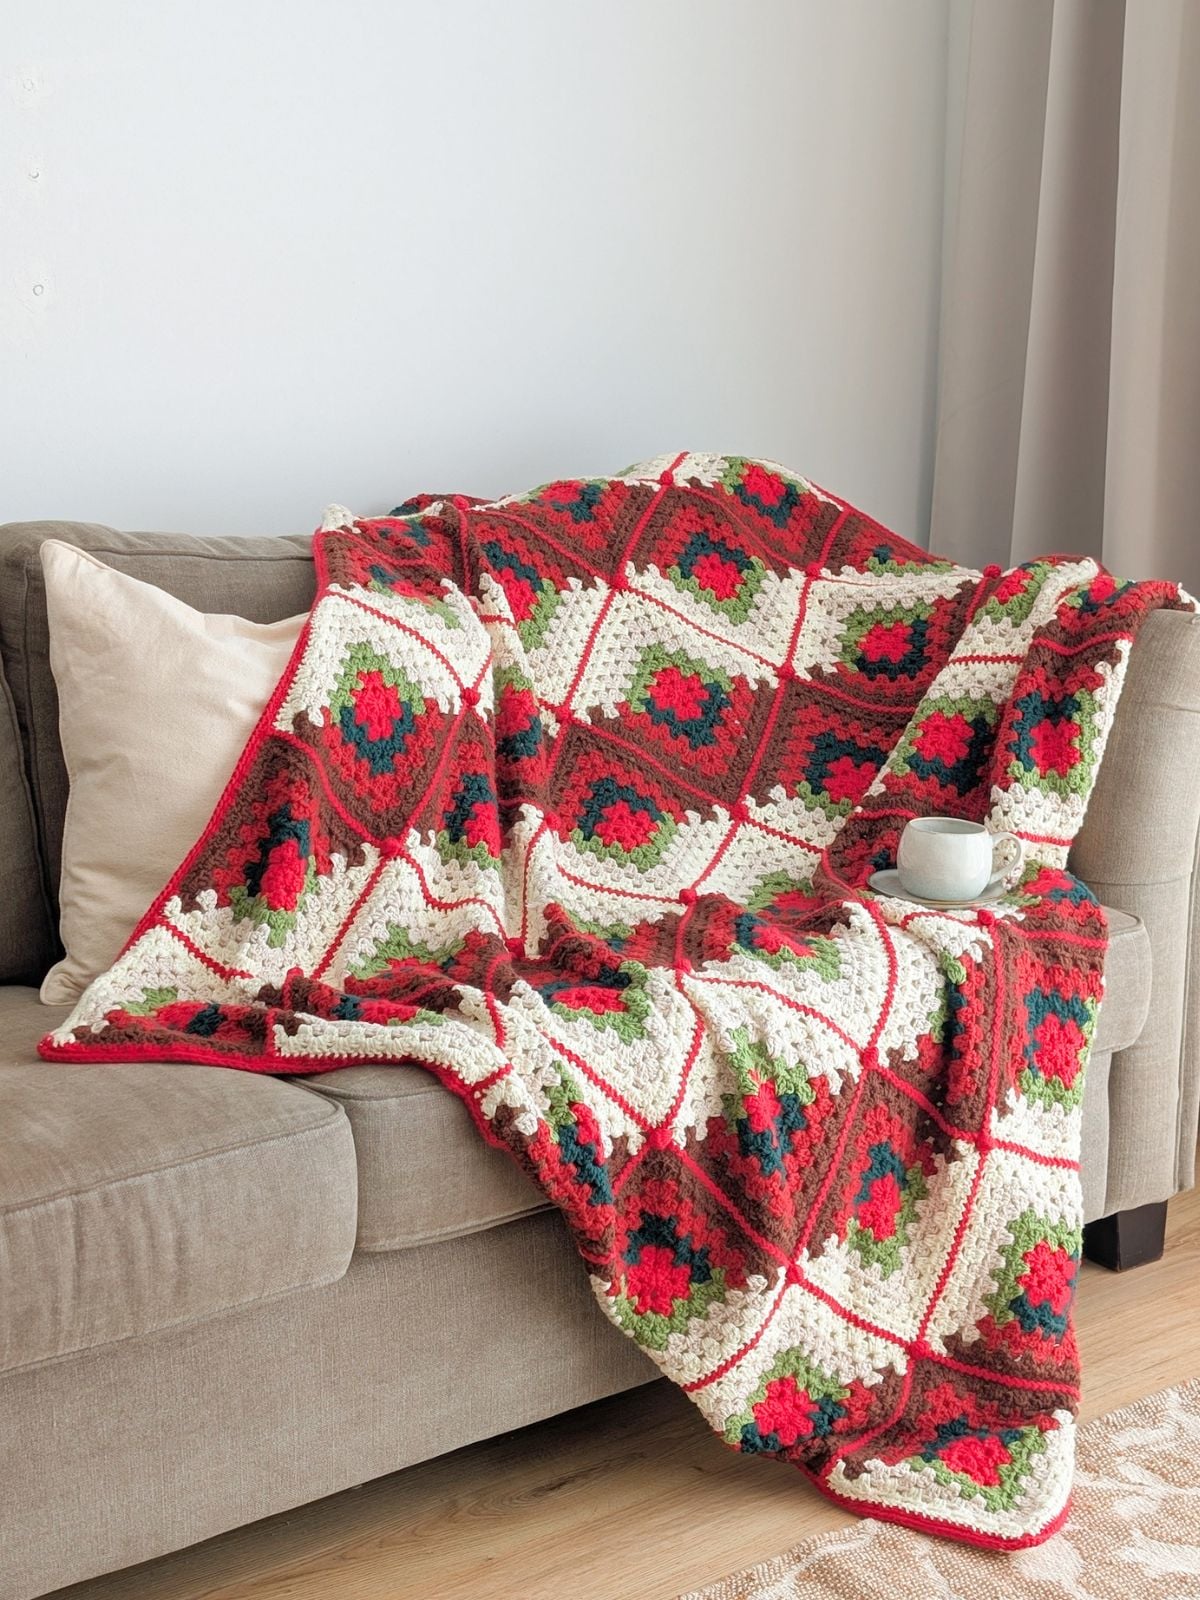
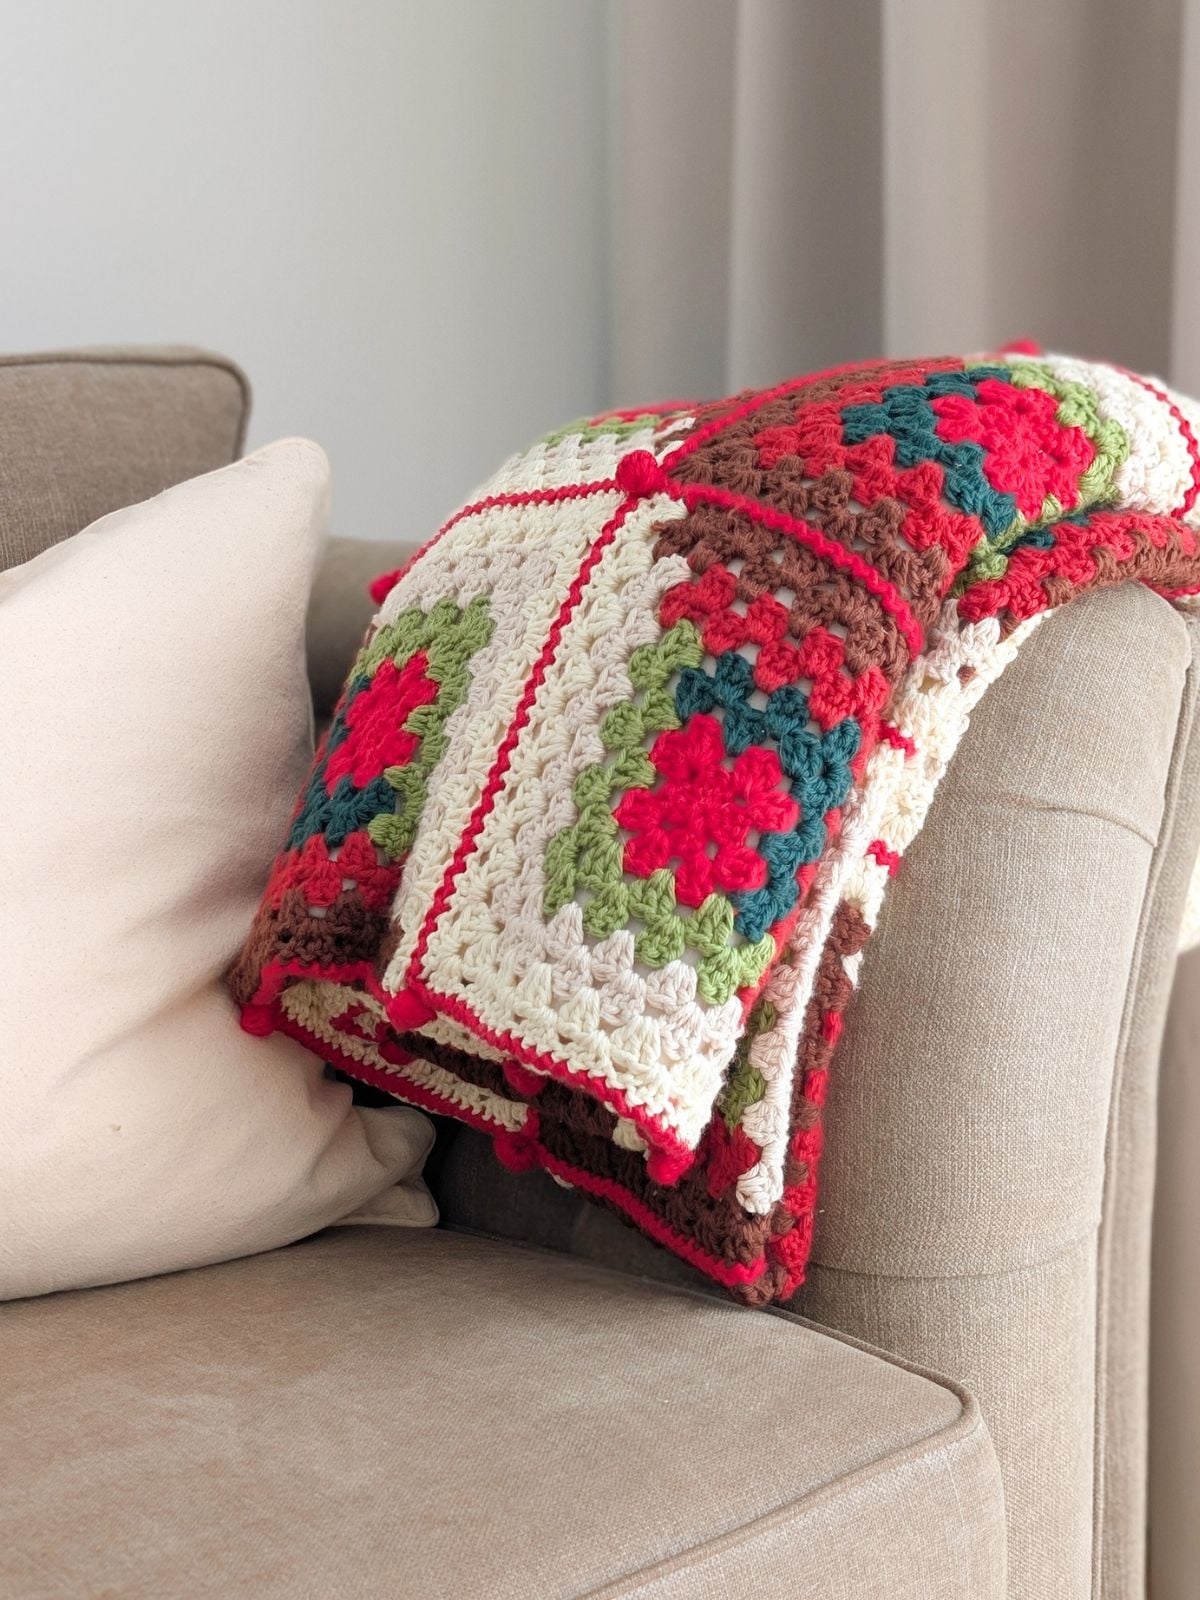
Add a cozy, festive touch to your home with the Log Cabin Crochet Christmas Blanket! This free granny-style crochet blanket pattern is the perfect project for the holiday season.
It’s warm, classic, and designed to become a piece you’ll reach for year after year. You can find the free blanket pattern with step-by-step instructions down below, or you can purchase a printable PDF version here.
This post contains affiliate links, which means I make a small commission at no extra cost to you. See my full disclosure here.
Free Log Cabin Crochet Blanket Pattern - Christmas Edition
Cozy and festive, this Christmas inspired Log Cabin Crochet Blanket pattern is made using a simple granny-style technique that creates a beautiful patchwork effect. So if you love the look of patchwork and don't mind working up a few granny squares, I think you're going to love working on this blanket.
It's made using the same technique as my Log Cabin Baby Blanket Pattern, just made in a different weight of yarn and different colors. So if you're new to this style of crochet and want to work on something smaller, I highly recommend checking out that pattern first.
Alright, let's go ahead and get into all the things you need to know on how to make a Log Cabin Crochet Christmas Blanket!
How to Make a Log Cabin Crochet Christmas Blanket
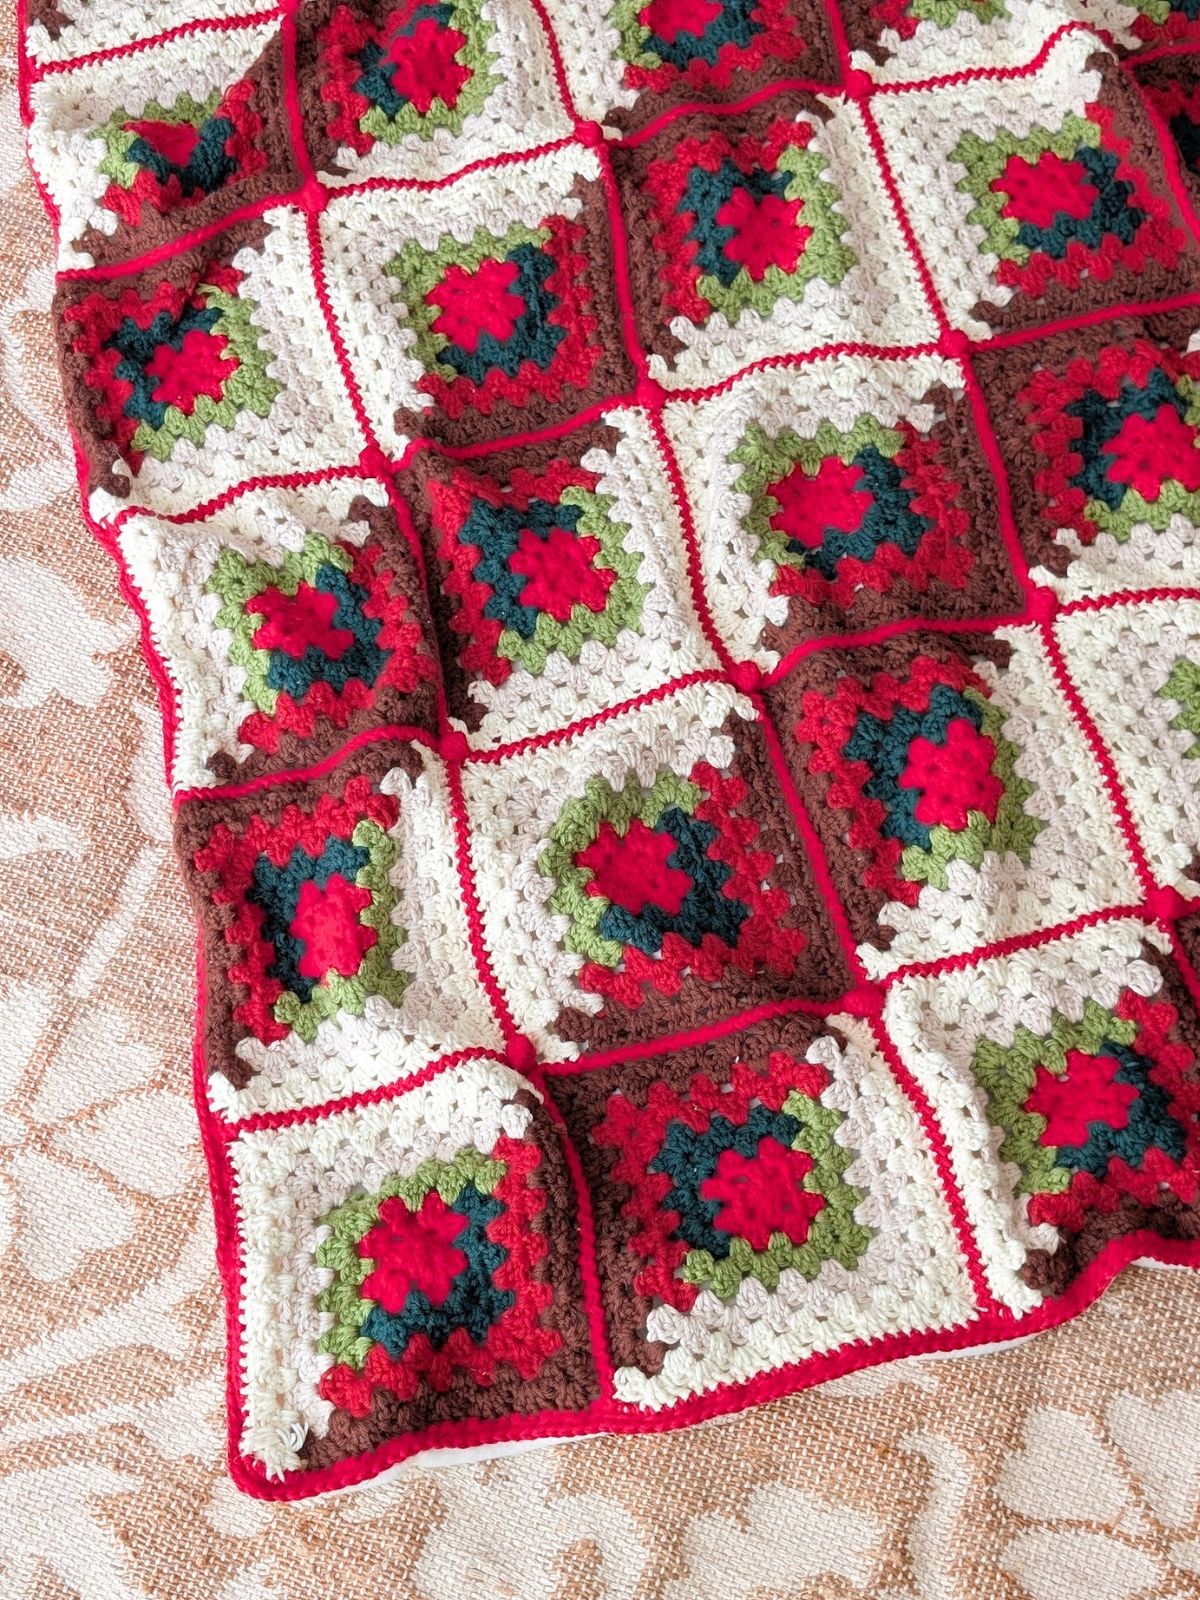
The first step is to crochet all of your granny squares. For this blanket, you’ll need a total of forty two double crochet granny squares.
Once those are complete, you will work in all your ends from the color changes. From there, you’ll arrange your granny squares in a certain order to form the blanket.
This part is where you can have a little fun with it. I’ve included one layout in the pattern, but feel free to get creative and arrange your squares in a way that you like best.
Next, you’ll seam the granny squares together using the zig zag slip stitch method. After seaming, you’ll add a simple single crochet border, followed by mini bobble stitches in the center of each square.
And that’s it! That’s how this blanket comes together.
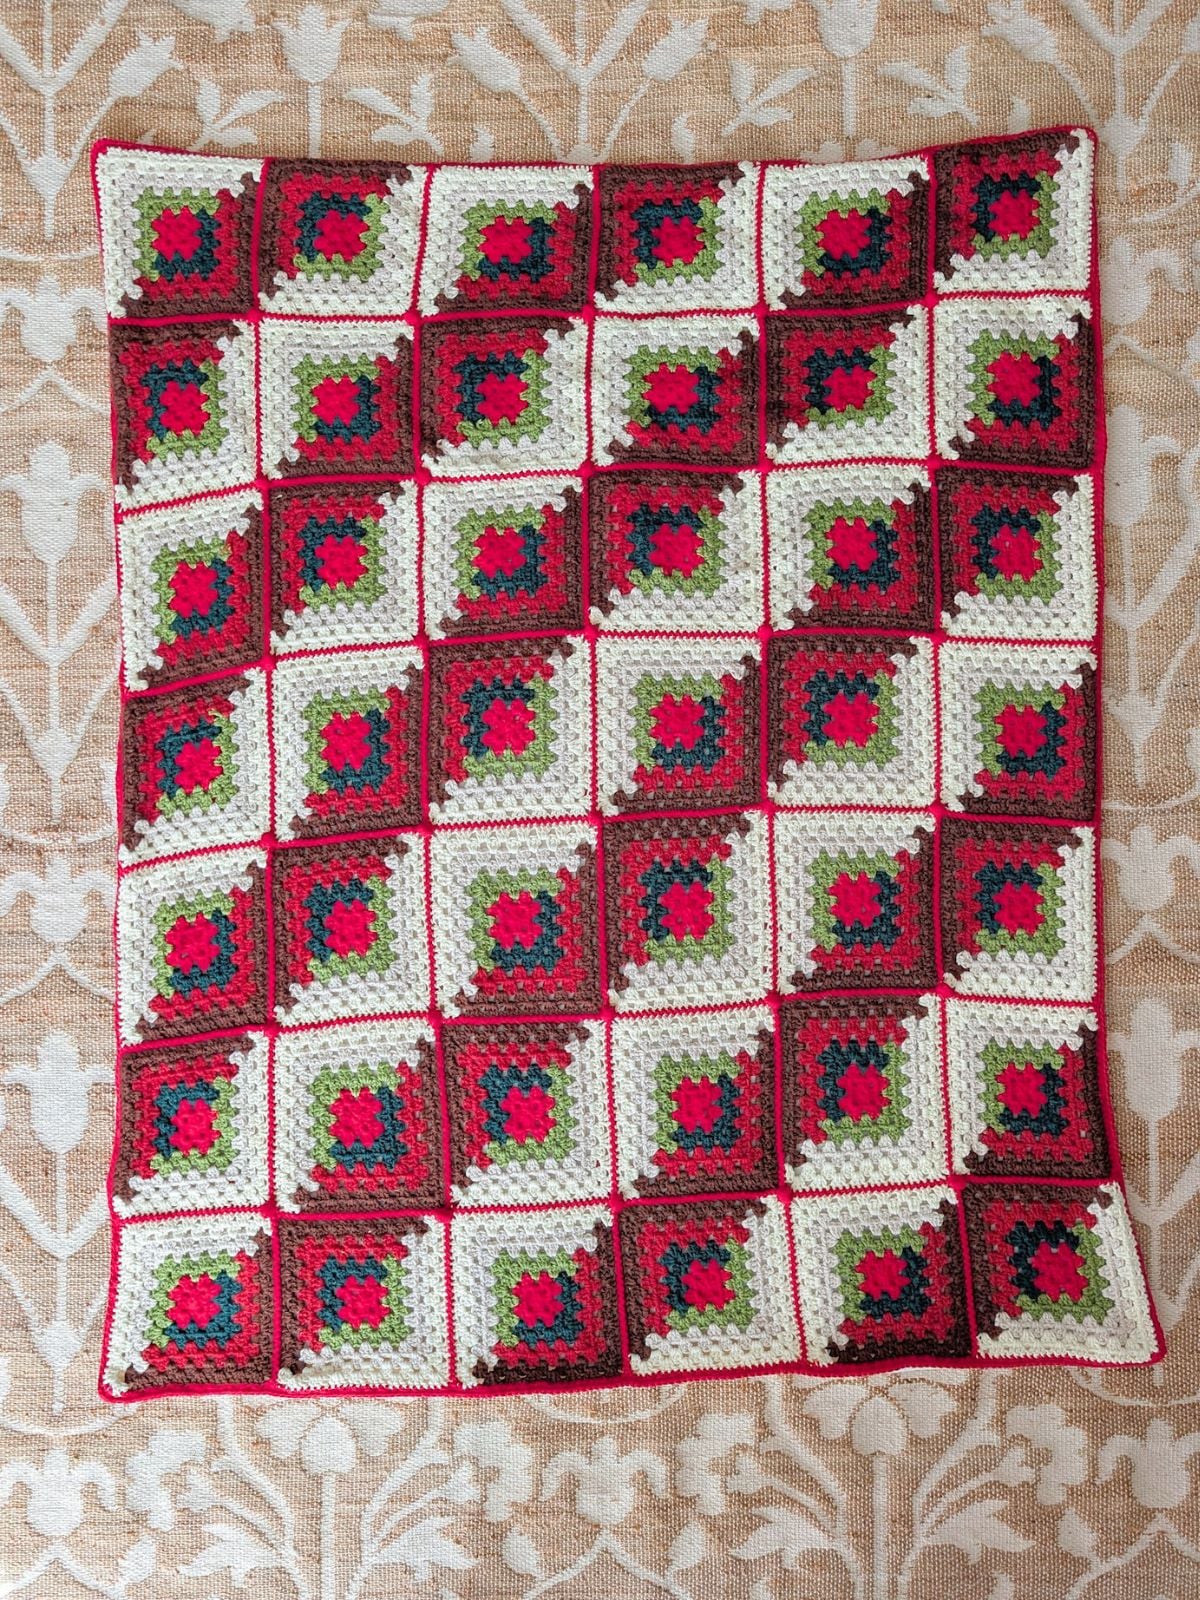
I also wanted to mention that I added a fleece lining to my blanket for extra warmth, but that step is completely optional. One of the best parts about making your own blanket is being able to customize it exactly how you like.
Now that you have an idea of how it all comes together, let’s take a quick look at the yarn used for this project.
Yarn
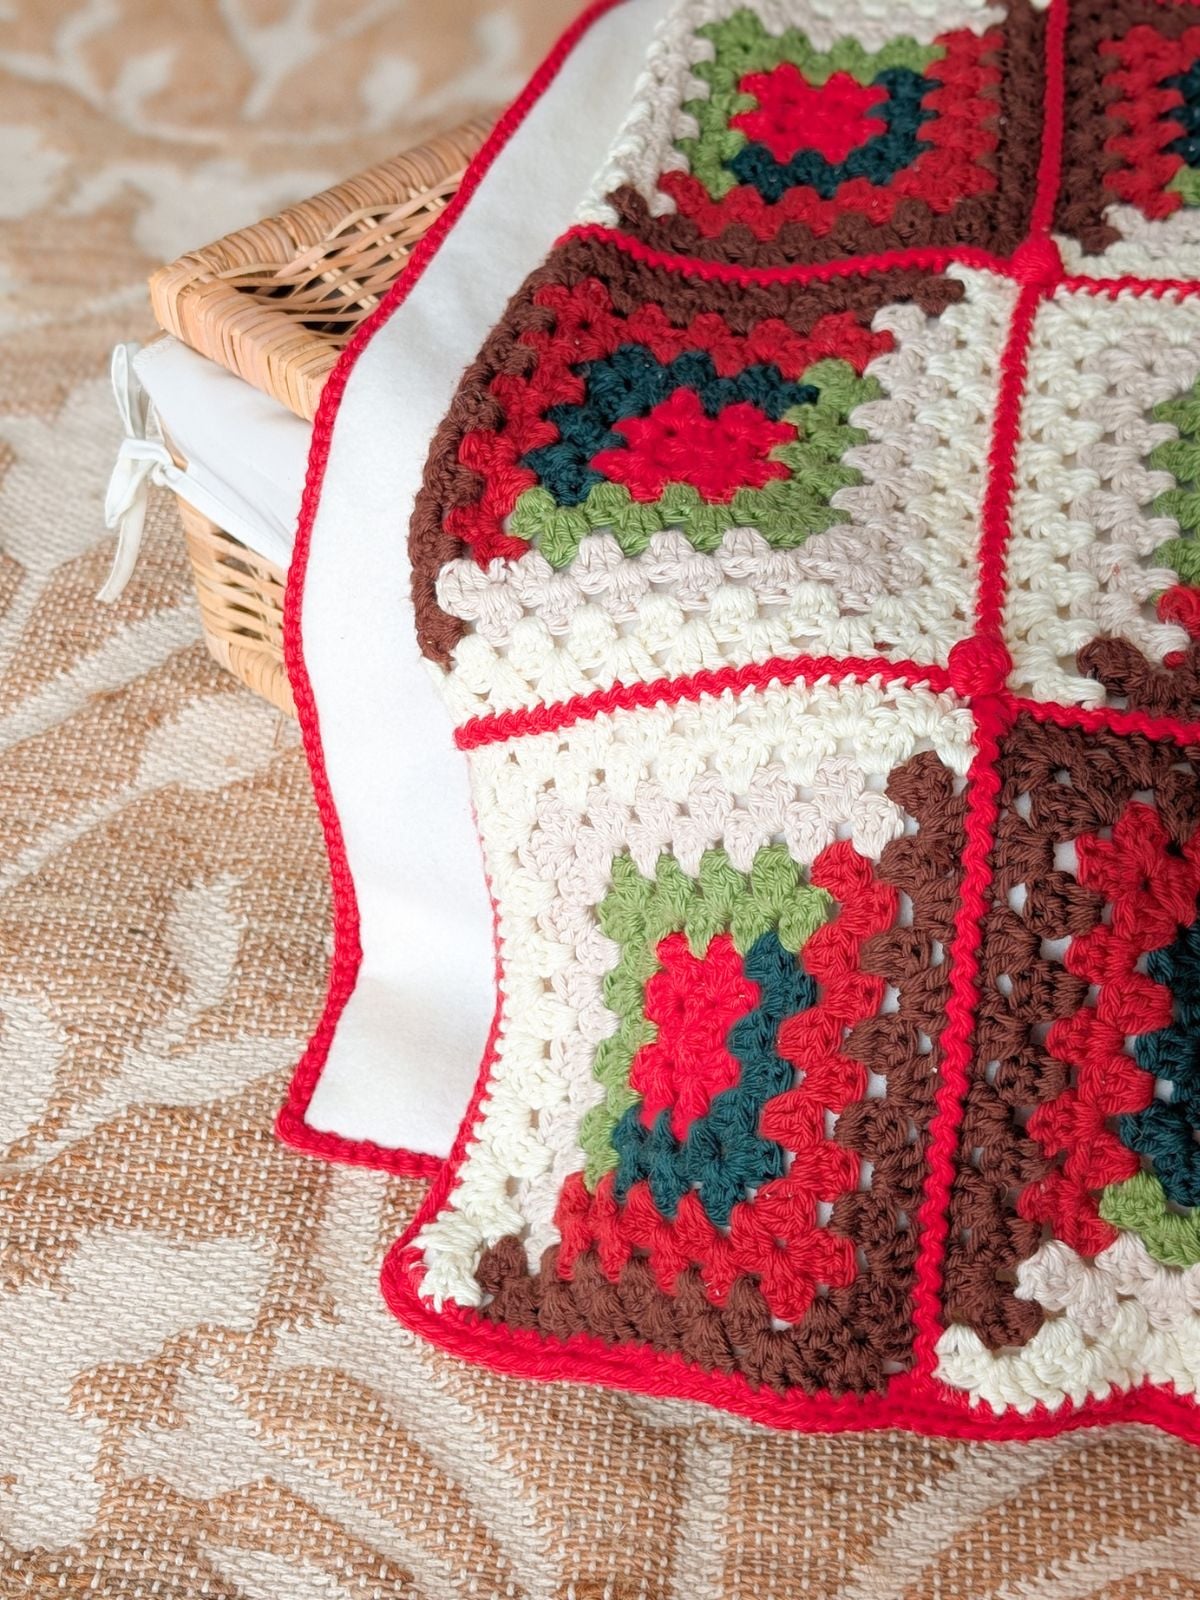
For this blanket, I used 7 different colors of Hobby Lobby’s I Love This Cotton yarn. It’s a soft, worsted weight cotton yarn that works up beautifully and is really easy to crochet with.
I especially like it for this pattern because it comes in a wide range of colors, which makes it perfect for creating that log cabin look. I also love using cotton yarns for blankets. How about you?
That said, you can absolutely use any worsted weight yarn you prefer, or even switch to a different fiber if that’s what you have on hand. Just be sure to make a gauge swatch before you get started.
Alright, let's start making this blanket. Down below, you'll find the material list + pattern.
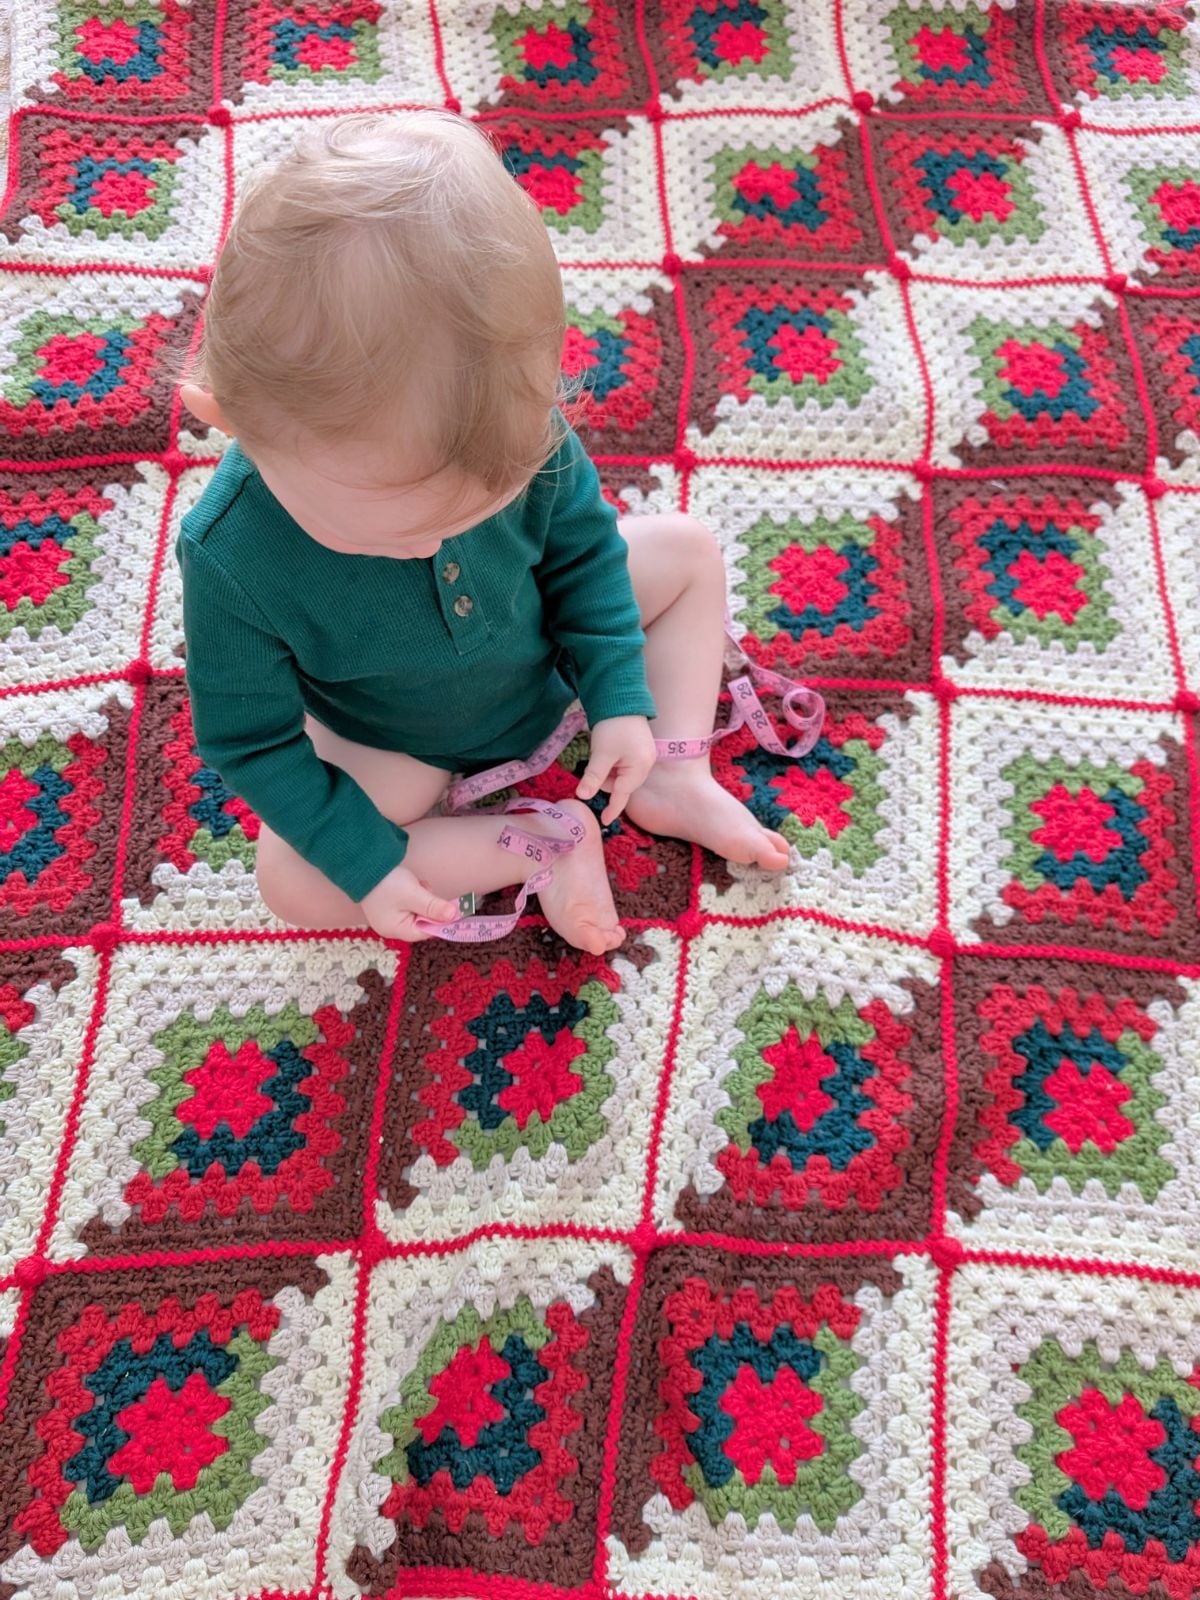
Add the Log Cabin Crochet Christmas Blanket Pattern to your Ravelry queue here.
Purchase a PDF copy (ad free) of the Log Cabin Crochet Christmas Blanket Pattern here.
Log Cabin Crochet Christmas Blanket Pattern
Materials:
- Hobby Lobby I Love This Cotton Yarn (Weight 4 / 3.5 oz, 180 yds per skein) in 7 colors. You will need: Red: 3 skeins, Sage: 2 skeins, Forest: 2 skeins, Burnt Red: 3 skeins, Parchment: 3 skeins, Brown: 4 skeins, Ivory: 4 skeins.
- Size 4.00 (G) mm Crochet Hook.
- Darning Needle.
- Scissors.
Gauge:
1 granny square measures approximately 8 ¼" inch x 8 ¼" inch.
Abbreviations:
- ch – chain: Yarn over, pull through loop on hook.
- sc – single crochet: Insert hook into stitch, yarn over and pull through, yarn over and pull through last two loops on hook.
- dc – double crochet: Yarn over, insert hook into stitch and pull through, yarn over and pull through first two loops on hook, yarn over and pull through last two loops on hook.
- sl st - slip stitch: Insert hook into stitch, yarn over, pull through stitch and loop on hook.
- ch sp - chain space.
- corner sp - corner space.
- rep - repeat.
- sts - stitch.
Special Stitch:
3dc-cl – 3 Double Crochet Cluster: Yarn over, insert hook into the indicated ch, yarn over and pull up a loop. Yarn over and pull through 2 loops. (2 loops remain on hook.)
Yarn over, insert hook into the same ch, yarn over and pull up a loop. Yarn over and pull through 2 loops. (3 loops remain on hook.)
Yarn over, insert hook into the same ch once more, yarn over and pull up a loop. Yarn over and pull through 2 loops. (4 loops remain on hook.)
Yarn over and pull through all 4 loops on hook to complete the cluster.
Blanket Size:
48" inch x 56 " inch.
Pattern Notes:
- Pattern written in U.S Terms.
- You will need 42 granny squares to make this crochet blanket.
- Pattern notes when to switch colors when making each granny square. Color A - Red, Color B - Sage, Color C - Forest, Color D - Burnt Red, Color E - Parchment, Color F - Brown, Color G - Ivory .
- Pattern includes a graph. The graph shows how to place each granny square. Instructions for graph are given within the pattern.
- The granny squares are made individually and then seamed together to form the blanket. The zig zag slip stitch seam is used throughout this pattern. Click this link for a video tutorial on how to work the zig zag slip stitch seam. Alternatively, you may use your preferred seaming method.
- The granny squares are seamed together using Color A (Red). The border is also worked in Color A. You may substitute another color if preferred; you will have enough yarn remaining from the granny squares.
- The mini bobbles are made separately and attached to the center of each square with a knot. They are made using the same color as the seaming and border.
- A single crochet border is worked around the entire blanket. Instructions are provided at the end of the pattern.
- An optional fleece lining can be hand-sewn to the back of the finished blanket.
Make 42 granny squares.
Start with a magic circle (Alternatively, ch 5 and join with a sl st to the first ch to form a loop.)
Row 1: Using color A, ch 3 (counts as first dc and throughout), 2 dc in circle, (ch 3, 3 dc in circle) 3 times, ch 3, join with a sl st to top of 3rd ch at the beginning of the round.
Turn and continue on with color A for one more round.
Row 2: ch 3 (counts as first dc), (2 dc, ch 3, 3 dc) in same 3 ch sp, *ch 1, (3 dc, ch 3, 3 dc) in next 3 ch sp; rep from *twice more, ch 1, join with a sl st to top of 3rd ch at the beginning of the round.
Fasten off. Now you will work with color B and color C.
Row 3: Using color B, join yarn with a sl st to corner sp, ch 3, and work 2 dc. ch 1, 3 dc in next 1 ch sp. ch 1, (3 dc, ch 3, 3 dc) in next corner sp. ch 1, 3 dc in next 1 ch sp. ch 1, and make 3 dc in corner sp. Switch to color C, ch 3, and make 3 dc in corner sp.
Now you're going to finish the round in color C. Continue by working a ch 1, 3 dc in next 1 ch sp. ch 1, (3 dc, ch 3, 3 dc) in next corner sp. ch 1, 3 dc in next 1 ch sp. ch 1, and make 3 dc in corner sp. ch 3, and join with a sl st to top of 3rd ch at the beginning of the round.
Turn and continue on with color C.
Row 4: Make a sl st in corner sp, ch 3, and work 2 dc in corner sp. *ch 1, 3 dc in next 1 ch sp; rep from *1 more time. ch 1, (3 dc, ch 3, 3 dc) in next corner sp. *ch 1, 3 dc in next 1 ch sp; rep from *1 more time. ch 1, and make 3 dc in corner sp. Switch back to color B, ch 3, and make 3 dc in corner sp.
Then *ch 1, 3 dc in next 1 ch sp; rep from *1 more time. ch 1, (3 dc, ch 3, 3 dc) in next corner sp. *ch 1, 3 dc in next 1 ch sp; rep from *1 more time. ch 1, and make 3 dc in corner sp. ch 3, and join with a sl st to top of 3rd ch at the beginning of the round.
Fasten off. Now you will work with color D and color E.
Row 5: Using color D, join yarn with a sl st to corner sp, ch 3, and work 2 dc. *ch 1, 3 dc in next 1 ch sp; rep from * 2 more times. ch 1, (3 dc, ch 3, 3 dc) in next corner sp. *ch 1, 3 dc in next 1 ch sp; rep from * 2 more times. ch 1, and make 3 dc in corner sp. Switch to color E, ch 3, and make 3 dc in corner sp.
Now you're going to finish the round in color E. Continue by working a *ch 1, 3 dc in next 1 ch sp; rep from * 2 more times. ch 1, (3 dc, ch 3, 3 dc) in next corner sp. *ch 1, 3 dc in next 1 ch sp; rep from * 2 more times. ch 1, and make 3 dc in corner space. ch 3, and join with a sl st to top of 3rd ch at the beginning of the round.
Turn and continue on with color E.
Row 6: Make a sl st in corner sp, ch 3, and work 2 dc in corner sp. *ch 1, 3 dc in next 1 ch sp; rep from * 3 more times. ch 1, (3 dc, ch 3, 3 dc) in next corner sp. *ch 1, 3 dc in next 1 ch sp; rep from *3 more times. ch 1, and make 3 dc in corner space. Switch back to color D, ch 3, and make 3 dc in corner sp.
Then *ch 1, 3 dc in next 1 ch sp; rep from *3 more times. ch 1, (3 dc, ch 3, 3 dc) in next corner sp. *ch 1, 3 dc in next 1 ch sp; rep from *3 more times. ch 1, and make 3 dc in corner space. ch 3, and join with a sl st to top of 3rd ch at the beginning of the round.
Fasten off. Now you will work with color F and color G.
Row 7: Using color F, join yarn with a sl st to corner sp, ch 3, and work 2 dc. *ch 1, 3 dc in next 1 ch sp; rep from *4 more times. ch 1, (3 dc, ch 3, 3 dc) in next corner sp. *ch 1, 3 dc in next 1 ch sp; rep from *4 more times. ch 1, and make 3 dc in corner space. Switch to color G, ch 3, and make 3 dc in corner sp.
Now you're going to finish the round in color G. Continue by working a *ch 1, 3 dc in next 1 ch sp; rep from *4 more times. ch 1, (3 dc, ch 3, 3 dc) in next corner sp. *ch 1, 3 dc in next 1 ch sp; rep from *4 more times. ch 1, and make 3 dc in corner sp. ch 3, and join with a sl st to top of 3rd ch at the beginning of the round.
Turn and continue on with color G.
Row 8: Make a sl st in corner sp, ch 3, and work 2 dc in corner sp. *ch 1, 3 dc in next 1 ch sp; rep from *5 more times. ch 1, (3 dc, ch 3, 3 dc) in next corner sp. *ch 1, 3 dc in next 1 ch sp; rep from *5 more times. ch 1, and make 3 dc in corner sp. Switch back to color F, ch 3, and make 3 dc in corner sp.
Then *ch 1, 3 dc in next 1 ch sp; rep from *5 more times. ch 1, (3 dc, ch 3, 3 dc) in next corner sp. *ch 1, 3 dc in next 1 ch sp; rep from *5 more times. ch 1, and make 3 dc in corner sp. ch 3, and join with a sl st to top of 3rd ch at the beginning of the round.
Fasten off. You have now completed 1 granny square. Repeat the instructions above to make 41 more squares, for a total of 42 granny squares.
Placement of Granny Squares
Once all the granny squares have been made, it’s time to assemble and seam them together.
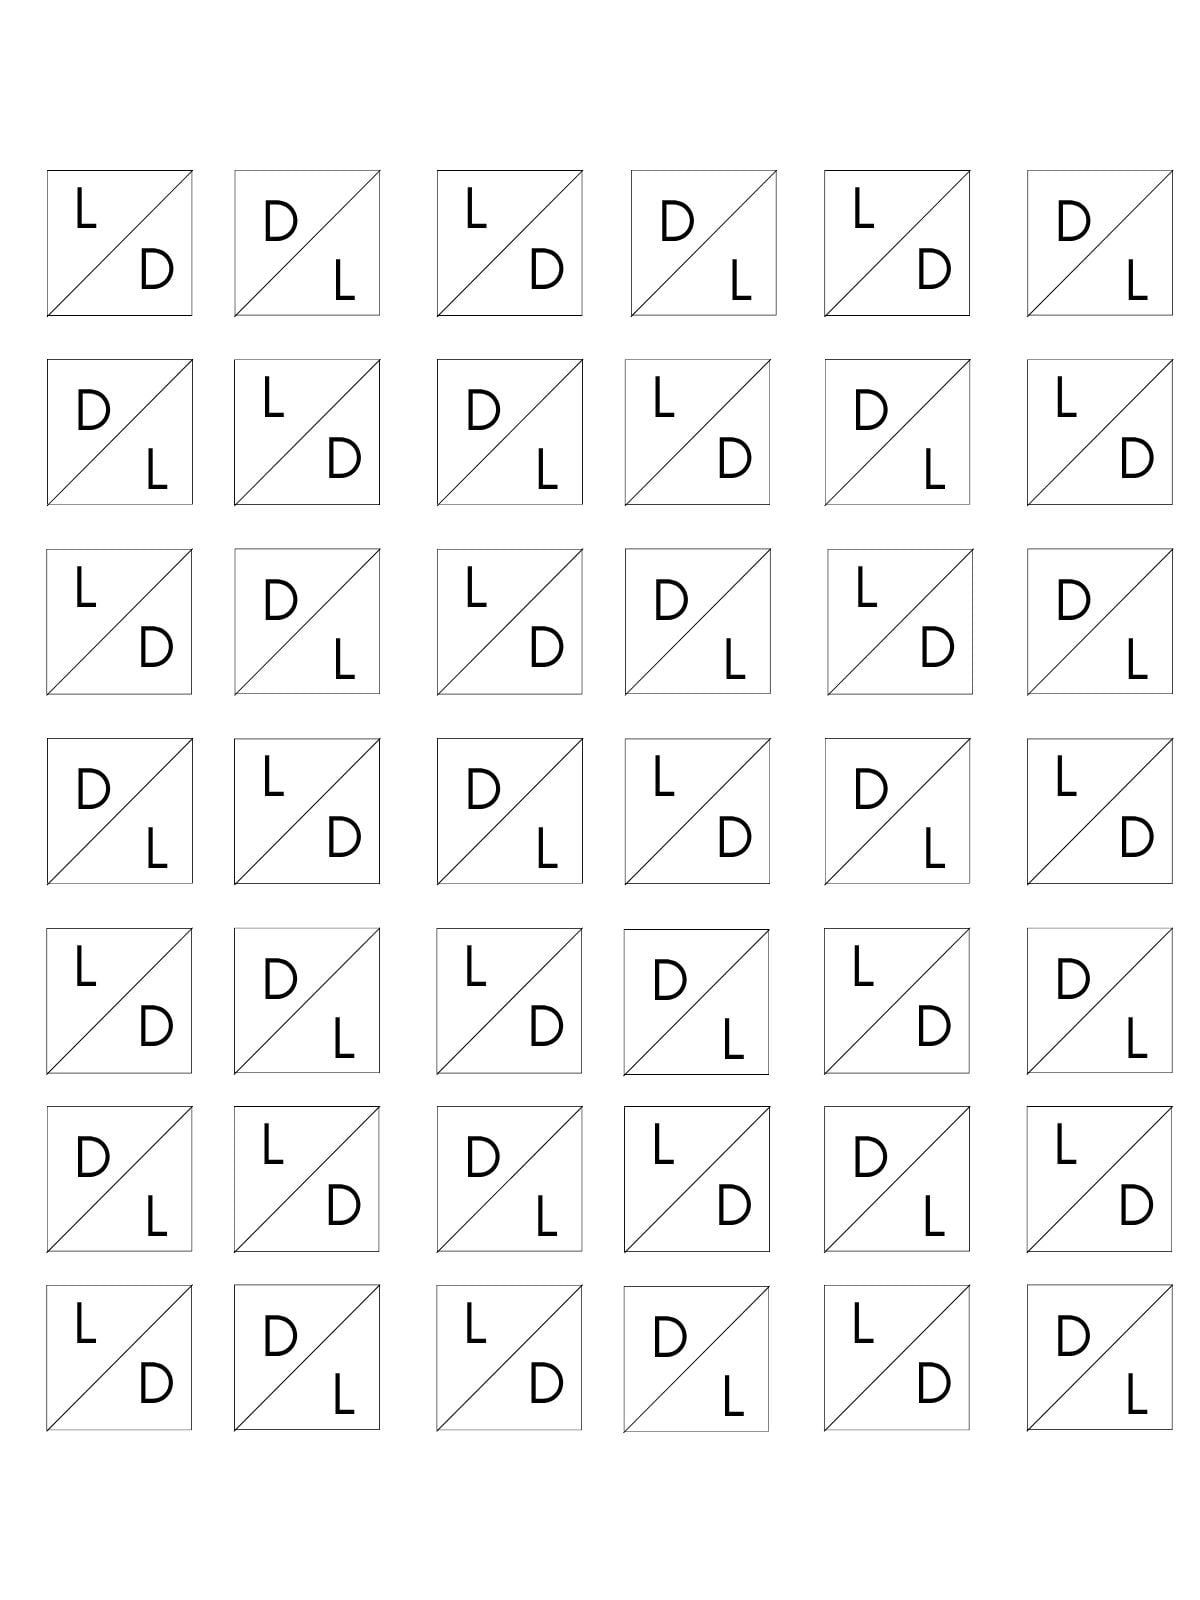
Use the graph below as a guide for arranging your granny squares before seaming them together.
Granny Square Placement:
- L = Light: Position the square with the light/white corner first, as shown in the graph.
- D = Dark: Position the square with the dark-colored corner first, as shown in the graph.
Arrange all 42 granny squares according to the graph before you begin seaming.
Graph
Seaming + Border
Once you have your granny squares in the correct order, it's time to seam each square together using the zig zag slip stitch method (notes section includes a link on how to seam using this technique).
Start by seaming 7 granny squares together from top to bottom to create one vertical strip. Repeat this process until you have 6 strips total.
Once all 6 strips are complete, seam the strips together along the sides to form your blanket.
Once all 42 squares have been seamed together, work a single crochet border around the blanket using Color A (Red) as follows:
Work 1 sc in each stitch along each side of the blanket and 2 sc in each corner stitch. Continue around the entire blanket and join at the end of the round.
Note: If you notice the corners starting to round, work an additional sc in each corner stitch.
Repeat one more round of single crochet around the blanket. Once both rounds are complete, fasten off and weave in any remaining ends.
Bobble Stitches
The last step of this pattern is to add a mini bobble stitch to the center of each square. Each bobble is made separately and secured to the square with a knot. You will need 30 mini bobble stitches total. Instructions for making the mini bobble stitch are provided below.
With hook (4.0 mm) and yarn color (A):
Step 1: Make a slip knot, leaving a 2-inch tail. Ch 6.
Step 2: Work a 3dc-cl in the third ch from the hook. (See Abbreviations for instructions on how to make a 3dc-cl.)
Step 3: Ch 1 to close the cluster, then ch 2.
Step 4: Work another 3dc-cl in the same ch where the first cluster was made. Ch 1 to close the cluster.
Step 5: Fold the second cluster over the first cluster to form the bobble. Sl st into the same ch where the first cluster was made, then ch 2.
Step 6: Tie a knot, leaving a 2-inch tail.
You have now completed your first mini bobble stitch. Repeat Steps 1–6 to make 29 more bobbles, for a total of 30 mini bobble stitches.
You're finished with your blanket!
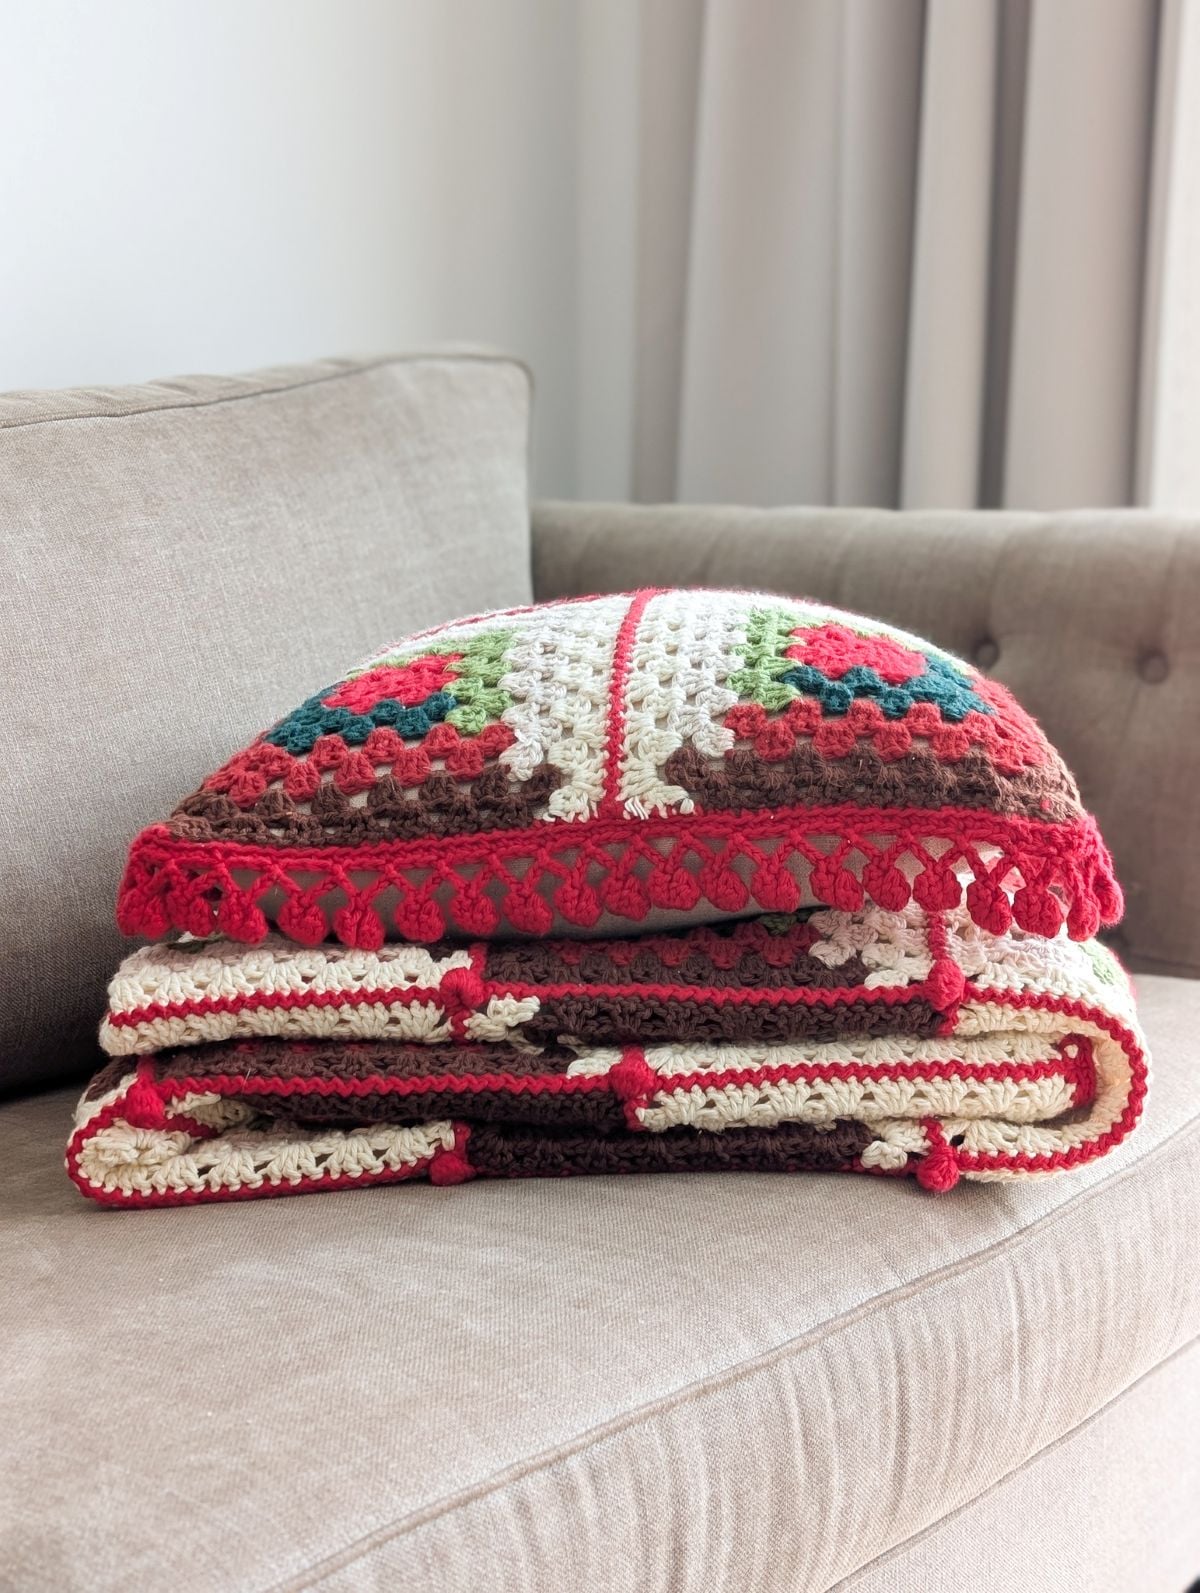
I hope you enjoyed making this pattern. If so, you can also make the matching Log Cabin Crochet Christmas Pillow using the same cozy granny square design! It’s a fun way to create a matching handmade set for your holiday home.
It’s wonderful but if there were video ot will be better
Thank you! There is a video tutorial coming soon. 😊