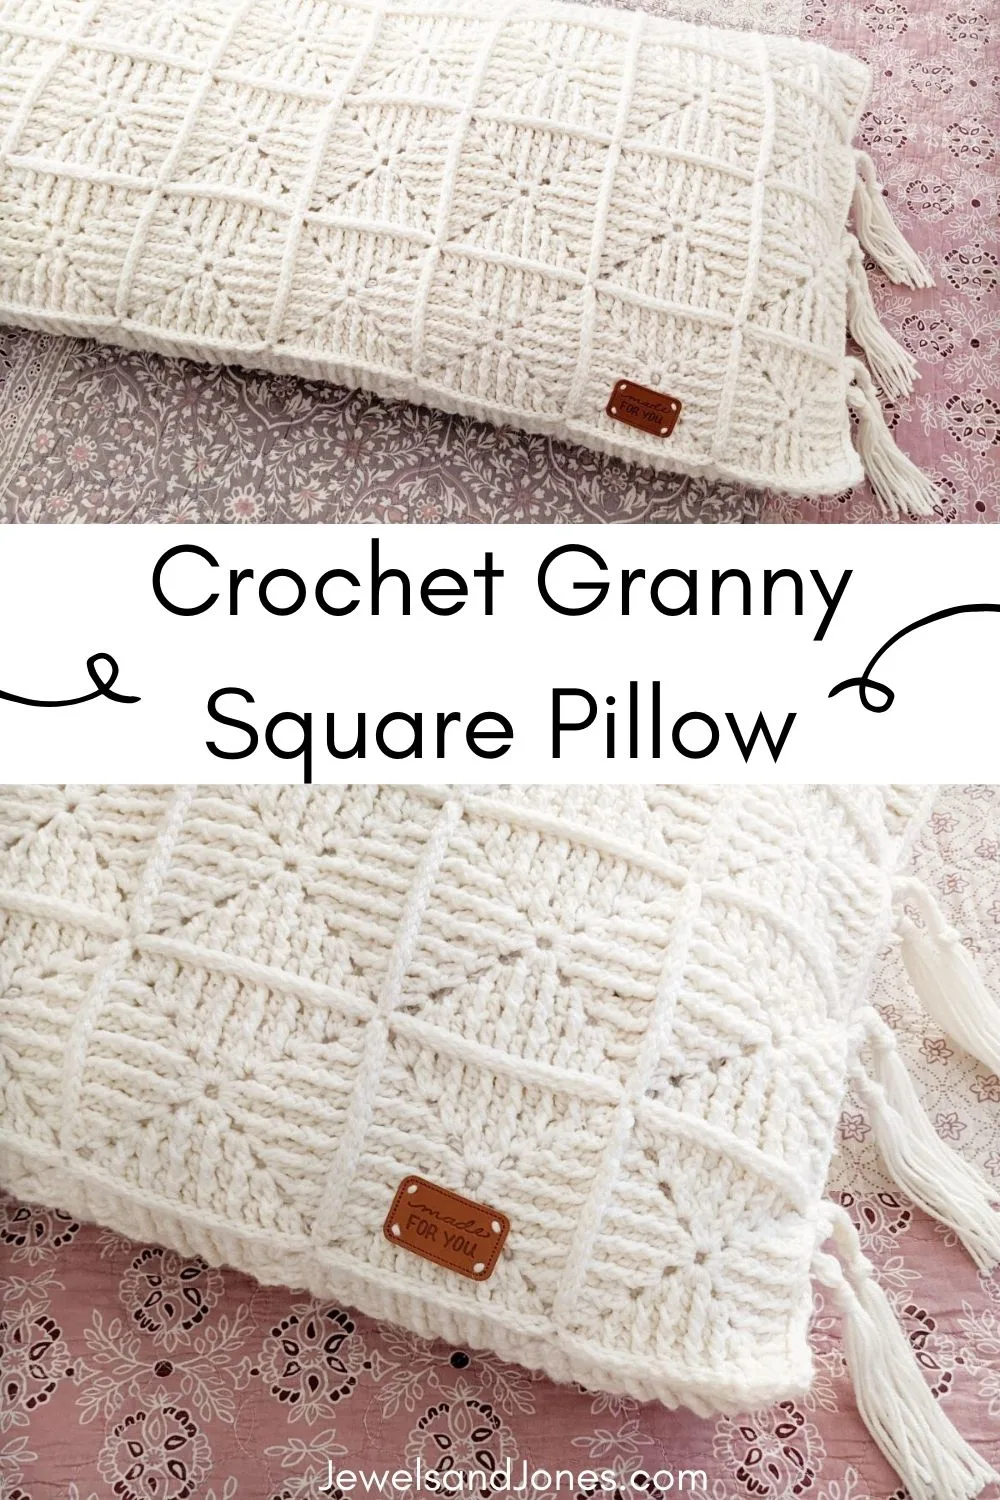
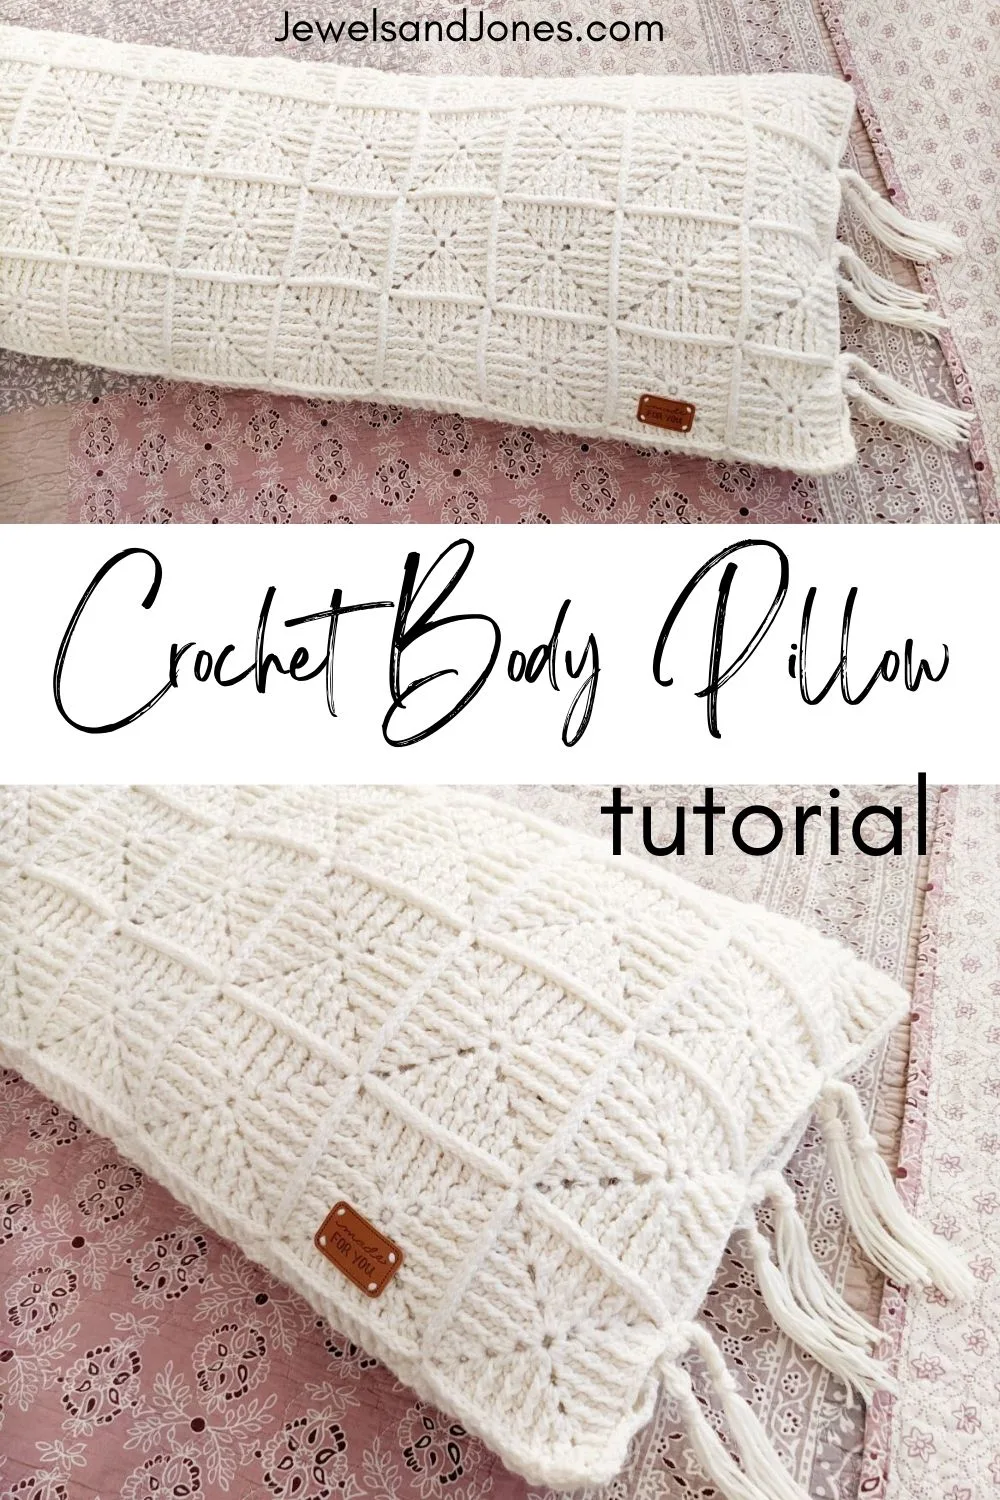
Learn how to make your very own body pillow with crochet granny squares! Do you have a lot of granny squares but don’t know what to do with them? No worries, I’ve got the perfect weekend project for you!
This cottage-inspired crochet pillow is made using only granny squares. Continue to read through for the inspiration behind this design, or scroll down for the tutorial.

Crochet Body Pillow
My latest design and free pattern on the blog is a cottage-inspired crochet body pillow. This crochet pillow pattern is great if you have lots of granny squares and want to make something else besides a granny square blanket.
I love making granny square blankets, but sometimes I like to switch it up and make something different with my granny squares. So in today’s tutorial, I’m going to show you how I turned my granny squares into a full-size body pillow.
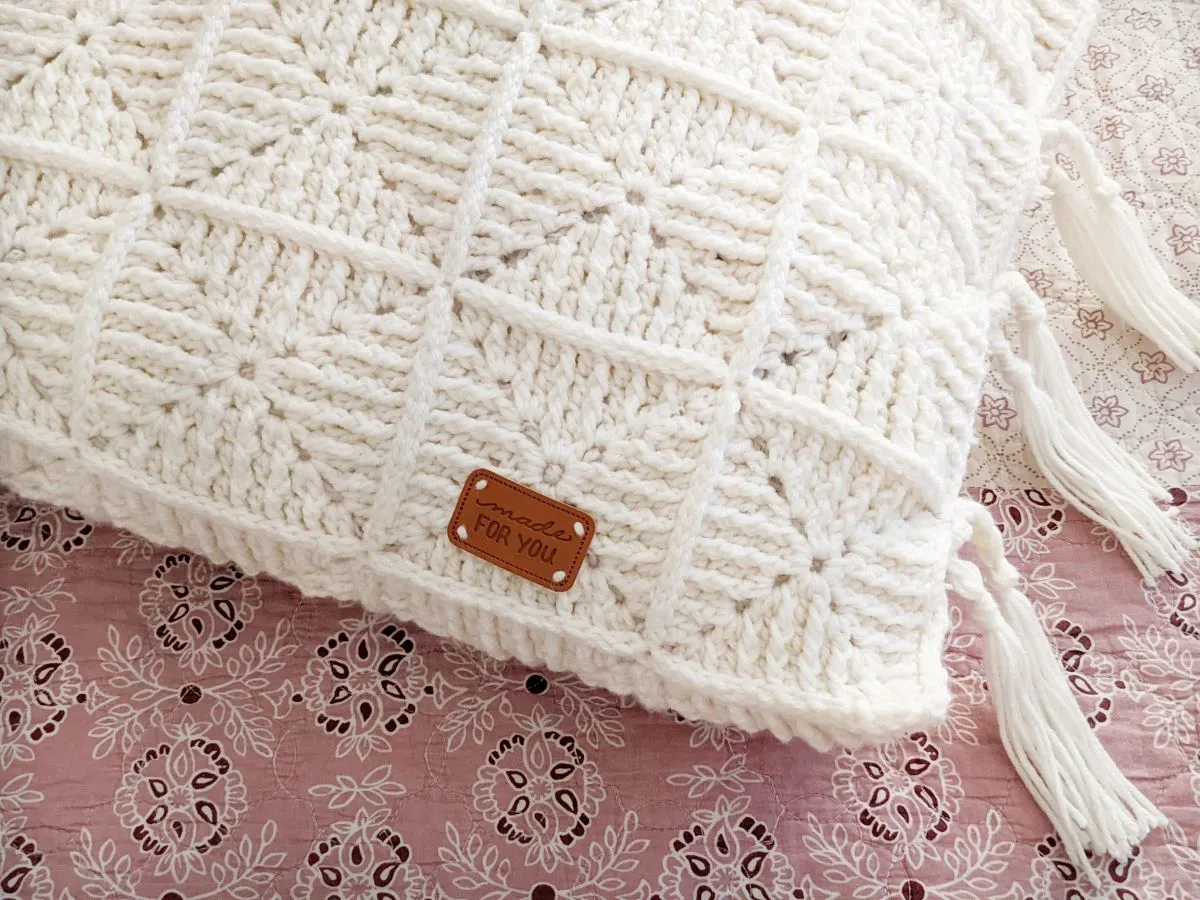
A pretty awesome pillow if I do say so myself! I’m so proud of how this turned out, so I can’t wait to show you how you can make one as well.
Customizable Granny Square Pillow
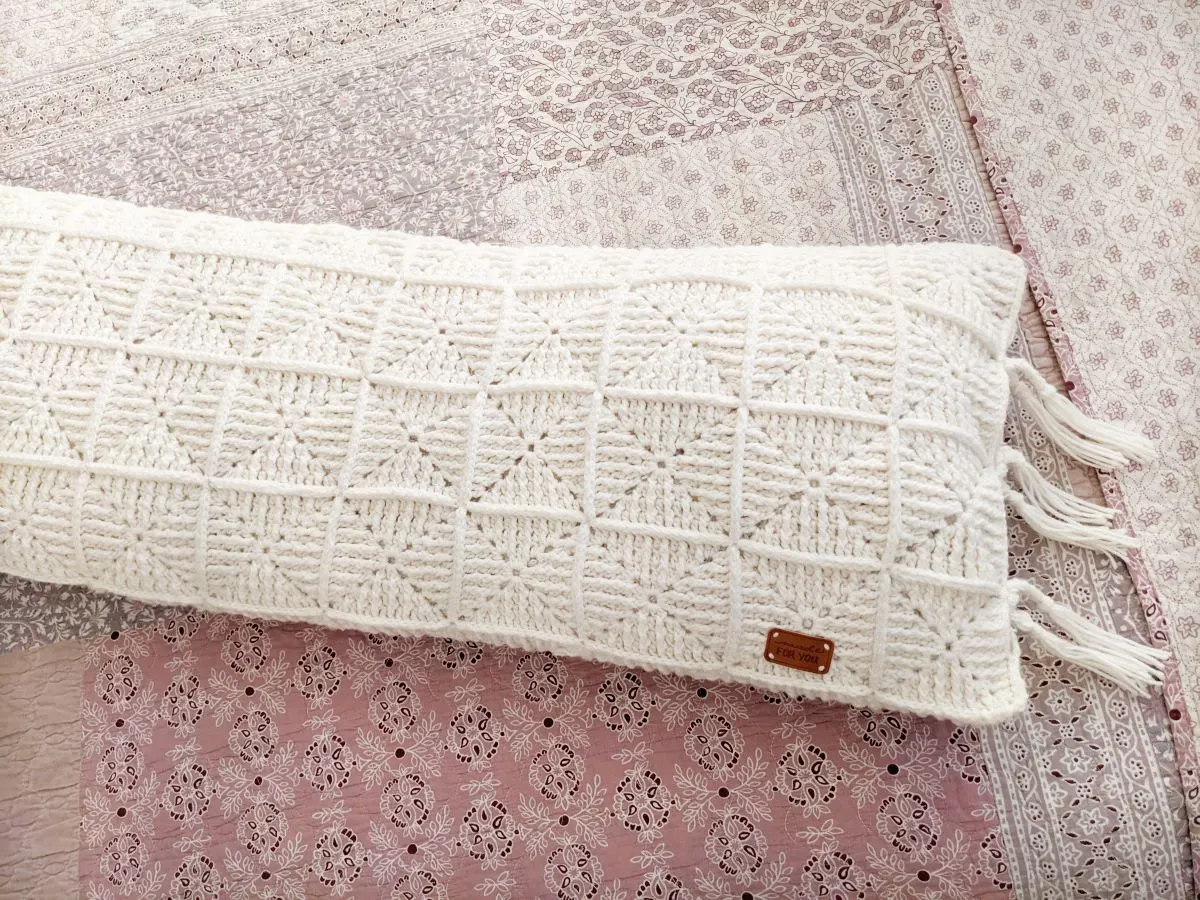
One thing that I love about this design is that it’s completely customizable based on how my squares you have. I happened to have a lot of granny squares (80 total) leftover from a project that I never finished, so I had quite a bit to work with.
But you can customize your pillow based on what size you want your pillow to be. For example, I seamed 40 granny squares together for the front panel and 40 for the back panel. I used the slip stitch method to seam my squares together and made knots on the side to close the pillow.
I really loved how it turned out, but if you don’t have that many squares, you can also make a front panel and sew it onto a fabric backing. It’s totally up to you!
Another idea is to make 8 medium size granny squares and sew 4 together for the front panel and 4 together for the back panel. What’s your idea?
Yarn Choice
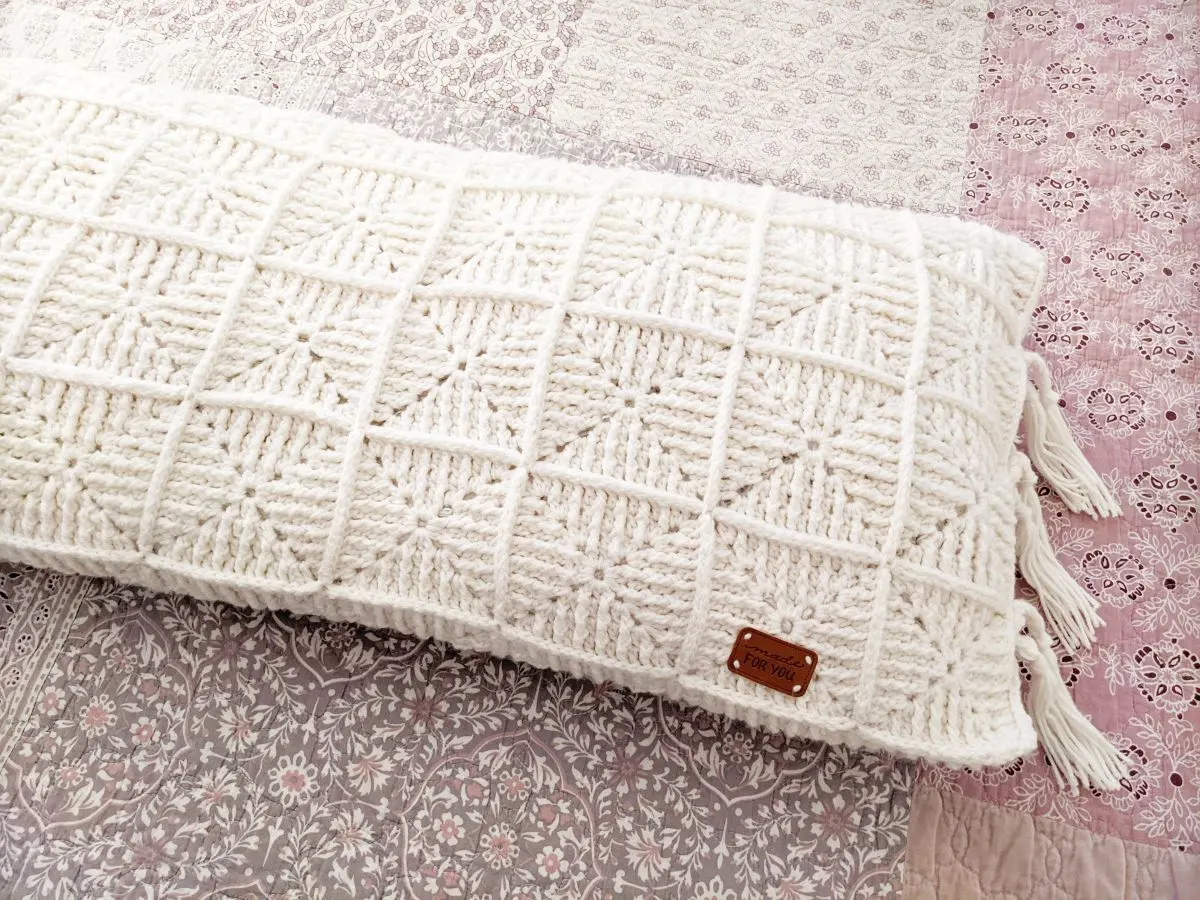
For this project, I chose to work with Hobby Lobby’s I Love This Yarn in the color Ivory. It’s a worsted weight acrylic yarn that’s really soft and works great for this project.
I really enjoyed working with this yarn, but any worsted weight yarn will work for this project. The beauty of this customizable crochet pillow is that you can pretty much use any type of yarn that you have in your stash.
I used about 3 balls of I Love This yarn and a 5.0 mm crochet hook. Some of my favorite colors in this line are Grey Mist and Sea Blue.
Other Free Crochet Pillow Patterns
PIN IT for later
Description:
Learn how to make your own crochet body pillow using granny squares. This easy beginner-friendly pillow project is perfect if you have tons of granny squares and want to make something besides a blanket.
This crochet pillow is also customizable depending on what size of pillow you want to make, as well as how many crochet granny squares you have available.
Materials:
- 4 skeins (I used a full 3 skeins and a 1/2 of 1 skein) of Hobby Lobby I Love This Yarn in the color Ivory (Weight 4/Worsted). A total of 1,420 yards or you can use another worsted weight yarn.
- 5.0 mm crochet hook
- 45” inches x 18” pillow
- Darning Needle
- Scissors
Pillow + Granny Square Size:
Pillow Size : 45” inches x 18” pillow
Granny Square Size: 5″ inches x 5″ inches
Pattern Notes:
- My granny squares are made using the classic front post double crochet stitch. Click here to see a step-by-step tutorial of how to make this crochet granny square.
- Squares are seamed together using the slip stitch method.
- Crochet body pillow tutorial is split into 3 parts.
- Templates are shown to help with assembling the pillow together.
Crochet Body Pillow Tutorial
Step 1: Crochet a Granny Square
You will need a total of 80 crochet granny squares for the body pillow. I made a 5 by 5 granny square using the tutorial listed in the pattern notes. This crochet granny square is made using the front post double crochet stitch.
Once you have finished all of your crochet granny squares and have worked in the ends, it’s time to seam them together.
Step 2: Assemble It Together
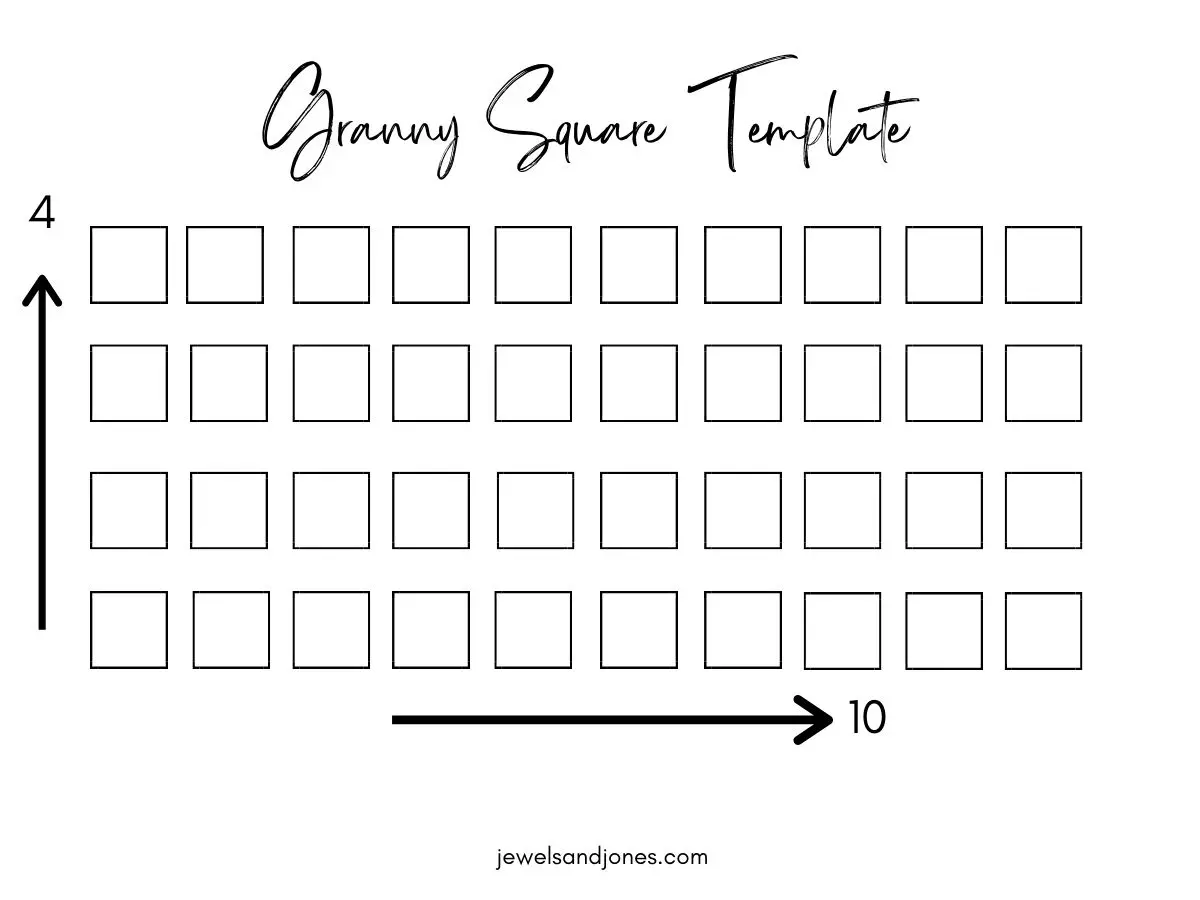
Once all your granny squares are made, it’s time to seam them together using the slip stitch method. First, you need to layout your granny squares in a 4 by 10 order. So lay 4 granny squares vertically and 10 granny squares horizontally.
You should have a total of 40 granny squares ( 40 for the front panel and 40 for the back panel). Now it’s time to seam them together.
Grabbing your crochet hook, insert your hook at the edge of two granny squares and slip stitch it together. Continue to slip stitch until the end of your granny square. Once you’re at the end, add another granny square.
Continue this method until all your granny squares are sewn together. Once you have all your granny squares sewn together, you need to sew the front + back panel together. Making sure to keep the sides open.
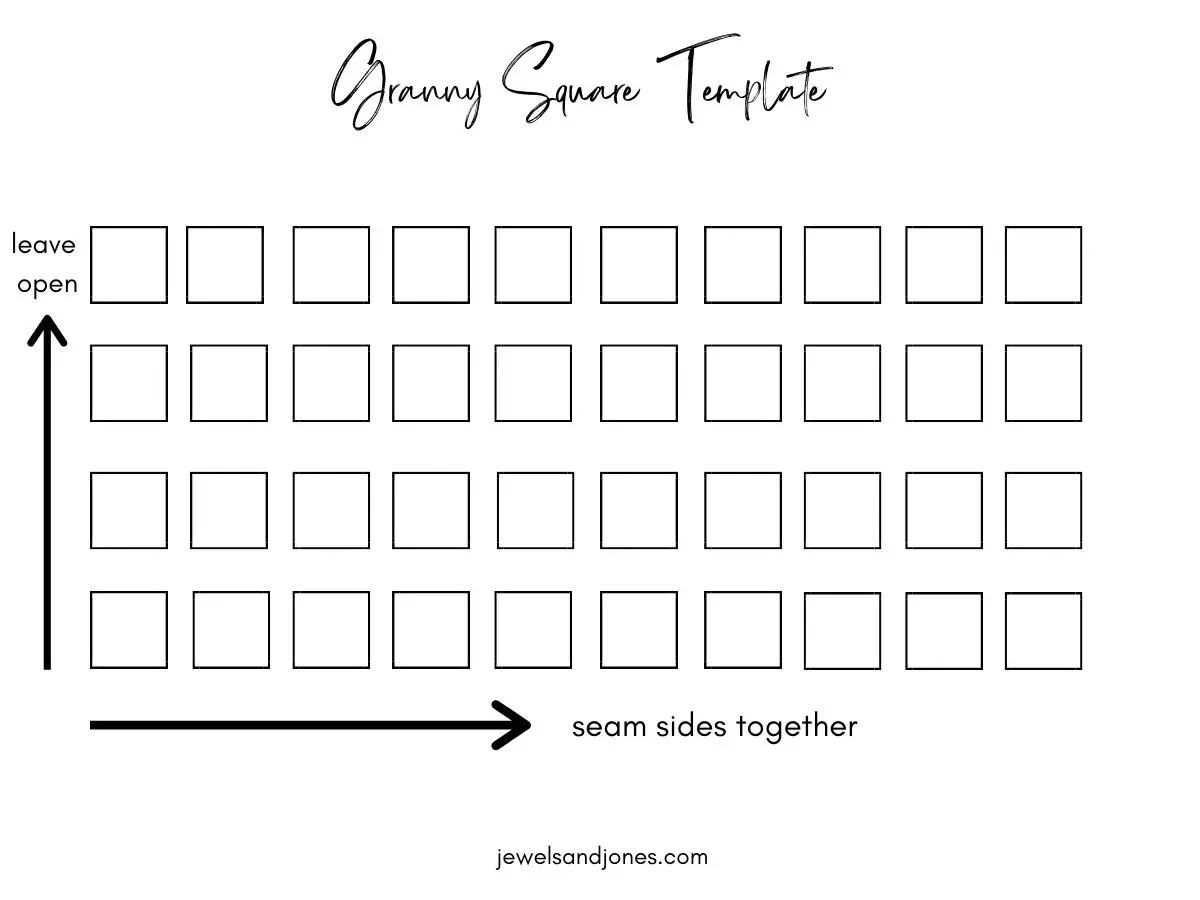
Finally, once you have the front + back panel sewn together, it’s time to add the fringe to the side of the pillow. You can also sew buttons on the side of the pillow or you can completely close it.
This part is really customizable and it all depends on what you want your pillow to look like.
Step 3: Adding Fringe
I chose to add fringe to the side of my pillow and then I closed the pillow by tying my fringe together.
I made my fringe by cutting a 12″ piece of yarn, folding it in half, and inserting it on the side of my pillow. You will need a total of 12, 6 for one side and 6 for the other side.
Voila, you’re done!
I hope you enjoyed this crochet body pillow tutorial and let me know in the comment section what type of granny square pillow you made. I would love to know!
