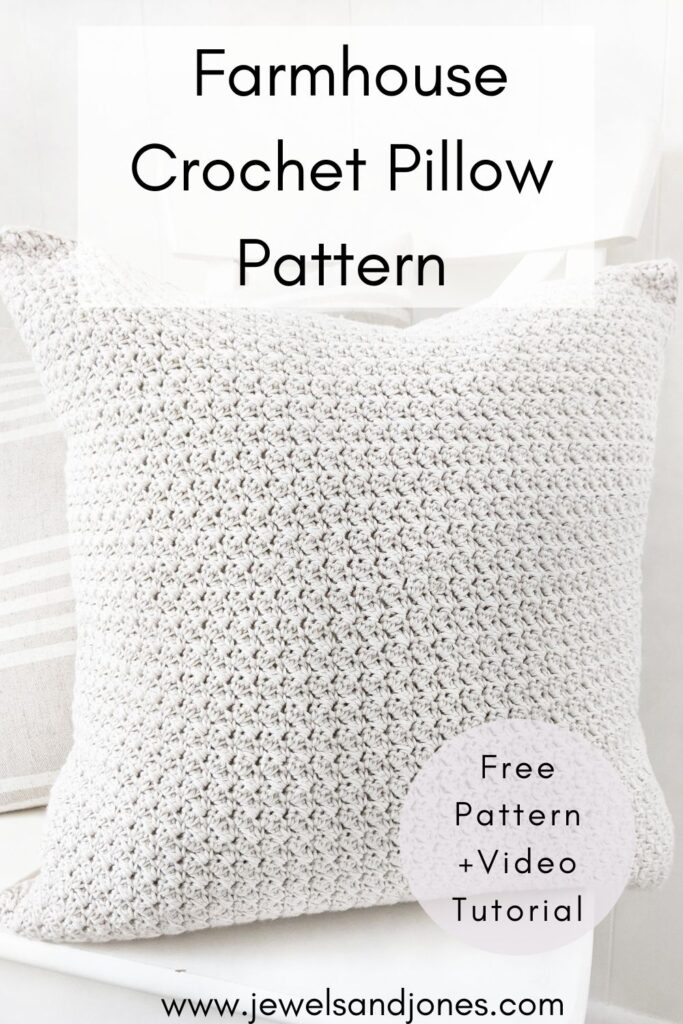
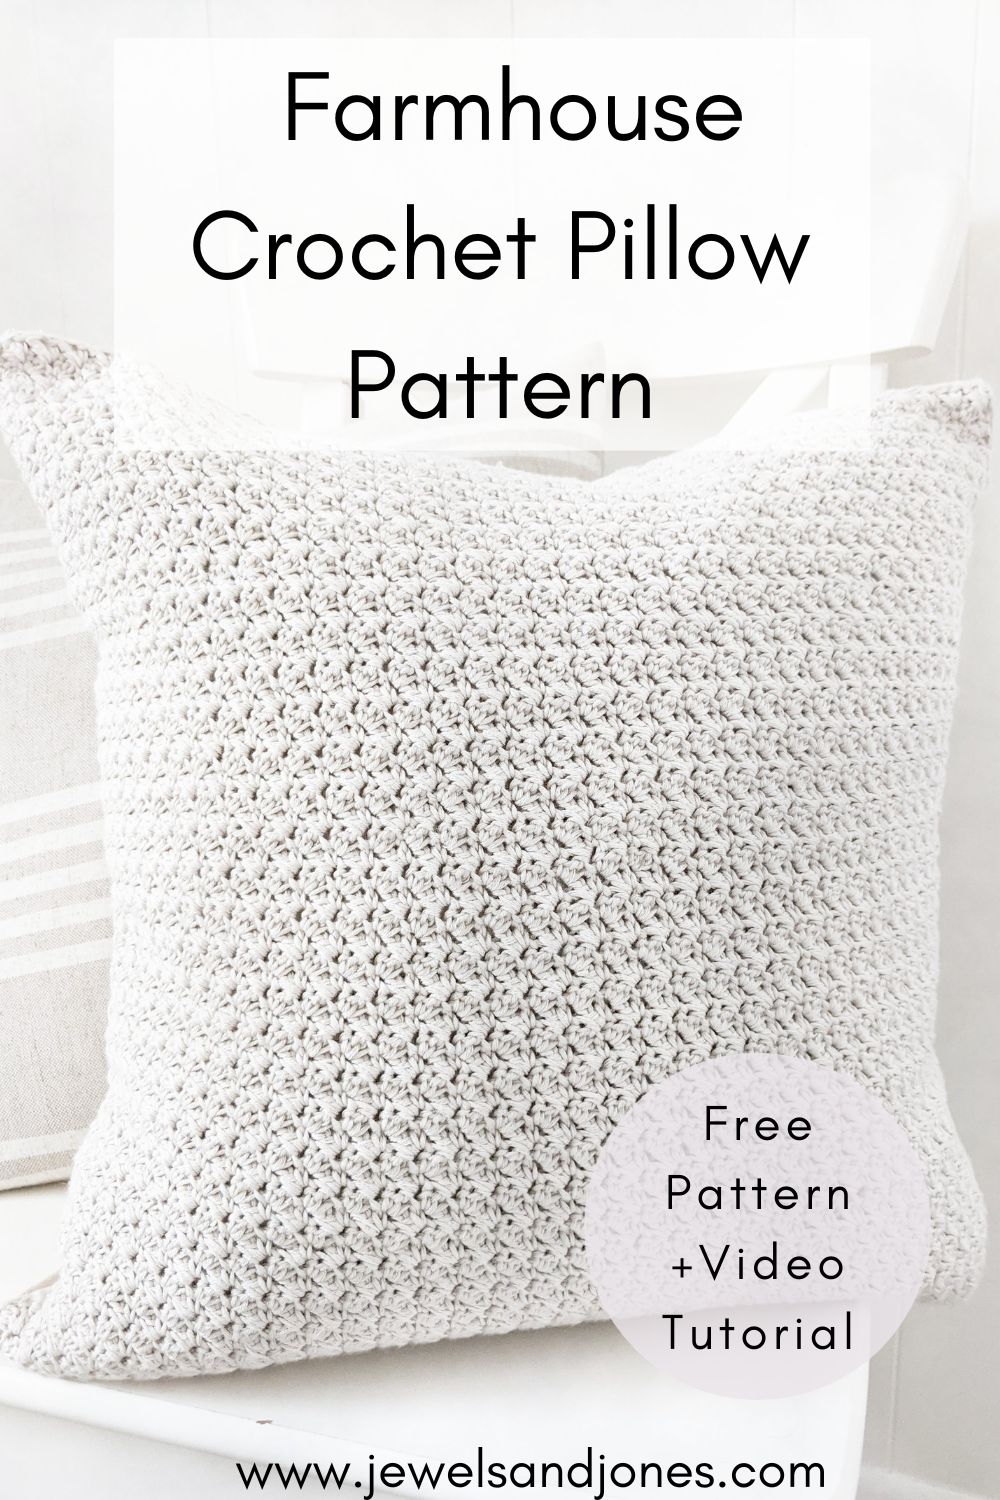
Bring a touch of rustic charm to your home with this easy, farmhouse style crochet pillow. This free pattern is made using a simple one-row repeat that uses basic crochet stitches.
It's a fun, beginner-friendly crochet pillow pattern that works up in just a few hours! If you're looking for a bulky-weight version then check out this chunky crochet pillow with pom-poms.
You can find the free crochet pattern + guided video tutorial by scrolling down or purchase an ad-free, printable PDF pattern here.
This post contains affiliate links, which means I make a small commission at no extra cost to you. See my full disclosure here.
Farmhouse Style Crochet Pillow Pattern
Every year, I love to refresh my home with new pillows and blankets. I love to pull all the old things out of storage, give it all good wash and incorporate them back in the house. I also love a good DIY project and am always thinking of new home decor pattern ideas.
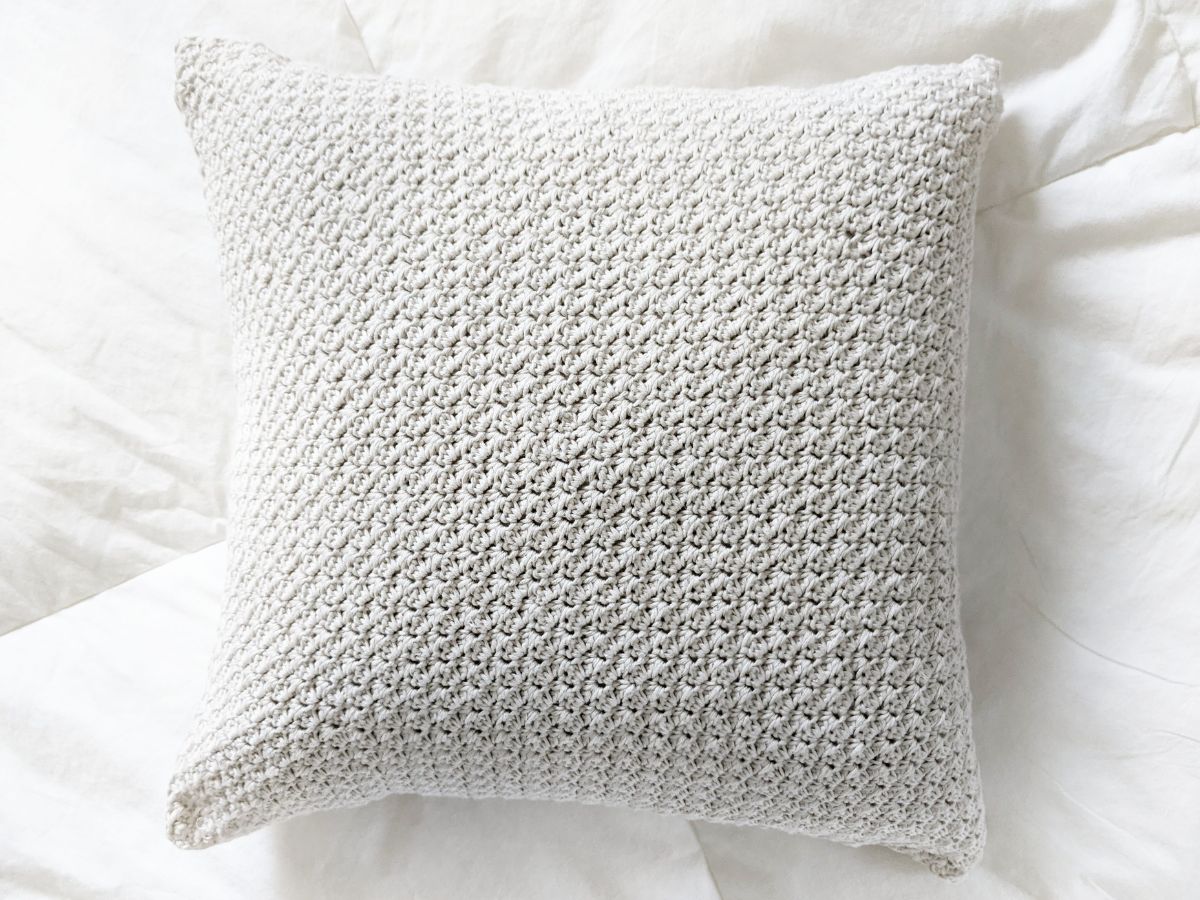
So today I'm excited to share with you my latest design, which is a farmhouse inspired crochet pillow. It's a beginner-friendly pattern that's made using just single crochet and double crochet.
And you may have already guessed it, but the stitch used is called the Suzette Stitch. I love using this stitch because there's so much texture!
Plus, I find it very meditative. So if you enjoy that too, I think you'll like working up this pattern. The best part is that you can customize and change to size to your liking.
You can also switch up the yarn, but more on that later. Let's talk real quick about how to customize and change the size of your pillow.
How to Customize + Make a Different Size Crochet Pillow?
What's great about this simple crochet pillow pattern is that you can customize and change the size easily. All you have to do to change the size is make a gauge swatch of the stitch pattern and measure how many chains you get per inch.
Then multiply that number by the length you want your pillow to be. Once you have that number figured out, you would then repeat the process to find the number of rows you need for your pillow. You also want to take into account the stitch multiple, which is 2.
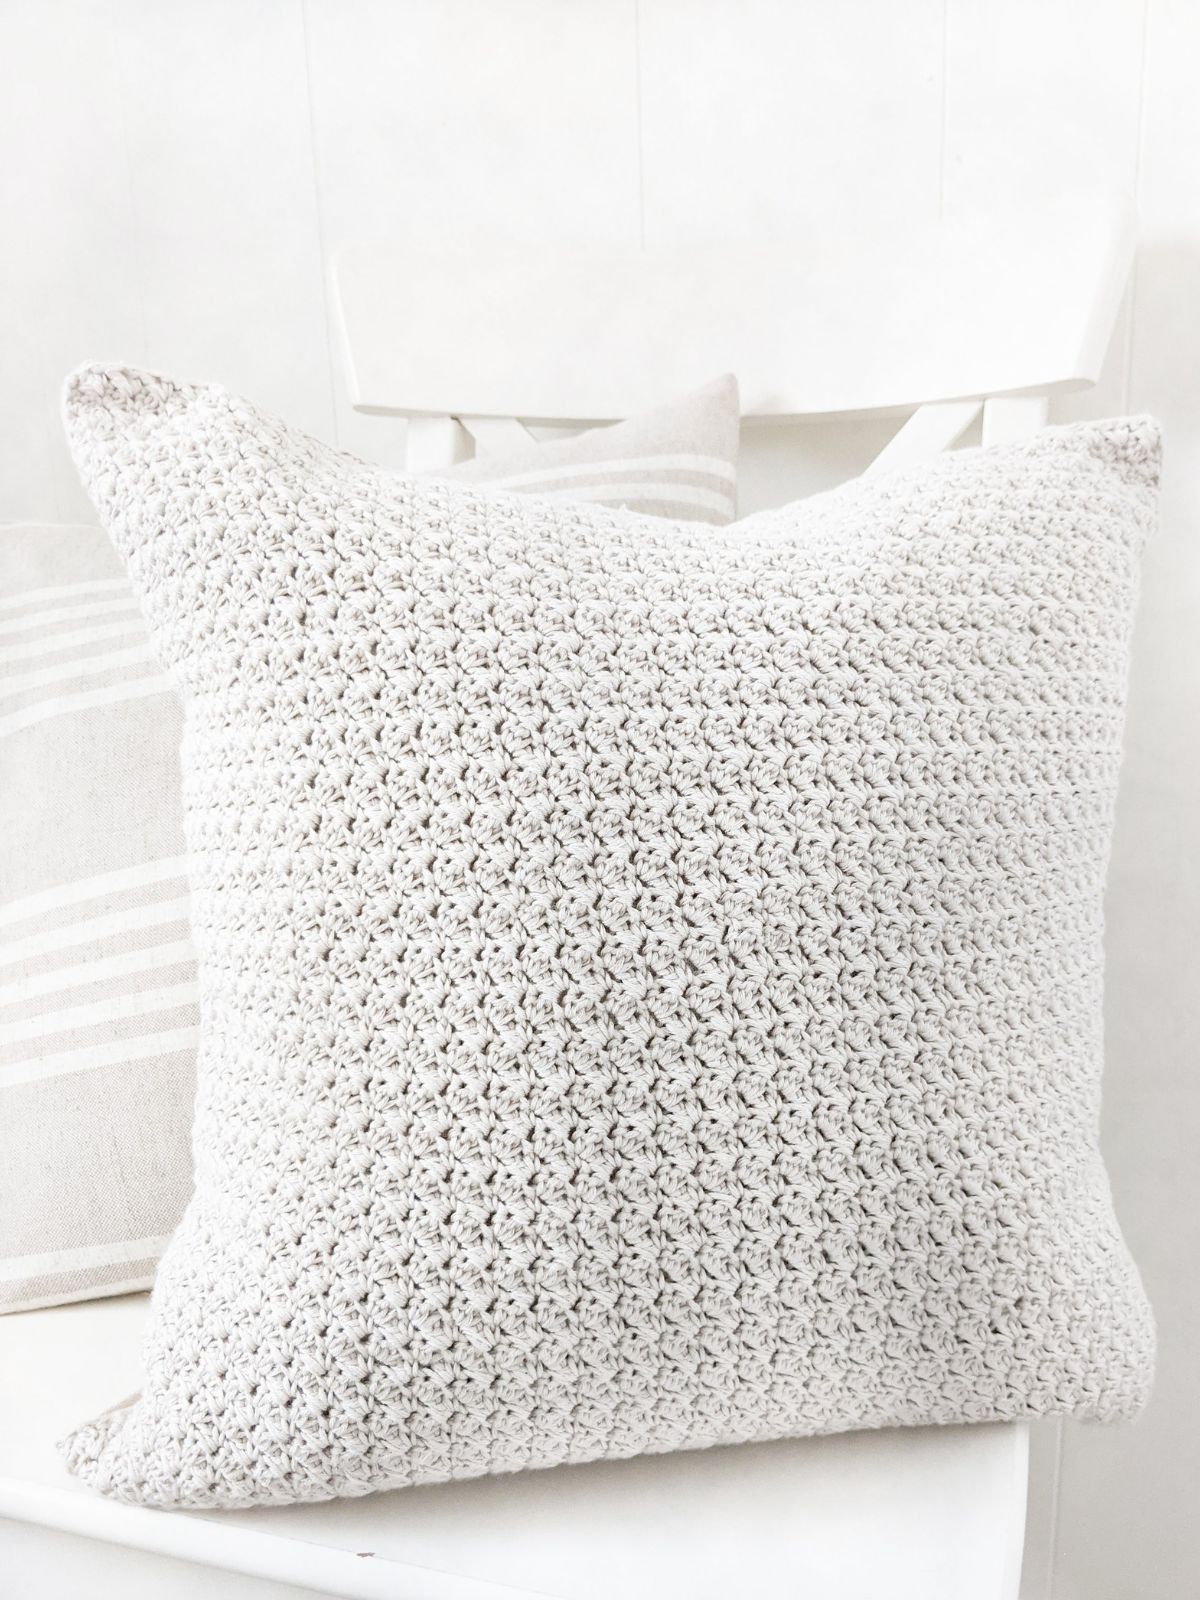
Furthermore, you can customize your pillow by making two crochet panels, instead of one. So in the pattern, it tells you to sew the crochet panel onto a pillow cover, but you can also sew two panels together.
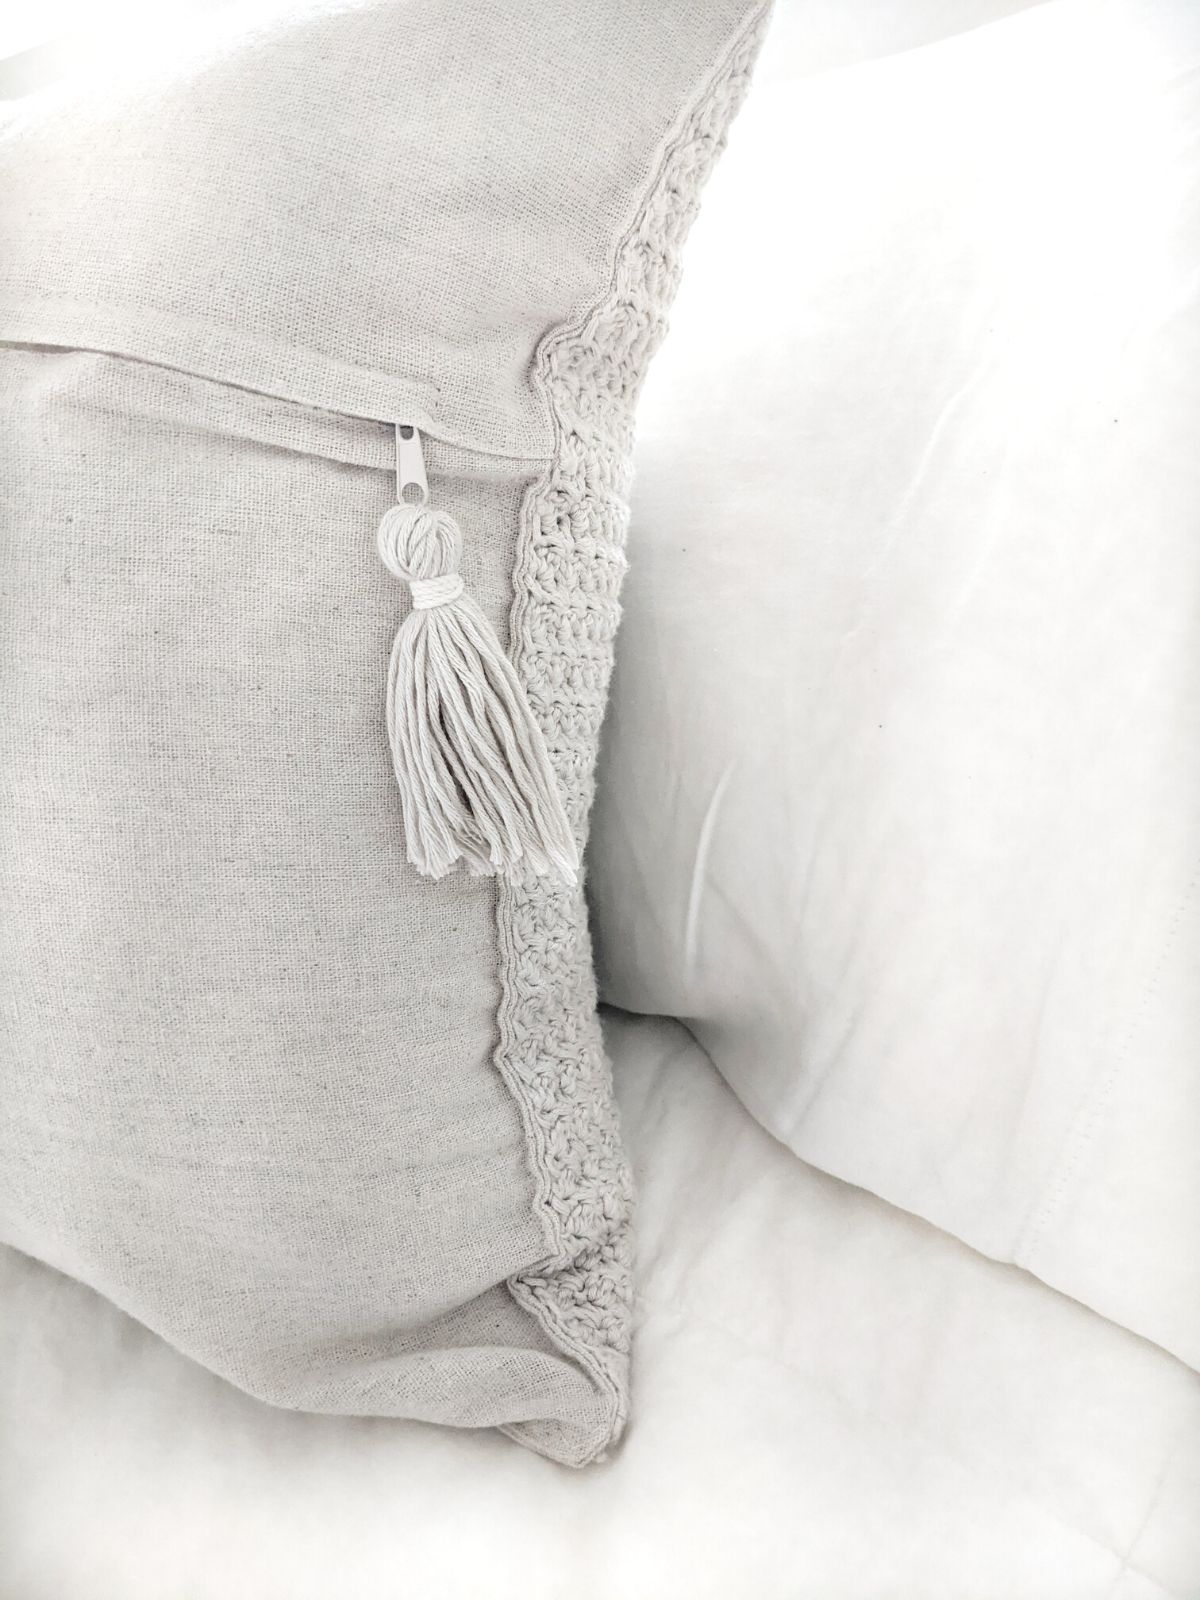
So you can really customize it to your liking! I ended up adding a cute tassel to mine as well.
The Yarn You'll Use for This Crochet Farmhouse Pillow
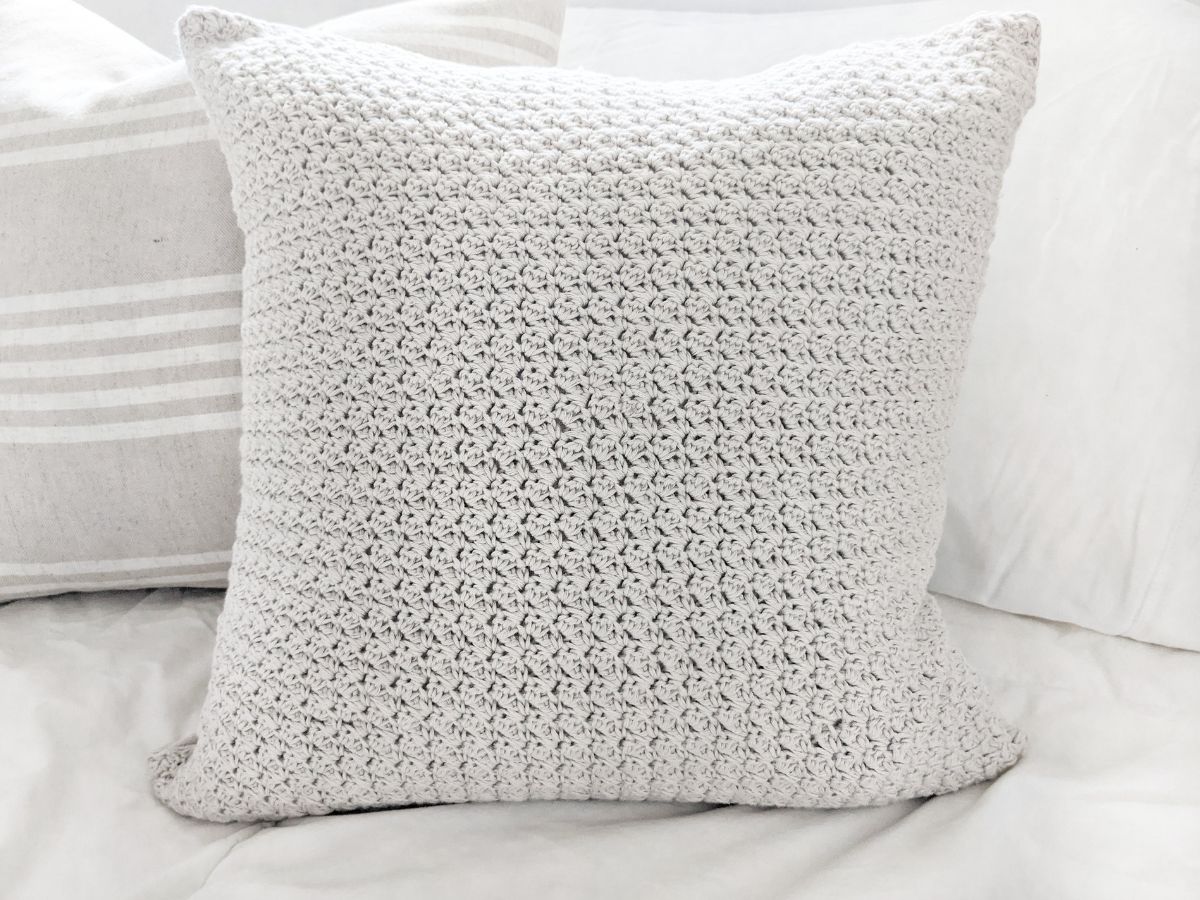
For this crochet pillow pattern, you will need 2 balls of Hobby Lobby's Yarn Bamboo-Tiful in the color Linen. It’s a lightweight category 3 yarn that’s made from cotton and bamboo.
I loved working with this yarn, and highly recommend it for this project. Another yarn that makes a great substitution for this pattern is Lion Brand Coboo yarn.
You can also change yarn weights and make a bulky weight version of this pattern, this is what I did for the chunky crochet pillow.
Alright, let's get started with our pattern.
Other Crochet Pillow Patterns You Might Like

Simple Farmhouse Style Crochet Pillow Pattern
Description:
Bring a touch of rustic charm to your home with this easy, farmhouse style crochet pillow. This free pattern is made using a simple one-row repeat that uses basic crochet stitches. It also includes a helpful step-by-step video tutorial.
Customize this pillow pattern by either sewing the crochet cover on a pillow cover or make 2 of the crochet panels and whipstitch them together.
Materials:
- 2 skeins of Hobby Lobby Yarn Bee Bamboo-Tiful in the color Linen (Weight 3 /4 oz, 257 yards), a total of 514 yards or another lightweight category 3 yarn. Yarn Substitution: Lion Brand Coboo Yarn.
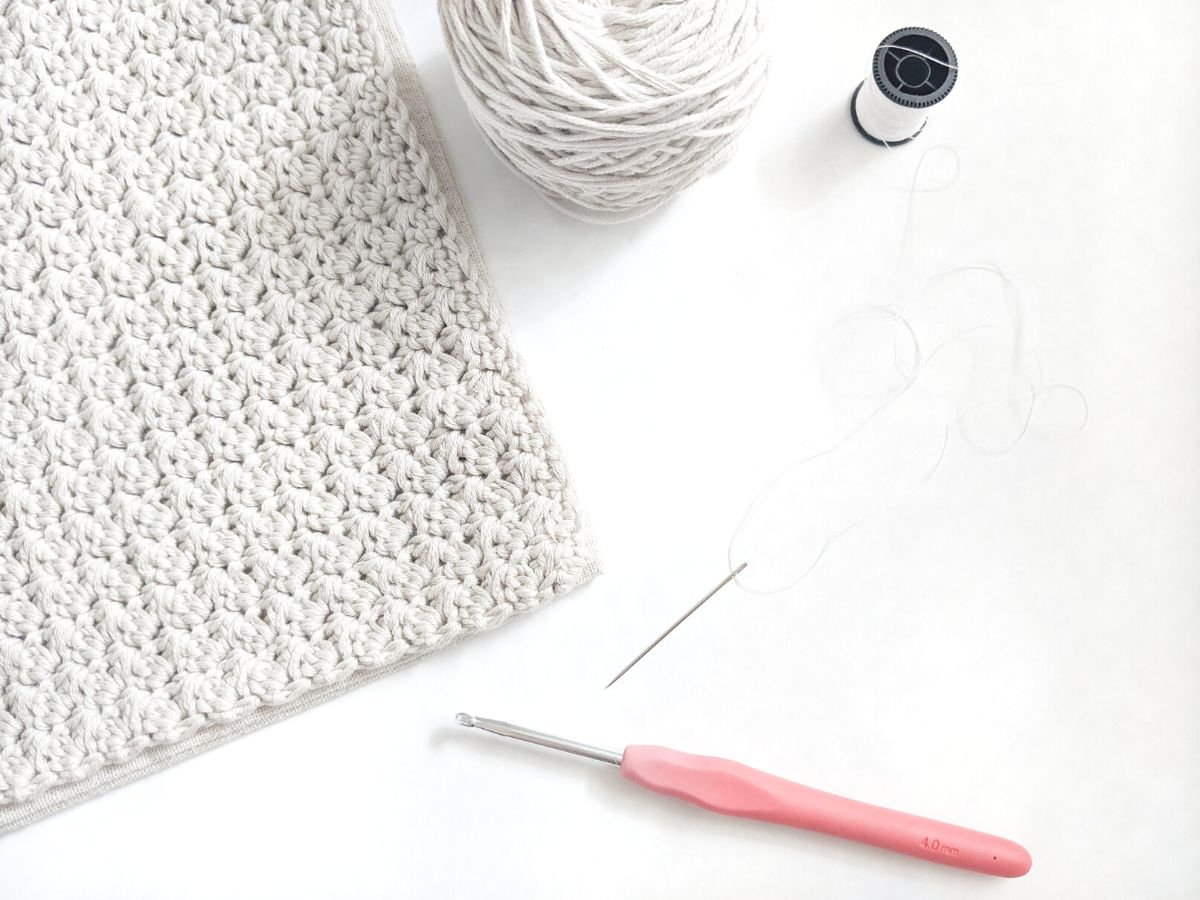
- 4.0 mm (F) Crochet Hook.
- 18" inch x 18" inch (45.72 cm x 45.72 cm) pillow cover. I purchased a basic Merchant 41 pillow cover from Hobby Lobby.
- Darning Needle.
- Needle + Thread.
- Scissors.
- Optional: Sewing Pins or these Handy Clips.
Gauge:
8 stitches x 16 rows = 4" inch square in Suzette Stitch.
note: a guided video tutorial for this stitch can be found the in the notes section of this pattern.
Abbreviations:
ch – chain: Yarn over, pull through loop on hook.
sc – single crochet: Insert hook into stitch, yarn over and pull through, yarn over and pull through last two loops on hook.
dc – double crochet: Yarn over, insert hook into stitch and pull through, yarn over and pull through first two loops on hook, yarn over and pull through last two loops on hook.
Size of Pillow:
18" inches x 18" inches.
Pattern Notes:
- Pattern written in U.S Terms.
- ch 1 does not count as a stitch.
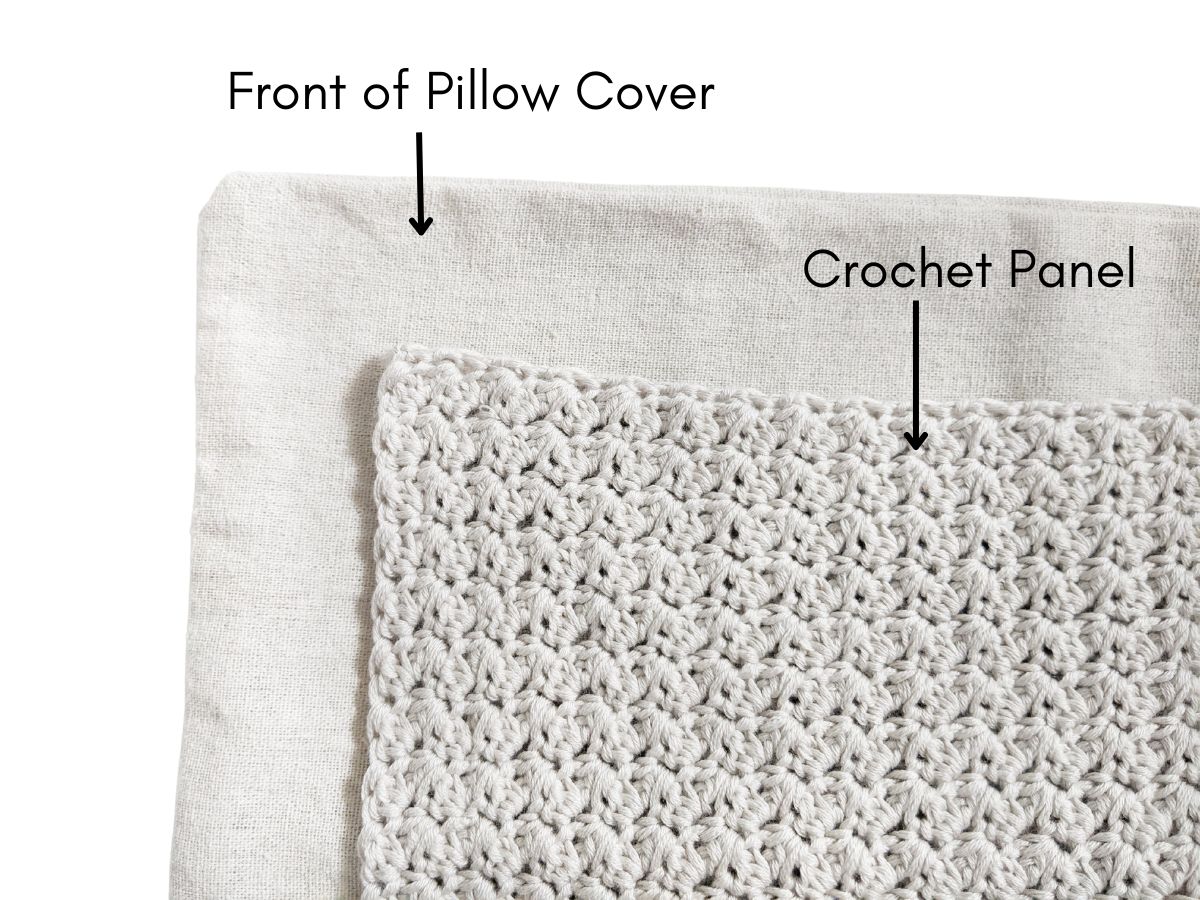
- You will crochet one square that measures 18" inches x 18" inches, and sew that onto the front of your pillow cover with needle and thread.
- If you like to practice the stitch used for the pattern, you can find a step-by-step video tutorial here.
- Total stitches for row are indicated between ( ).

Crochet Panel (1)
ch 74
Row 1: In second ch from hook, (1sc,1dc) in same chain. Skip next ch, *(1sc,1dc) in next ch, skip 1 ch. Repeat from * till last two ch. skip next ch, sc in last ch. Turn. (73)
Row 2: ch 1 , (1sc, 1dc) in first stitch , skip 1 st. *(1sc,1dc) in next st, skip 1 st. Repeat from * till last two st. skip next st, sc in last st. Turn. (73)
Row 3 - Row 68: Continue to repeat row 2 for the remainder of the rows.
Finish off and weave in all ends.
How to Attach Crochet Panel to Pillow Cover
Now you will be sewing your crochet panel onto your pillow cover. You will need your scissors, needle, and thread for this part.
Step 1: Lay your pillow cover down first and put your crochet panel on top.
Optional: To prevent your crochet panel from moving, I find it helpful to pin it down with some sewing pins along the edge.

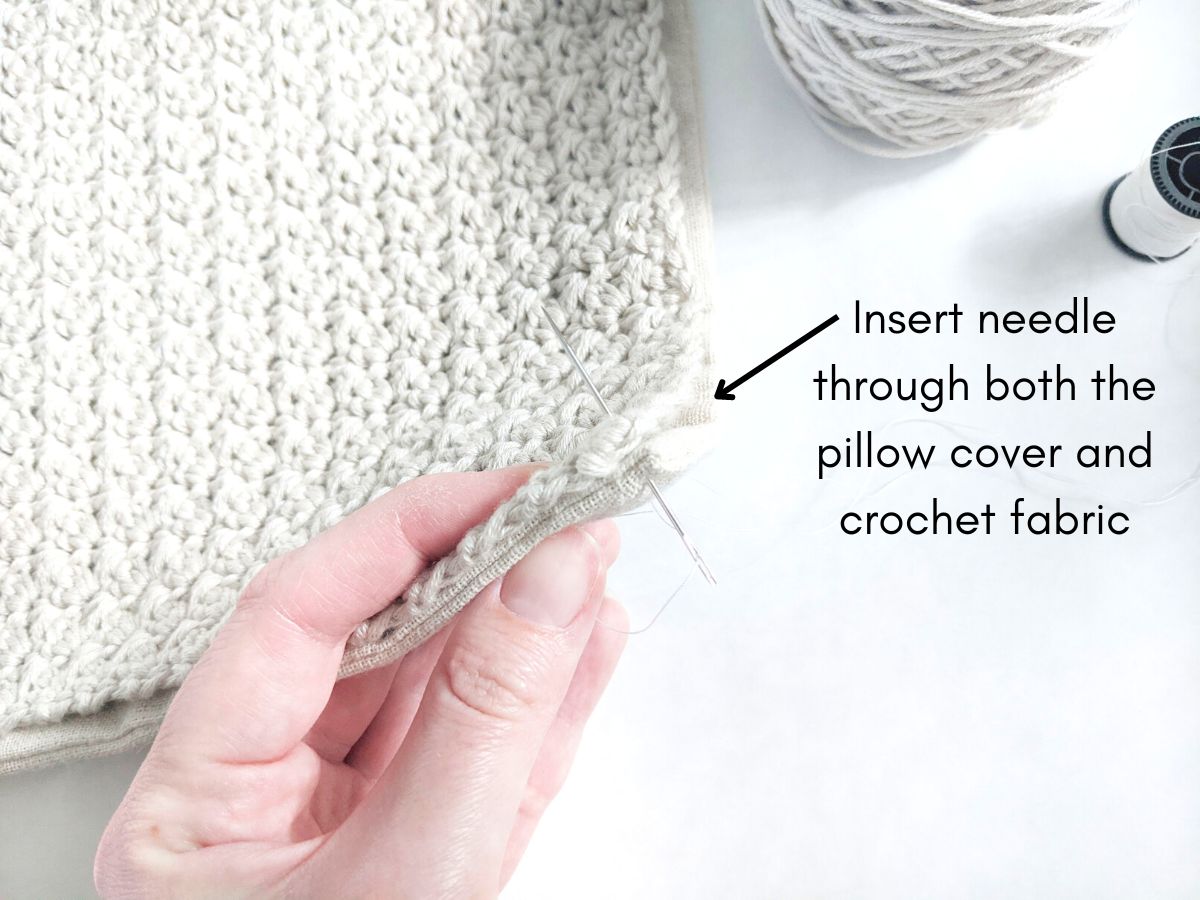
Step 2: Grab your needle + thread and starting from the corner of your pillow, insert your needle through both fabrics. Work your way around the pillow, making sure to stay on the edge of the pillow cover.
Step 3: Tie a knot when finished, and weave in the remaining thread.
Step 4: Grab your pillow and insert it into your pillow cover.
Voila! Now you have a beautiful handmade pillow cover. I hope you enjoyed this fun quick crochet pillow pattern and don't forget to Share + PIN IT for later!
Amy
Tuesday 3rd of March 2026
I have trouble w the little stitches at the end. How do you crochet in the last stitch of the row if it’s so tight? Or how do you make sure it doesn’t get super tight?
Nicky
Sunday 15th of March 2026
Hi there, I make sure to keep my tension a bit on the looser sides when making the last few stitches and then I also like to add a stitch marker to the last stitch of the row. I hope that helps and good luck! 😊
Teri
Thursday 27th of March 2025
I was wondering if I could use Yarn Bee Rustic Romantic 3.5 oz Yarn? I chained 74 and it exceeded the 18 inch pillow form. I am new to crocheting, so do I chain a even number to fit the pillow form I am using? Thanks for your help. Teri
Nicky
Thursday 3rd of April 2025
Hi there, yes, you can definitely use that yarn for this project. It's a little thicker than the yarn recommended, so I would decrease the amount of stitches. The stitch pattern has a multiple of 2. So you want to make sure that your chain is a multiple of 2 and then you would follow the pattern as is. I hope that helps! 😊