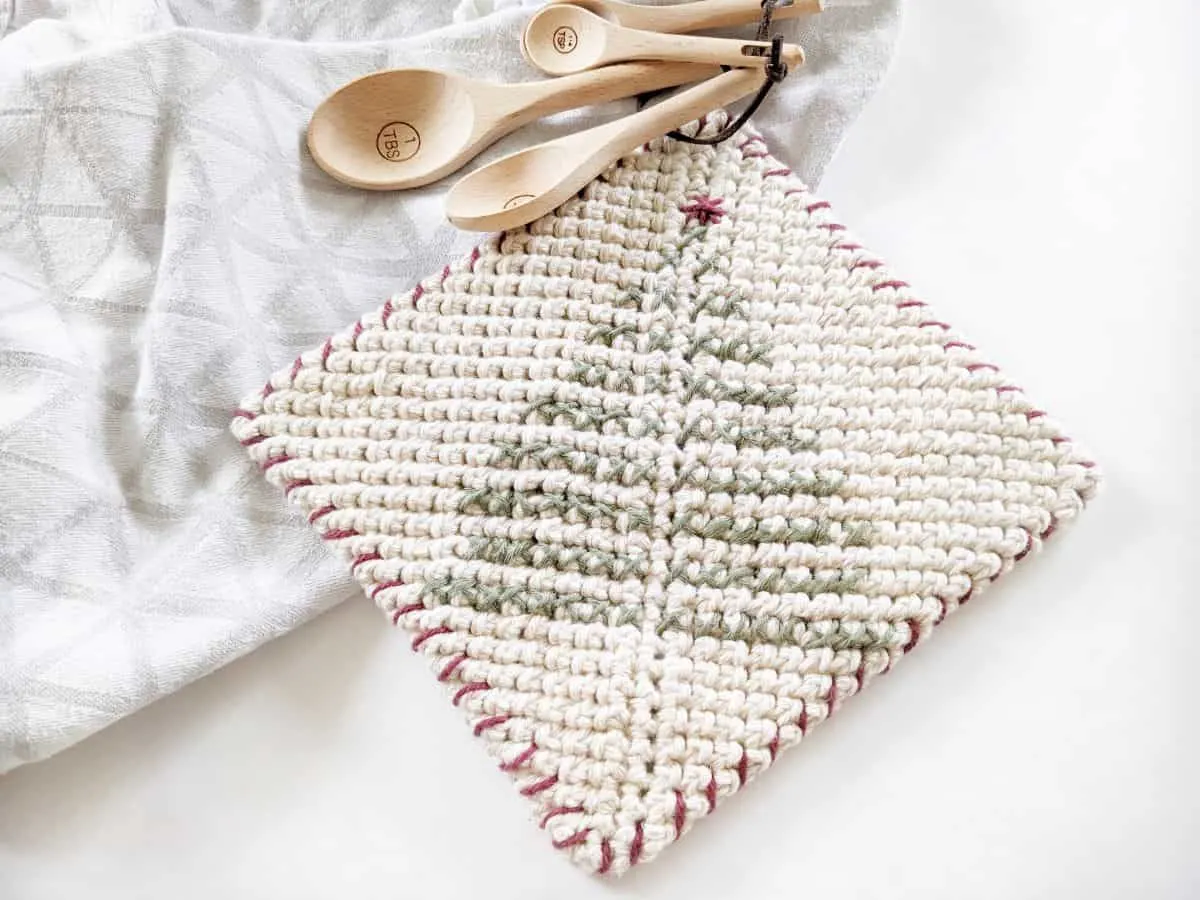
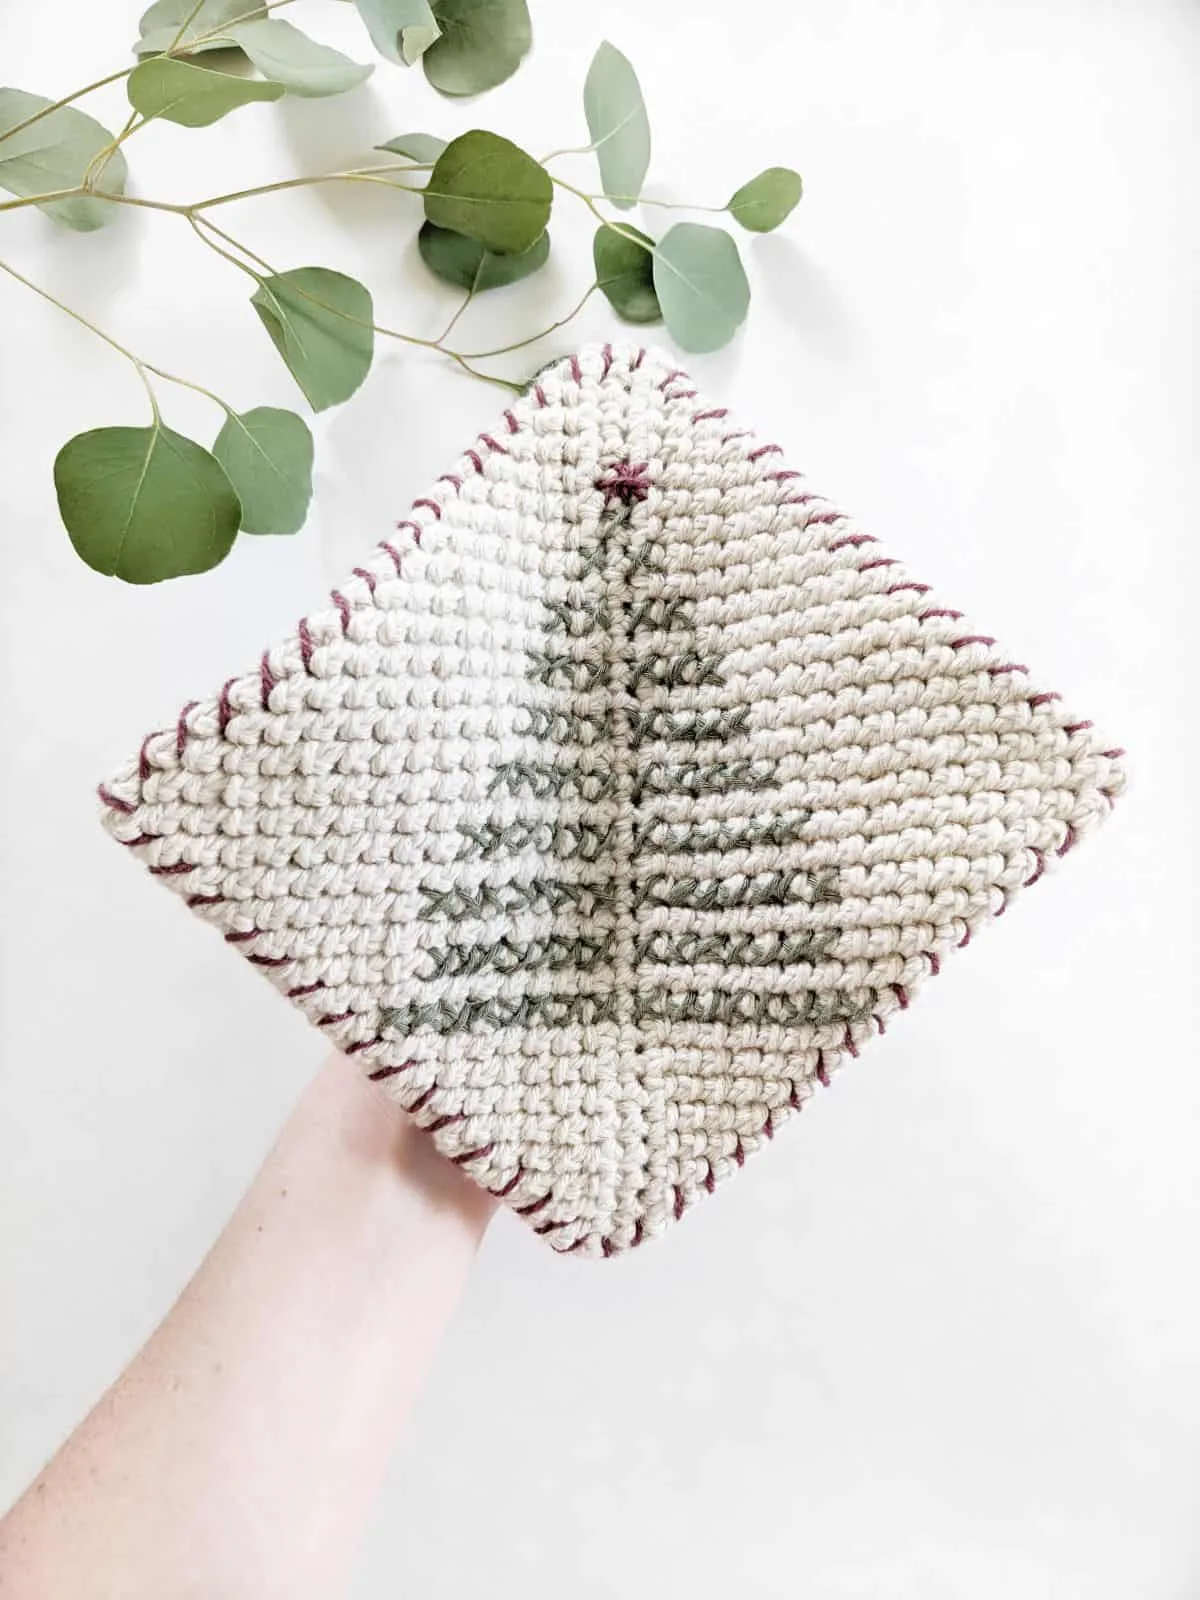
Add some holiday charm to your family gatherings with this adorable crochet Christmas tree potholder. This free crochet potholder pattern is easy + quick to make.
These double-thick crochet potholders are the perfect accessory to add to your Christmas dinners. Not only will they protect your surfaces, but they will also keep your hands safe!
You can find the free crochet holiday pattern + guided video tutorial by scrolling down or continue to read through some of the inspiration behind my latest design.

Crochet Christmas Tree Potholder
My latest free crochet pattern is a Scandinavian-inspired crochet potholder. This handmade hot pad is double-thick, durable, and machine washable. It’s the perfect accessory to add to your holiday dinners!
One of my favorite times of the year is Christmas. How about you? I love celebrating the holiday season with family and friends.
I especially love coming together for family dinners, which is why I thought this would be the perfect time to make a new crochet Christmas tree potholder.
This potholder can be used to put something hot on or you can also use it to grab a hot pan. You can even use it as a decoration piece. Either way, it’s sure to add some holiday cheer to your dinners.
A Quick Crochet Christmas Gift
One thing that I love about this potholder is that it works up very quickly. So it’s the perfect last-minute crochet gift if you are in a pinch and need something quick.
Plus, who doesn’t love a double-thick potholder for their kitchen? You could add some dishcloths and measuring spoons and you’ve got the perfect gift. You could even take it one step further and add the person’s initials to this potholder.
Want to make some more last-minute crochet home gifts, then check out this quick housewarming holiday-approved gift idea post.
Adding an Embroidered Christmas Tree
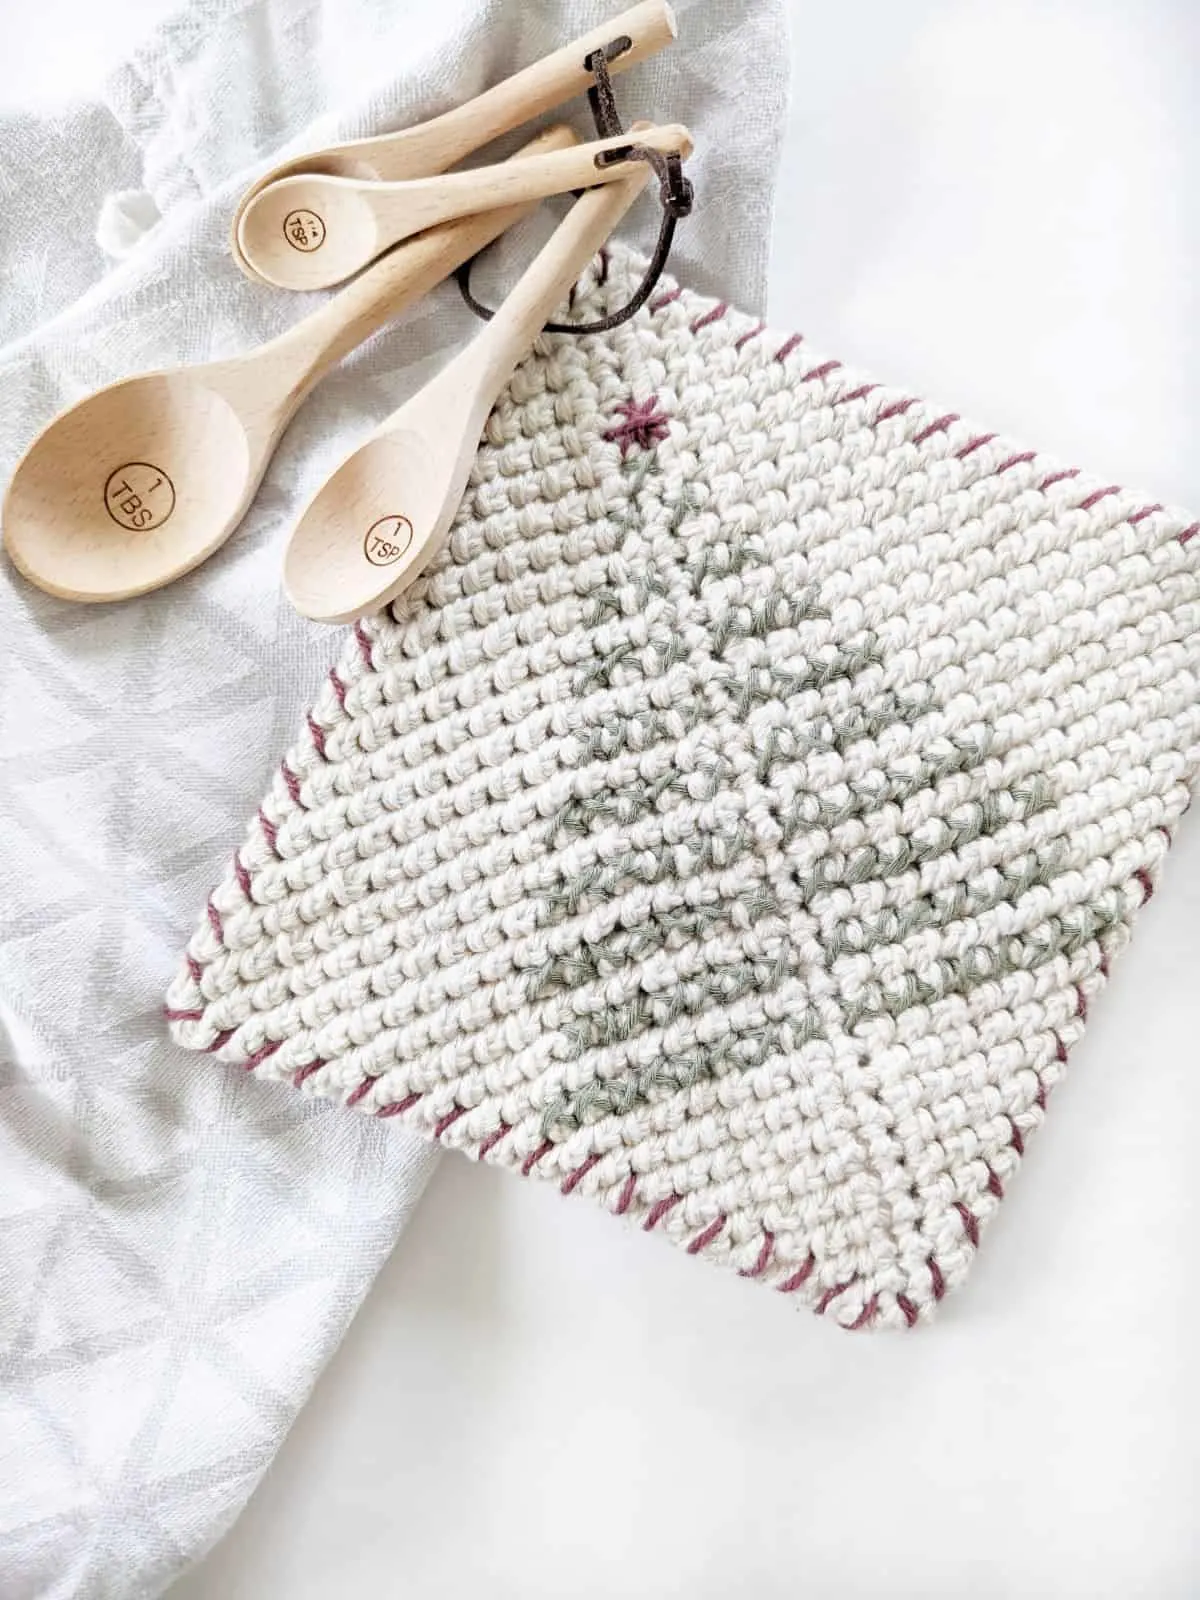
Adding embroidery to your crochet projects is super simple and only requires two things. All you need to add embroidery to a crochet project is some yarn and a darning needle.
For this project, you will be using green and red yarn. You will be inserting your darning needle through the back and front of the potholder, creating a little x around each single crochet. Once this is done, then you will continue to make x’s on the potholder until you’ve made a Christmas tree.
Have you ever added embroidery to a crochet project?
The Yarn You’ll Need for This Crochet Potholder Pattern
For this free crochet Christmas tree potholder pattern, you will need 3 different balls of yarn. I used Hobby Lobby’s Yarn Bee Cotton Et Lin in the color Parchment for my potholder. It’s a lovely cotton-linen blend that worked up beautifully.
I also used 1 ball of Premier Cotton Sprout in the color Cranberry and 1 ball of Drops Cotton in the color green for my embroidered Christmas Tree. I only used a tiny amount of these yarns as I was just embroidering something small. So you only need a little bit of these yarns.
I loved working with all of these different cotton yarns and highly recommend them. If you choose to go with a different yarn, make sure that you use cotton yarn or a natural fiber blended yarn. These types of yarns won’t melt when heat is applied to it.
Other Free Crochet Patterns
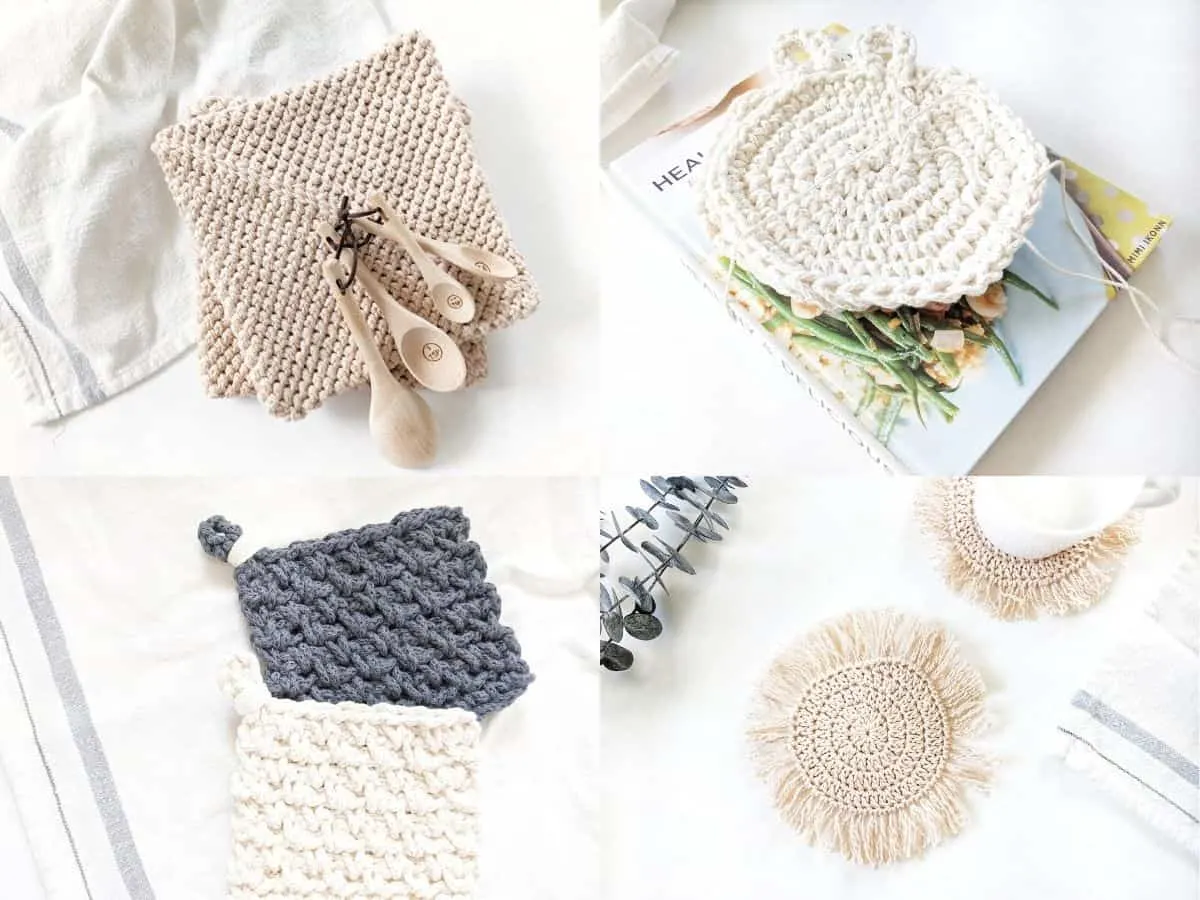
- Modern Crochet Potholder / 2. Spiral Crochet Hot Pads / 3. Chunky Square Coasters / 4. Boho Crochet Coaster
PIN IT for later
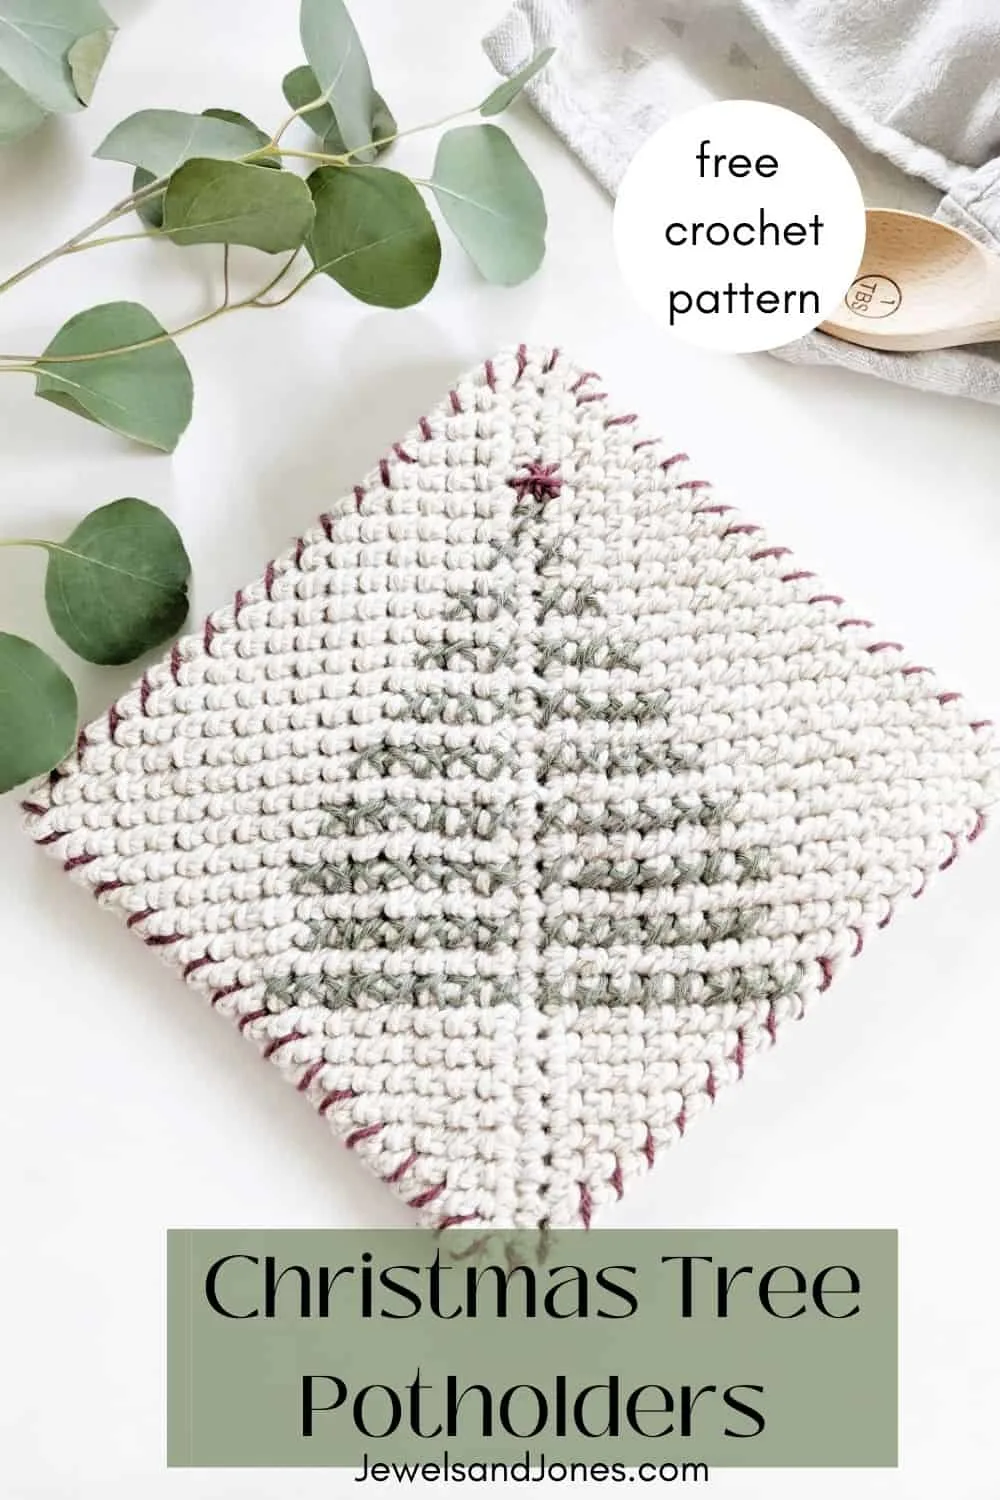
Free Crochet Christmas Tree Potholder Pattern
Description:
Learn how to crochet a Christmas inspired potholder for your kitchen with this easy free pattern.
Materials:
- 1 ball of Hobby Lobby’s Cotton Et Lin yarn in the color Parchment (Weight 4/ Worsted). A total of 180 yards of yarn or another worsted weight yarn. I used 1 ball of yarn and pulled from both middle and end center to create two strands of yarn. Alternatively, you can also use two balls of yarn.
- 1 ball of Premier Cotton Sprout yarn in the color Cranberry and 1 ball of Drops Cotton Yarn in the color Green.
- 5.0 mm crochet hook
- Tapestry Needle
- Scissors
Size:
7 1/2 ” x 7 1/2 ” inches
Gauge:
14 stitches x 12 rows = 4 inches
Abbreviations:
ch – chain: Yarn over, pull through loop on hook.
sc – single crochet: Insert hook into stitch, yarn over and pull through, yarn over and pull through last two loops on hook.
scblo – single crochet back loop only: Insert hook into back loop of stitch, yarn over and pull through, yarn over and pull through last two loops on hook.
sl st – slip stitch: Insert hook into stitch, yarn over, pull through stitch and loop on hook.
Notes:
- Pattern written in U.S. terms.
- Pattern is explained in three different parts. The first step will explain how to make the crochet potholder, the second step will show you how to add an embroidered tree, and the third step will explain how to add a border to your potholder.
- Two strands of yarn will be held together throughout the pattern.
This step-by-step video tutorial will show you how to make the crochet potholder.
Part 1: How to Crochet the Potholder
Holding two strands of yarn together,
ch 36
Row 1: In second chain from hook, sc across (35)
Row 2: ch 1, sc across 34 times, make 2 sc in last stitch (36)
Working on the left side of round 2, make 1 sc on side, this should bring you to the foundation chain. Continue making 1 sc all the way across the foundation chain (71) making 1 more sc in the last foundation chain (you should have 2 sc in last stitch, 72).
Working on the right side, make 1 sc on side, sl st to first stitch of second row (74).
At this point, you will be working in the round. Continue working scblo for a total of 16 rounds.
Once you have made 16 rounds, sl st to last chain. You should have a crochet square with a middle opening.
Fasten off and leave a long tail end. DO NOT close your potholder yet. You will now complete the embroidery part of your potholder.
Part 2: How to Embroider a Christmas Tree
After you’ve crocheted your potholder, it’s time to embroider our Christmas tree. You will need a darning needle and your two balls of yarn in the color red and green.
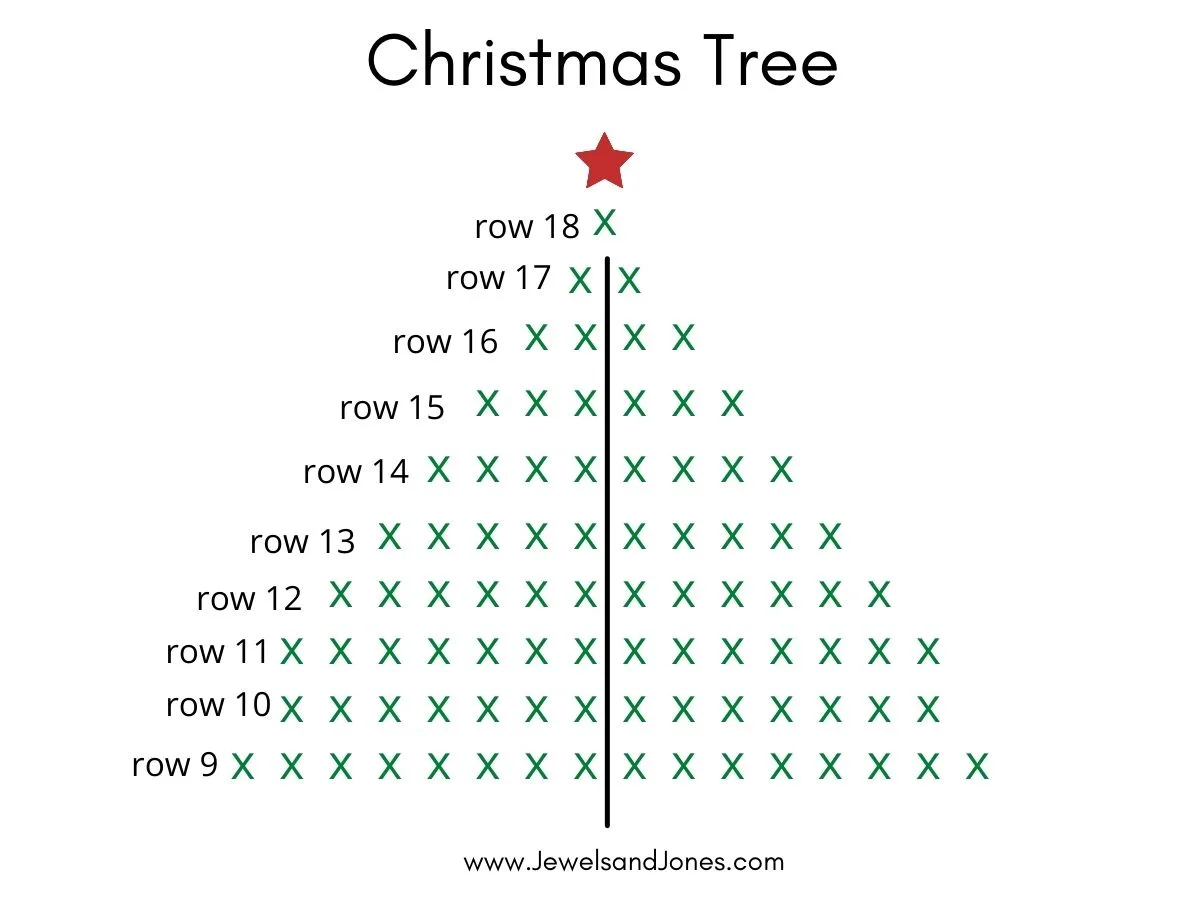
Follow the graph and steps down below to create a Christmas tree
Step 1: Working from the bottom on row 9, insert your darning needle next to a single crochet stitch and pull yarn forward. Working from the top, insert your darning needle on the opposite side of the single crochet stitch. Repeat this step one more time to create an x on top of a single crochet stitch.
Step 2: Continue to repeat step 1 until all rows are completed. Once all rows are completed, switch your yarn to red and make an additional line on the single crochet stitch to create a star.
Part 3: Adding the Border
The last step is to add a border to your crochet potholder. Using your red yarn, insert the darning needle at the corner of your potholder. Then insert it again on the same side (similar to whip stitching), continue to repeat this method all the way around the potholder.
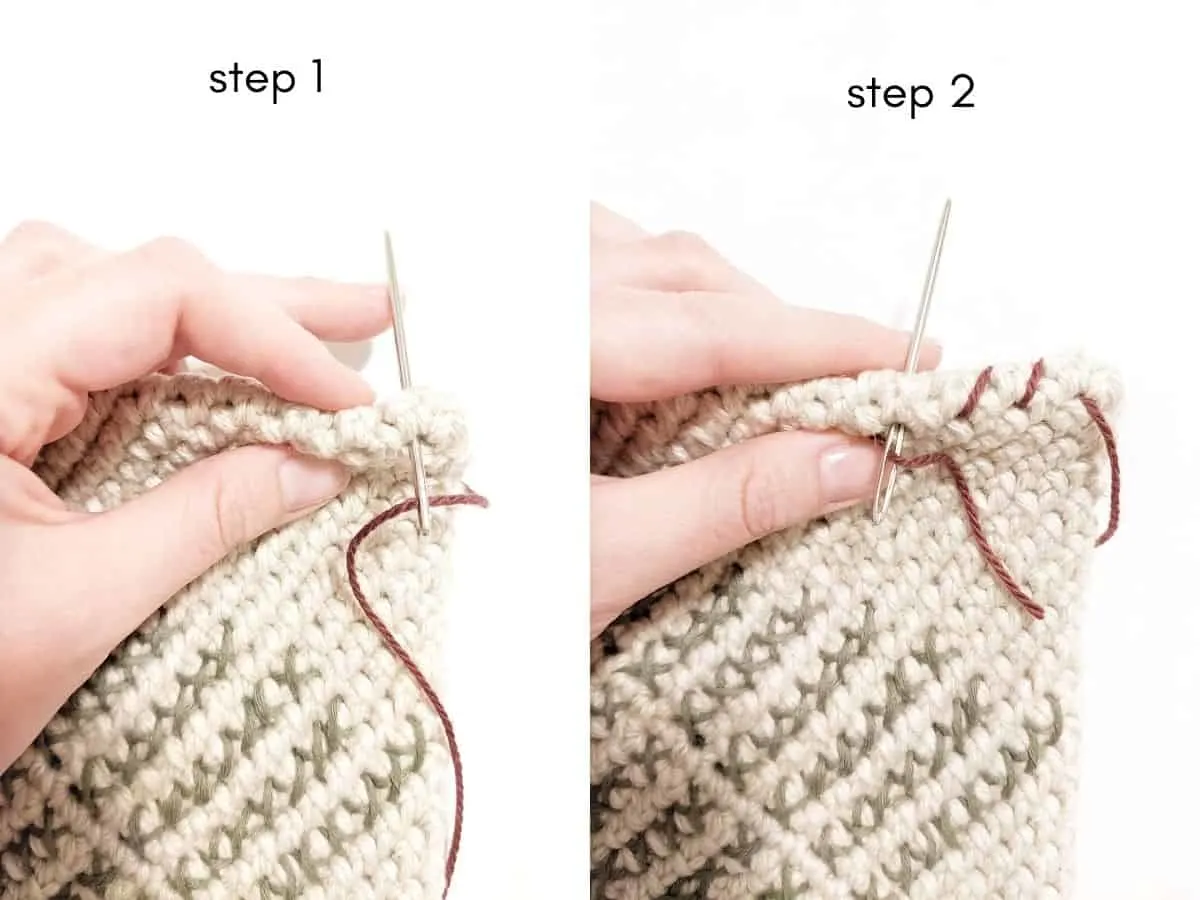
Finally, tie a knot and cut yarn.
Lastly, you need to close your potholder. Using the whip stitch method, seam the two sides together. Weaving between each front stitch. When you’re done, cut your yarn and work in the ends.
You’re finished! I hope you enjoyed making this cute Christmas tree crochet potholder pattern.

Jean
Tuesday 26th of December 2023
Just finished my first one! Will definitely be doing others! It turned out great! Easy to read directions. Thank you!
Nicky
Wednesday 27th of December 2023
You're welcome! I'm glad you enjoyed the pattern. They're so much fun to make! 😊
Barb
Monday 4th of September 2023
I absolutely adore this Christmas Tree Pattern! I can’t wait to get started on this unique project. I have never embroidered on my crochet projects before so wish me luck! Your tutorial is excellent.
Nicky
Wednesday 6th of September 2023
Aww, thank you so much! I really hope you enjoy making this project, it's a lot of fun! You can embroider all kinds of things on your crochet potholder 😊. And you can totally do it, good luck! ✨