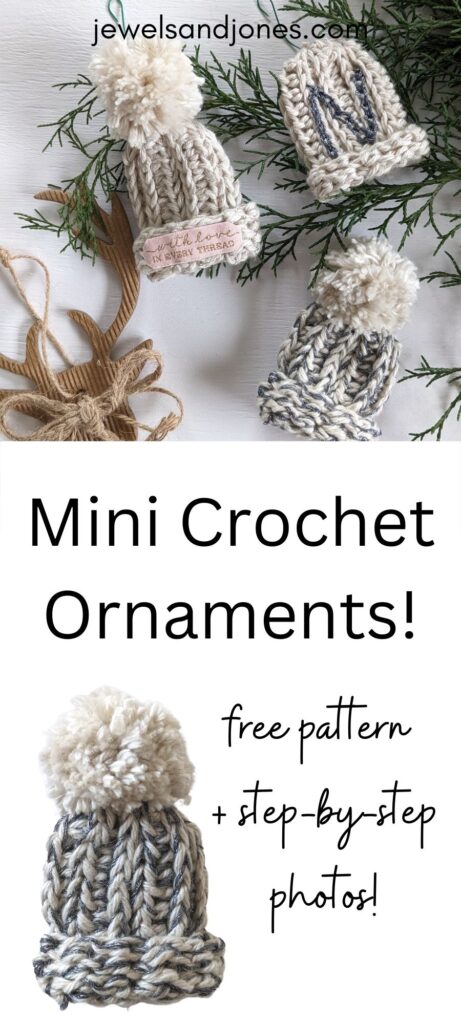
In need of a quick gift for Christmas and don't know what to make? If that answer is a yes then you've come to the right place. Today, I'm going to be showing you how to make a mini crochet beanie ornament in less than an hour.
These mini ornaments are the perfect little gifts as they can be personalized to the person receiving the gift. So you're in for a real treat today!
So grab a 4.0 mm crochet hook, your favorite worsted weight yarn, and let's get started!
This post contains affiliate links, which means I make a small commission at no extra cost to you. See my full disclosure here.
Quick Crochet Ornament Pattern
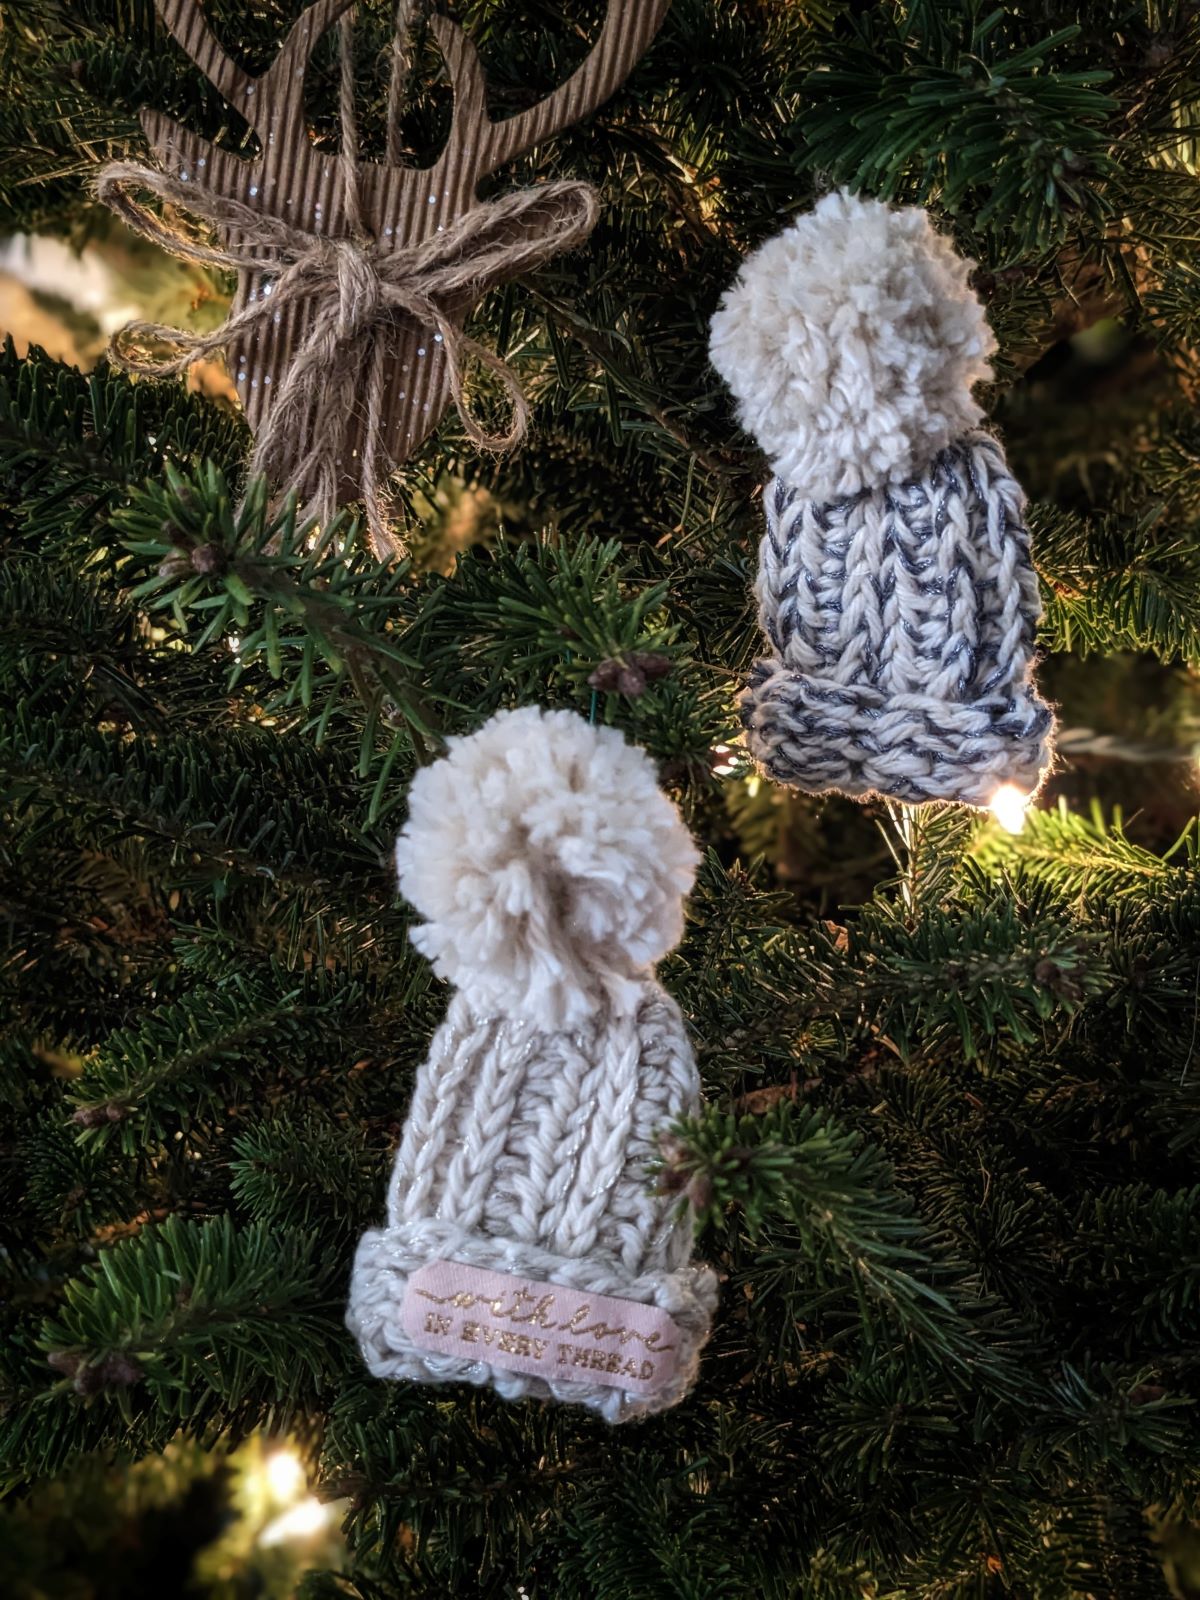
My latest free pattern is a cute mini crochet beanie ornament. These ornaments are perfect to hang up on your Christmas tree, and they also make a lovely gift!
So if you need a cute gift for someone, I think you're going to love this quick little crochet pattern.
The best part is that you can totally personalize these ornaments to the person receiving the gift. They also require very little yarn, so you can make these ornaments from scrap yarn.
How to Personalize Your Crochet Ornaments
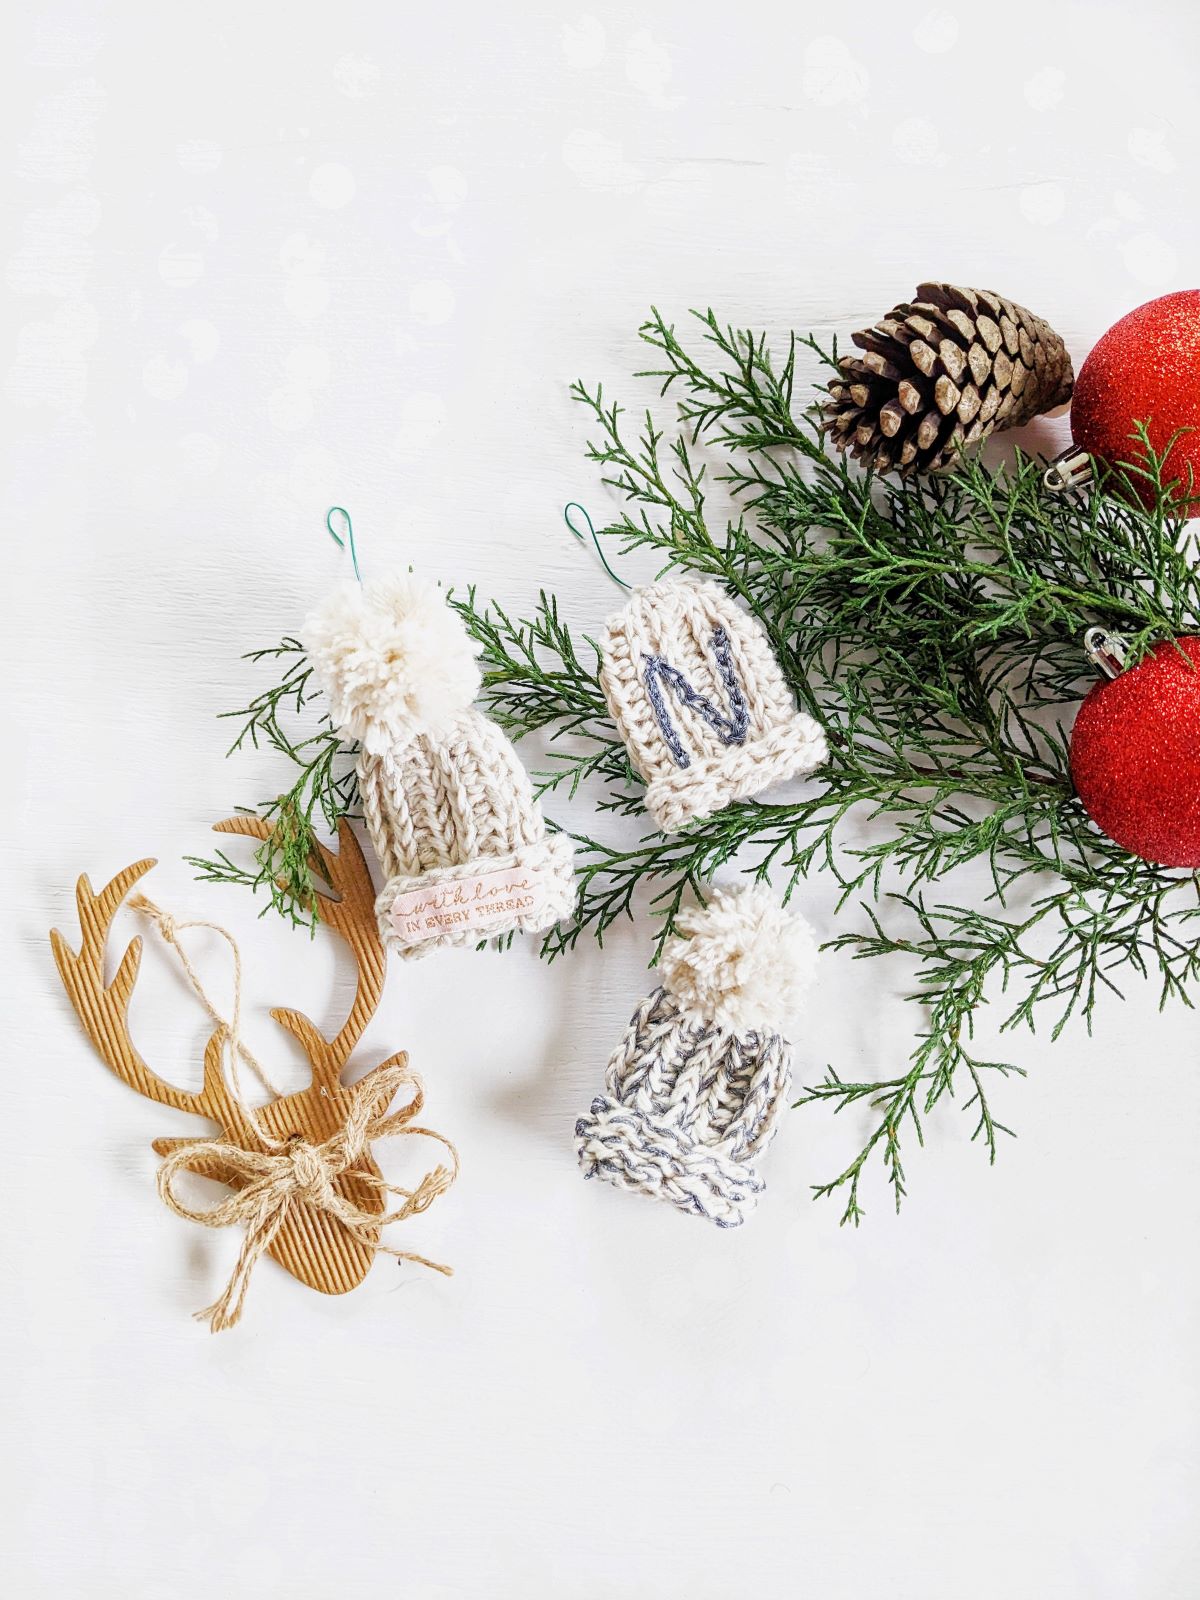
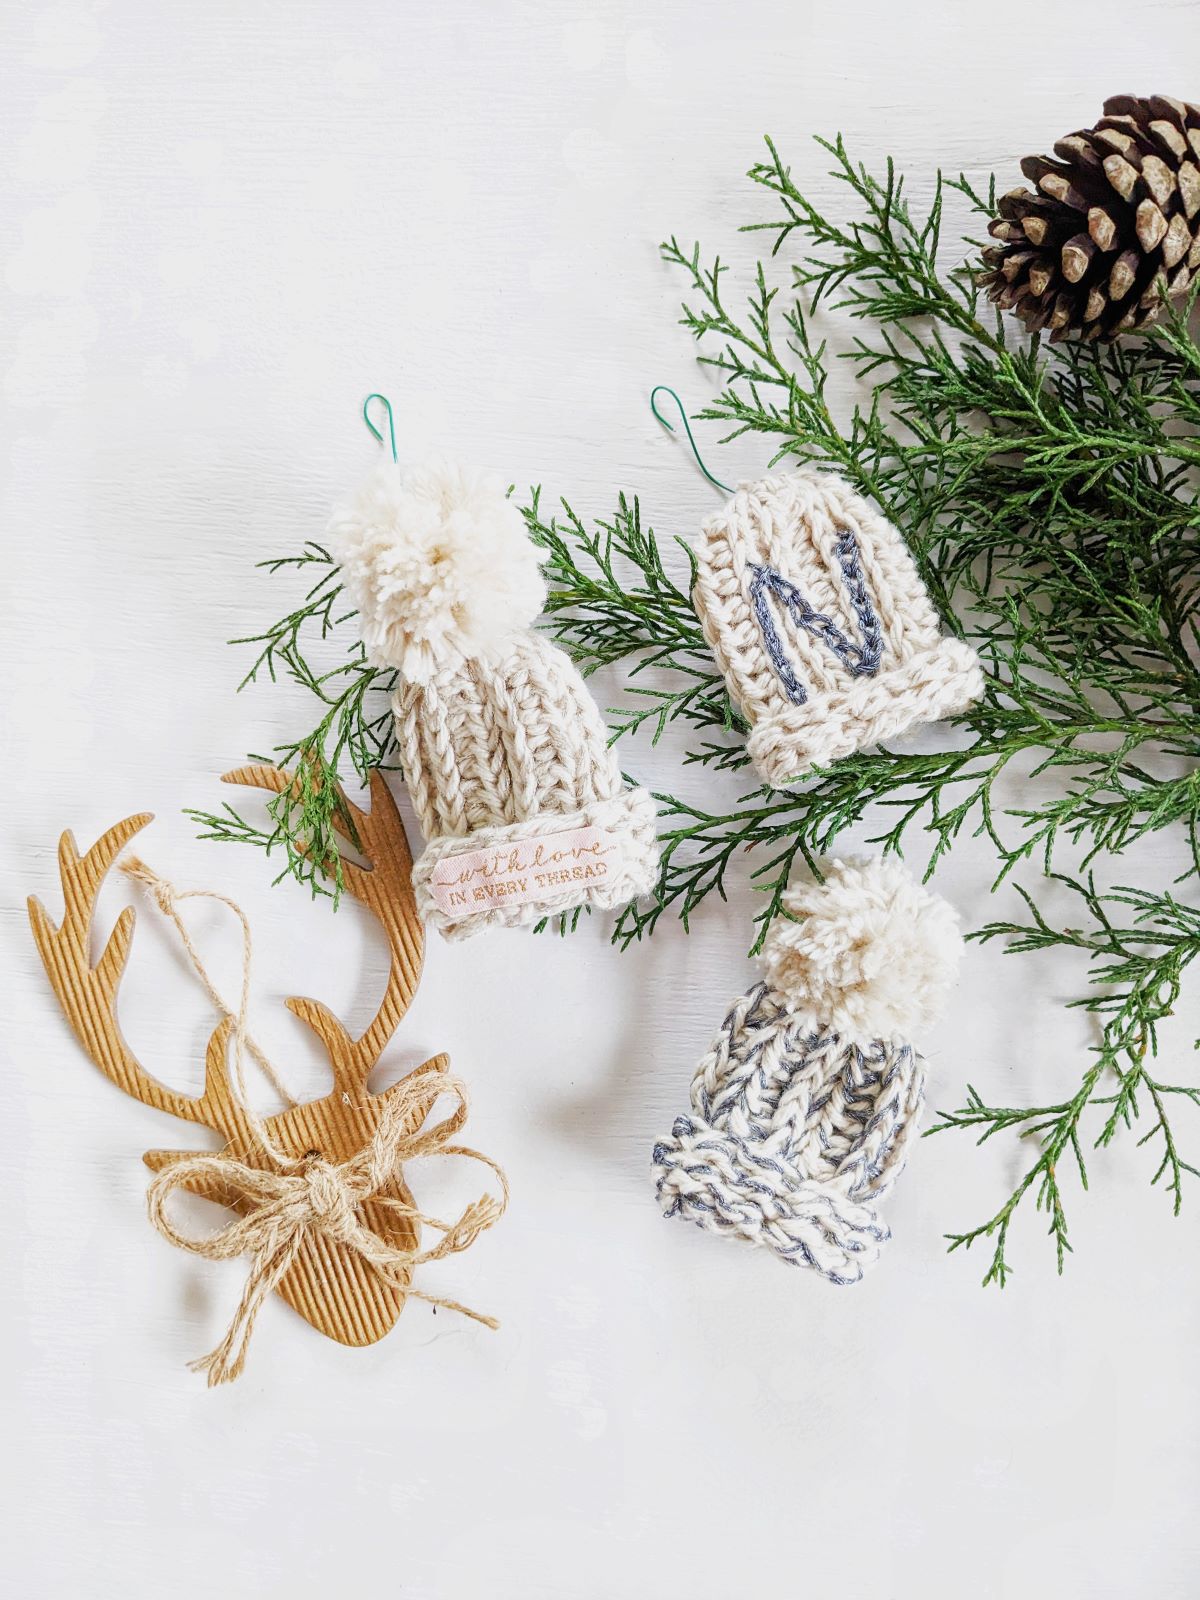
I love making crochet Christmas ornaments each year, and I always like to add my own personal touch to each ornament. So here are some different ways you can personalize your ornament whether it's for yourself, or you're gifting it to someone.
- Pick your favorite color, or the person receiving the gift's favorite color.
- Add a splash of sparkle by holding an extra strand of metallic floss with your yarn (this is what I did for these ornaments).
- Use surface slip stitch to create letters on your mini beanie (I used the first letter of my name).
- Add a cotton/leather tag with a saying or your logo.
These are just some ways you can personalize your mini crochet beanie. Alright, let's talk real quick about the yarn you'll use for these mini crochet beanie ornaments.
The Yarn You'll Use for This Crochet Ornament
For this crochet pattern, you will be holding two strands of yarn together. The first yarn is Yarn Bee Cotton Et Lin in the color Parchment, and the second one is a metallic floss.
The metallic floss adds a bit of sparkle to your beanie, so if you're a fan of sparkles you're going to love the result. If you're not, just omit the metallic floss.
I really loved the look of it, but it's not necessary. So I would recommend seeing what type of worsted weight yarn you have in your stash, and just using that for the pattern.
Alright, let's start our crochet project!
Crochet Mini Beanie Pattern
Description:
Create your own adorable mini beanie ornaments with this easy-to-follow crochet pattern! Perfect for decorating your Christmas tree, adding a handmade touch to gift wrap, or as cute keychain charms. This beginner-friendly pattern uses minimal yarn and works up quickly, making it ideal for last-minute holiday projects or stash-busting.
You can purchase the crochet pattern at the links down below or scroll down to check out the free version supported by ads.
Materials:
- 1 skeins of Hobby Lobby Yarn Bee Cotton Et Lin in the color Parchment (Weight 4/ 3.5oz, 180 yds), or you can use another worsted weight yarn (like this one here and here). Note: you will need about 30 yards per beanie, this includes yardage for pom pom.
- 2 Artiste Metallic Floss in the color Mercury.
- 4.0 mm Crochet Hook.
- Darning Needle.
- Scissors.
- Stitch Markers.
- Ornament Hook.
- Optional: extra yarn in a different color to personalize beanie, cotton tags, or leather tags to sew/iron on to beanie.
Gauge:
10 stitches x 4 rows = 2" inch square.
Abbreviations:
ch – chain: Yarn over, pull through loop on hook.
ss – slip stitch: Insert hook into stitch, yarn over, pull through stitch and loop on hook.
hdc – half double crochet: Yarn over, insert hook into stitch, yarn over and pull through stitch. Yarn over one more time and pull through last three loops on hook.
hdc blo – half double crochet back loop only: Yarn over, insert hook into back loop of stitch, yarn over and pull through stitch. Yarn over one more time and pull through last three loops on hook.
hdc 3blo – half double crochet 3rd back loop only: Yarn over, insert hook into 3rd loop of stitch, yarn over, and pull through stitch. Yarn over one more time and pull through last three loops on hook.
Pattern Notes:
- Pattern written in U.S Terms.
- Chain 1 at the beginning of each row does not count as a stitch.
- You can find a detailed photo tutorial of the knit-like crochet stitch used here.
- Total stitches for row are indicated between ( ).

Pattern
Holding two strands together (Yarn Bee Cotton Et Lin + Artiste Metallic Floss), chain 14.
Row 1: In 2nd chain from hook, work 1 hdc, and continue to make a hdc in each chain till the end of the row. (13).
Row 2: ch 1, turn, hdc 3blo in the first stitch, and across till the end of the row. (13).
Row 3: ch 1, turn, hdc blo in the first stitch, and across till the end of the row. (13).
Continue to alternate between row 2 and row 3, until you reach row 10.
Tie a knot when you have finished your last row, but leave a long tail end. The tail end is going to be used to close the side together.

The next set of instructions is explained in steps and they also include helpful photos!
Step 1: Grab the two edges of your crochet rectangle and put them together. Then grab the crochet hook that you used to make the rectangle and slip stitch the two sides together.
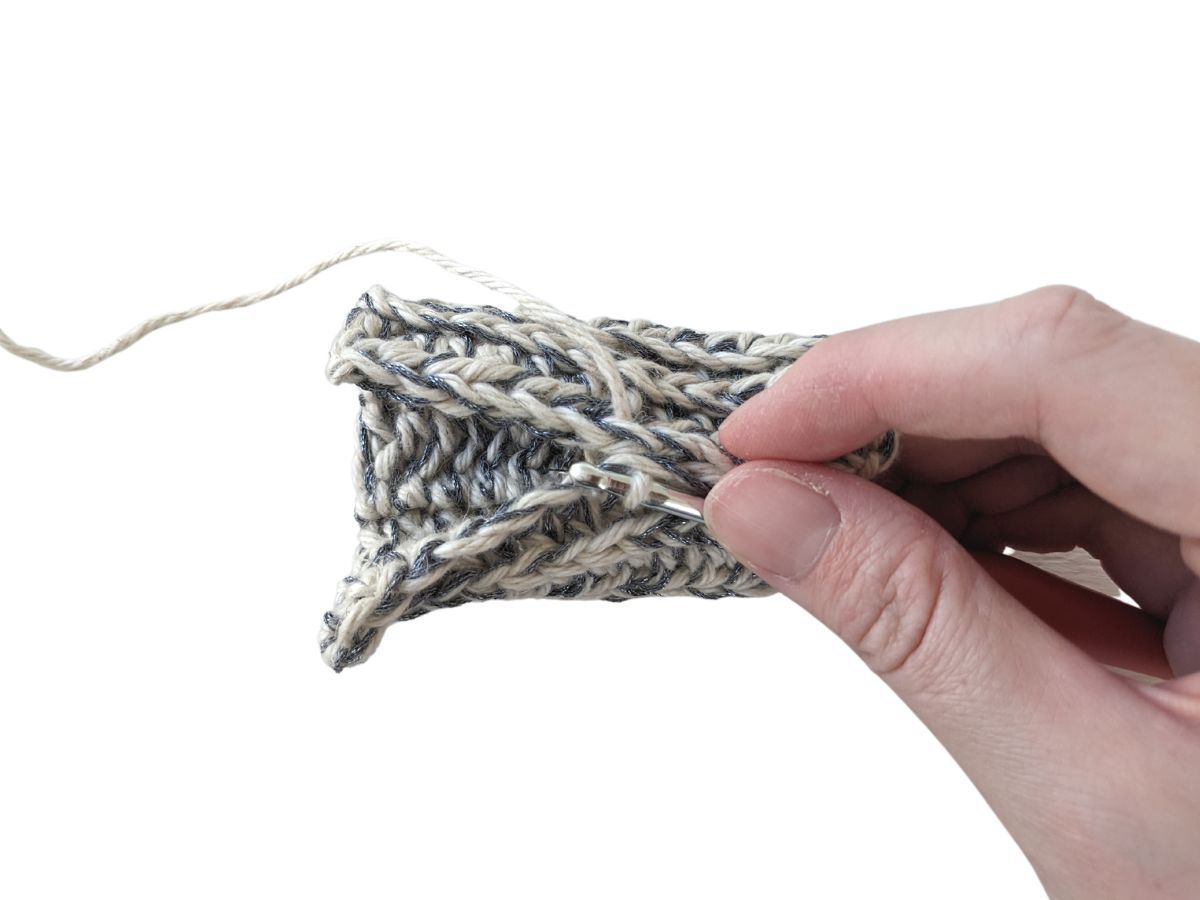
Step 2: Once you have slip stitched your two sides together, tie a knot, but do not cut the long tail end.
Now grab your darning needle and insert it through the tail end. Then grab the mini tube that you just created and start weaving in and out on the top part of the tube.
Continue to do this all the way around the tube.
Step 3: Once you have finished weaving the top part, grab your tail end and pull tight. The top should close together.
Tie a knot, and weave in your remaining end. Now that you have made your mini beanie, it's time to make a mini pom pom to go on top of the beanie.
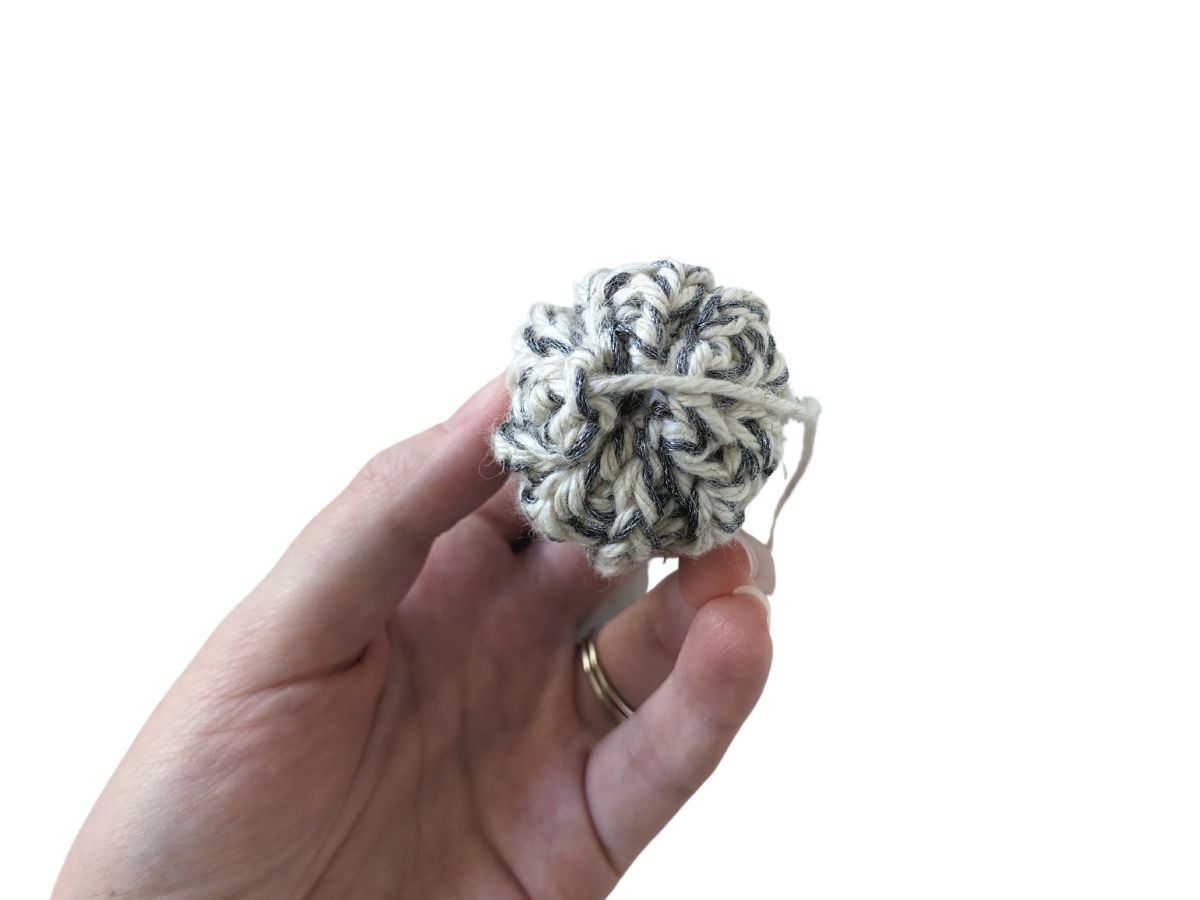
How to Make a Mini Pom-Pom
Step 1: Grab Yarn Bee Cotton Et Lin and cut 2, 5" inch pieces of yarn. Then grab your yarn again and start wrapping your yarn around 2 of your fingers. Continue to wrap until you've gone around about 35 times.
(You can add more rounds for a fluffier pom pom).
Step 2: Once you've wrapped the yarn around your fingers, carefully take it off your fingers, and tie it together with the first yarn piece that you cut. Then tie it together from the opposite side with the other piece of yarn (do not cut the yarn after tying it).
Step 3: Then grab a pair of scissors and cut each loop to create a pom pom.
Step 4: Once you have made your pom pom, grab the ends that you used to tie the pom pom together in step 2 and insert it through the top of the beanie. With the two strands on the inside of the beanie, tie a knot twice.
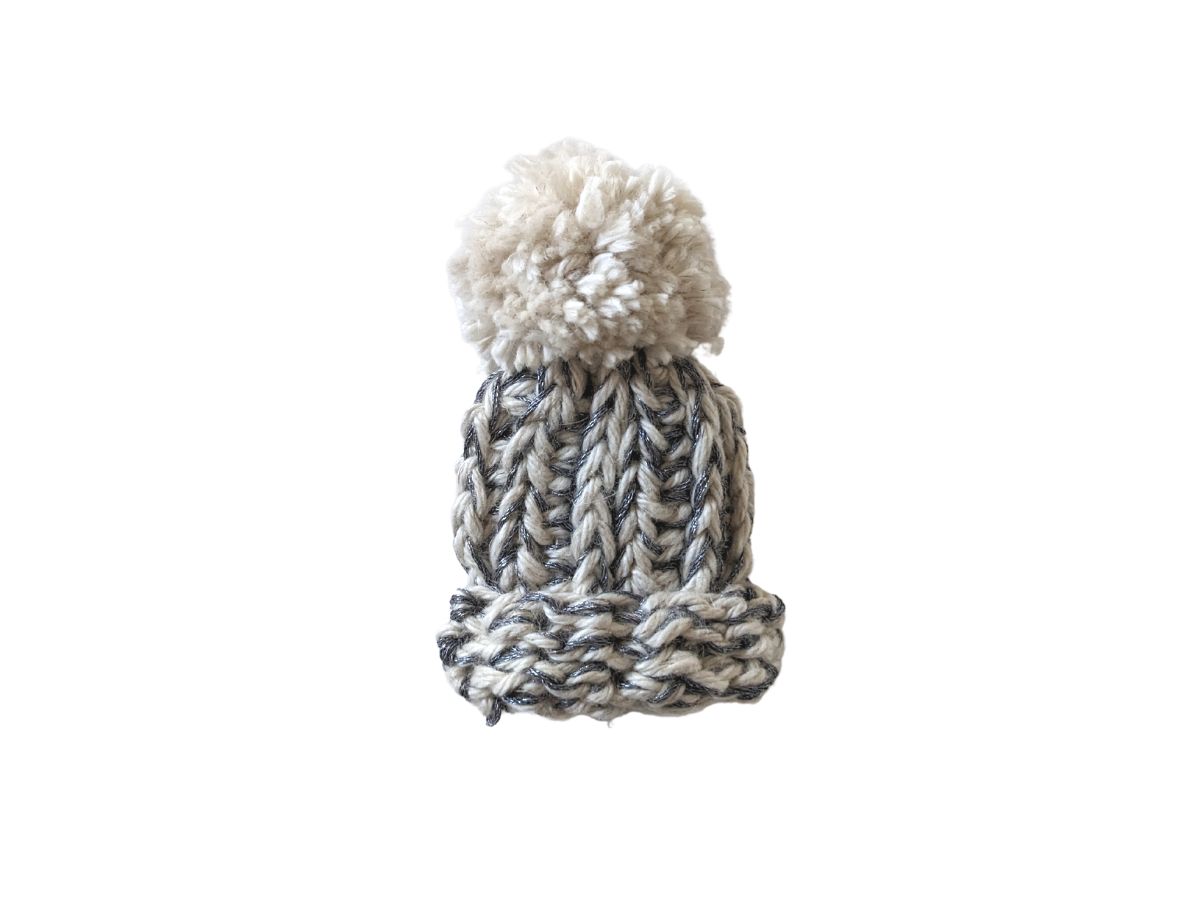
You're finished.
All that's left to do is personalize your ornament and add an ornament hanger to your mini crochet beanie. You can personalize it by adding a tag or you can use surface slip stitch to create a letter.
Enjoy your new ornament!