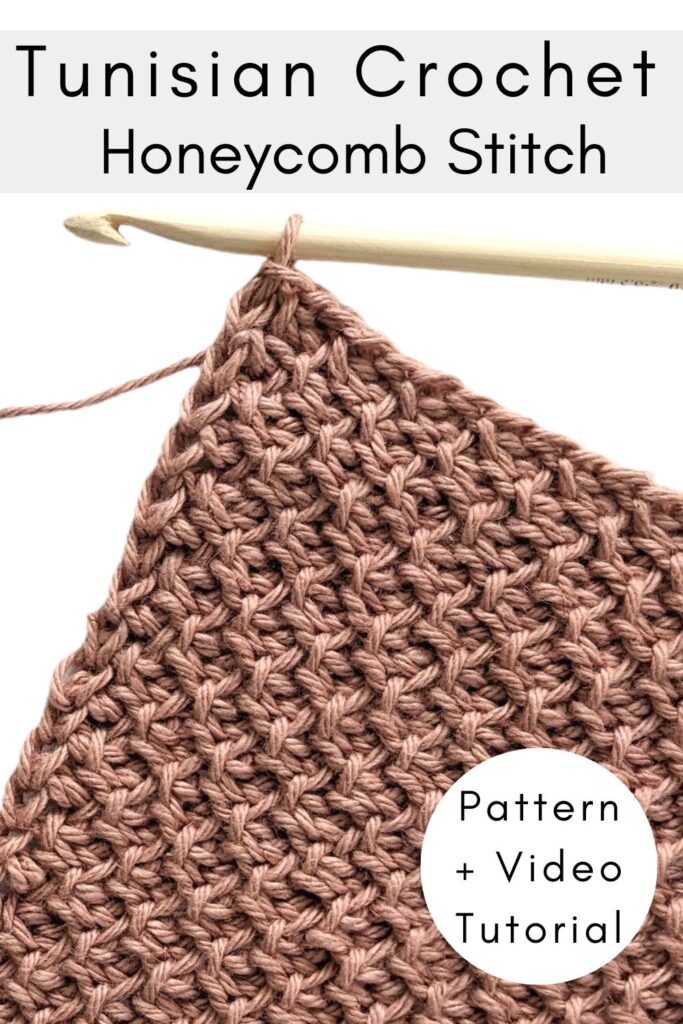
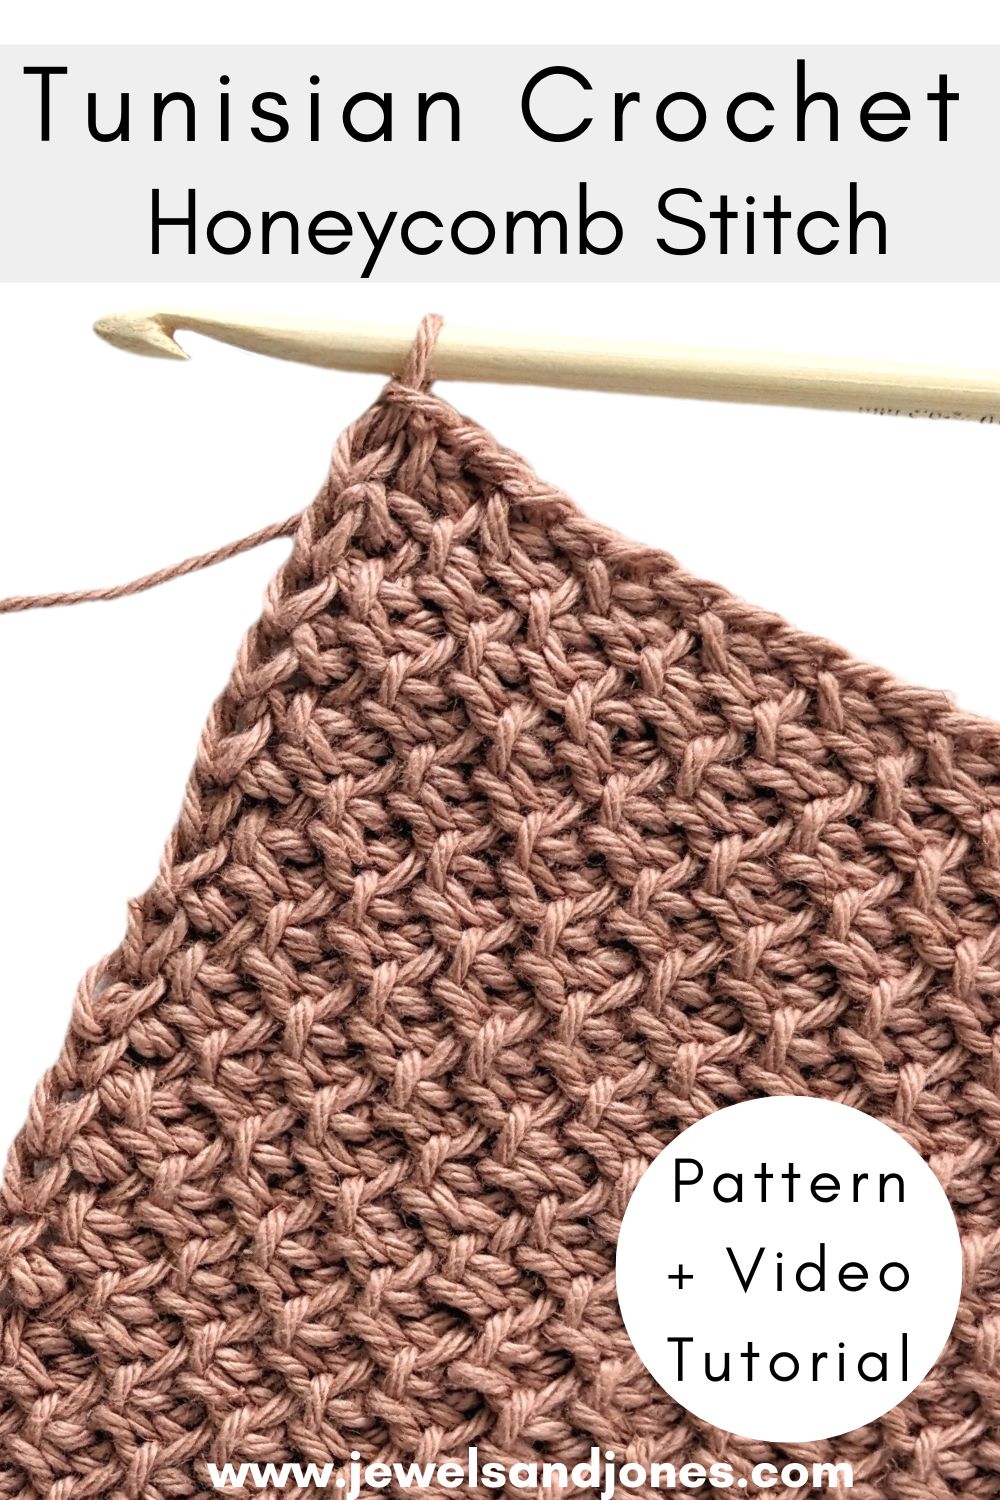
Learn how to crochet the Tunisian honeycomb stitch with this step-by-step photo and guided video tutorial. This easy Tunisian crochet stitch uses only 2 stitches, the simple stitch, and the purl stitch.
This post contains affiliate links, which means I make a small commission at no extra cost to you. See my full disclosure here.
The Tunisian honeycomb stitch pattern is a great stitch to use for a variety of different projects. It's a textured crochet stitch that looks like little honeycombs (hence the name!). This is a great stitch to use for anything home decor related, like blankets, washcloths, or even bags.
I've also seen this stitch used in crochet sweater patterns, so it's really a versatile stitch! I came across this stitch when I first got into Tunisian crochet, and since then I've been making lots of different projects with this stitch.
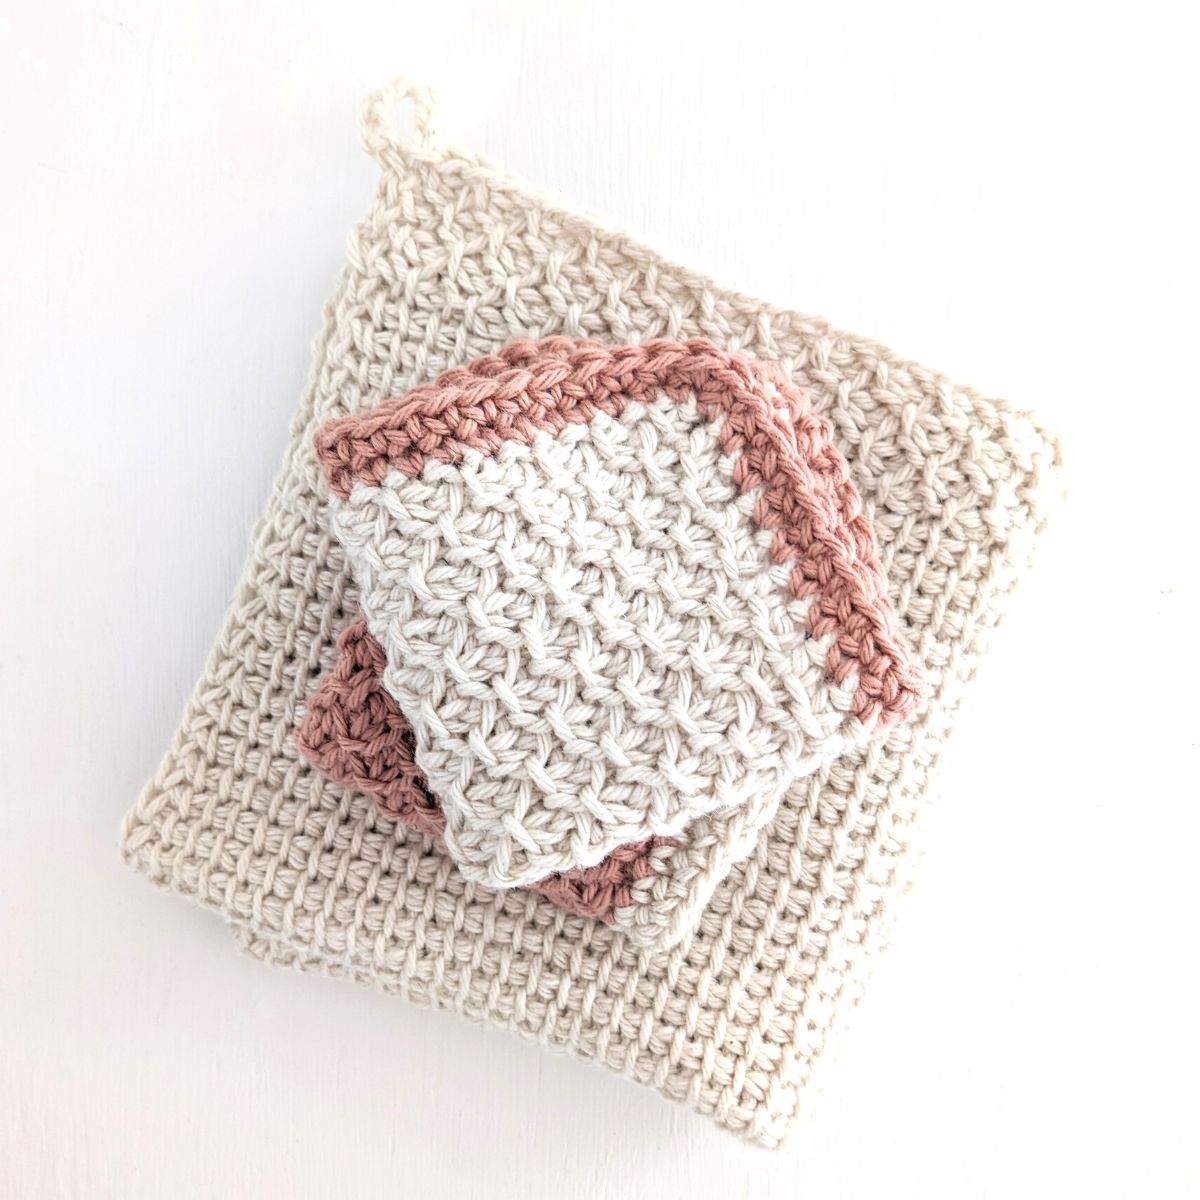
My first project with this stitch pattern was the Tunisian Honeycomb Blanket, and my second pattern was the Tunisian Honeycomb Kitchen Towels. And since I'm a bit obsessed with the gorgeous texture this stitch produces, I also made some fun Honeycomb Washcloths.
So if you're interested in any of those free crochet patterns, make sure to check them out.
What stitches are used to make the Tunisian Honeycomb Stitch?
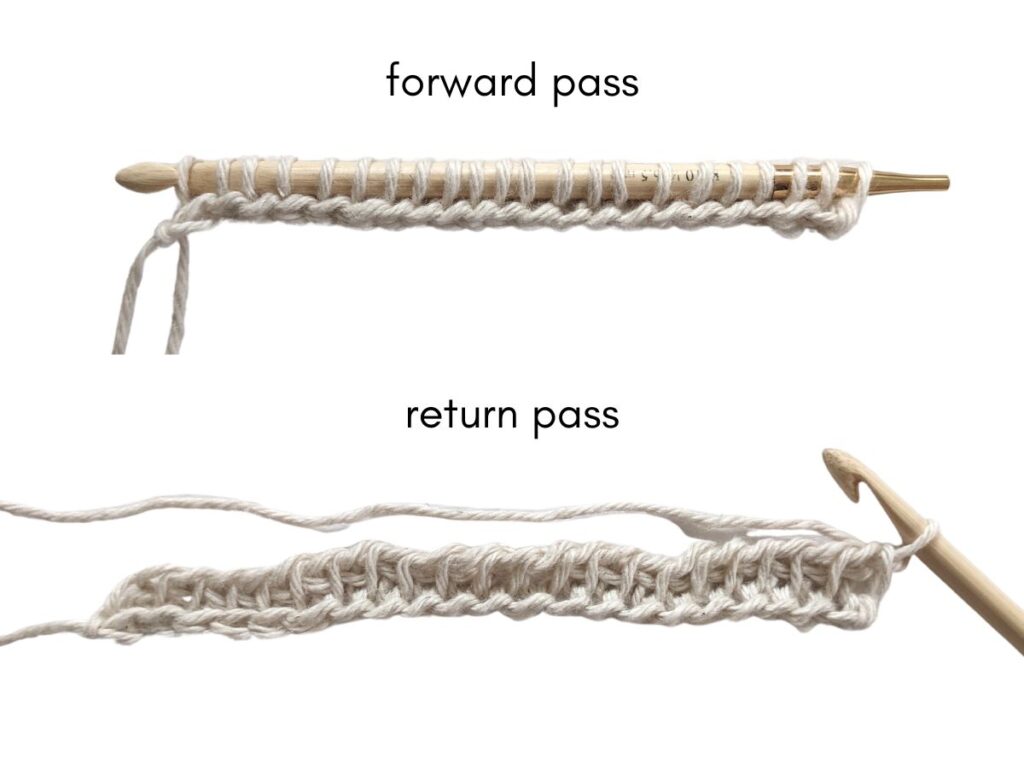
The Tunisian honeycomb stitch pattern is made using two stitches, the simple stitch, and the purl stitch. You will be alternating between these two stitches to create the pattern. For example, the first row is your setup row of a standard forward pass, and return pass.
Then you will start the second row by first working a simple stitch, and then a purl stitch. You will continue to alternate between these two stitches until the end of the row. Once you have finished with your row, you will then start the next row by first making a purl stitch, and then a simple stitch.
And then you just continue the row by alternating between these two stitches. That's it! It's a straightforward stitch pattern with stunning results.
So let's get started!
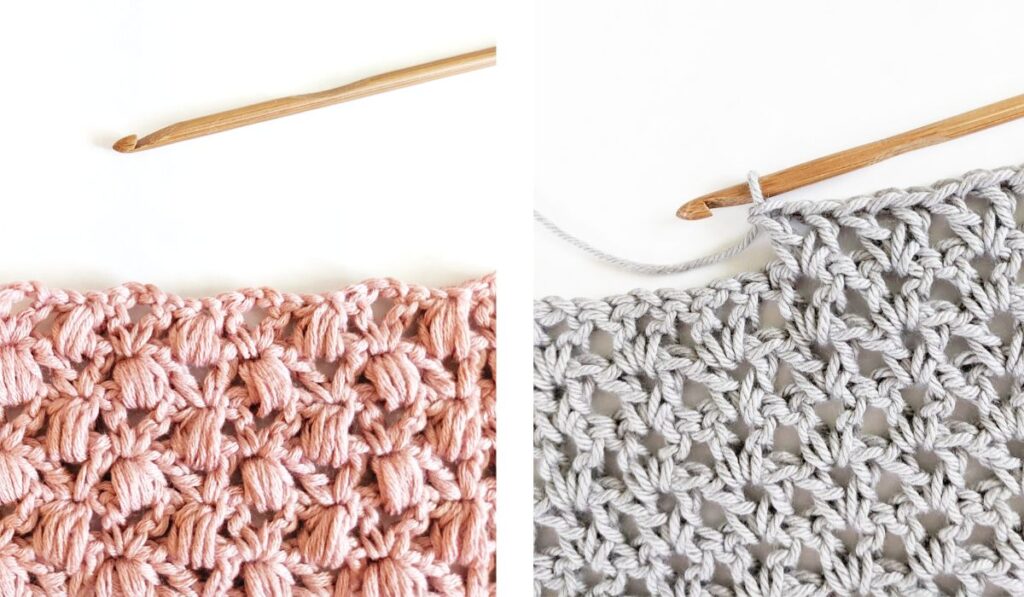
Other Pretty Crochet Stitch Tutorials
Pin it for later
Materials You Will Need to Make This Stitch
You might have some of these already on hand, but here are the materials that I used to crochet the Tunisian honeycomb stitch:
- Tunisian crochet hook, I used a 6.5mm (K) hook. Since this is a practice swatch, you can also use a regular 6.5mm crochet hook.
- You will need some worsted-weight yarn or yarn of your choice. I used Hobby Lobby Cotton Et Lin in the color Parchment.
- Stitch markers. You may find stitch markers helpful for this stitch pattern.
- Pair of scissors to cut your yarn.
- A darning needle to work in your tail end.
Abbreviations
FwP – forward pass
RetP – return pass
Lts – last Tunisian stitch: insert hook into the last two loops on the side, yarn over, and pull through.
Tss – Tunisian simple stitch: insert hook from right to left behind the vertical bar, yarn over, draw loop through and leave on hook.
Tps – Tunisian purl stitch: Bring yarn in front, insert hook from right to left behind vertical bar, bring yarn to the back, yarn over, pull through, and leave on hook.
Tunisian Crochet Honeycomb Stitch Pattern
To start the stitch pattern, chain an even amount of stitches. Then, follow the stitch pattern down below:
Row 1: FwP, draw up loop in 2nd chain from hook and in each chain across, RetP, yarn over, pull through first loop on hook. * yarn over, pull through next 2 loops, repeat from * till the end of the row.
Row 2: Skip first vertical bar, (Tss 1, Tps 1) across row to last stitch, Lts, RetP.
You want to alternate between the Tunisian simple stitch and the Tunisian purl stitch. Continue to do this till the end of the row.
Row 3: Skip first vertical bar, (Tps 1, Tss 1) across row to last stitch, Lts, RetP.
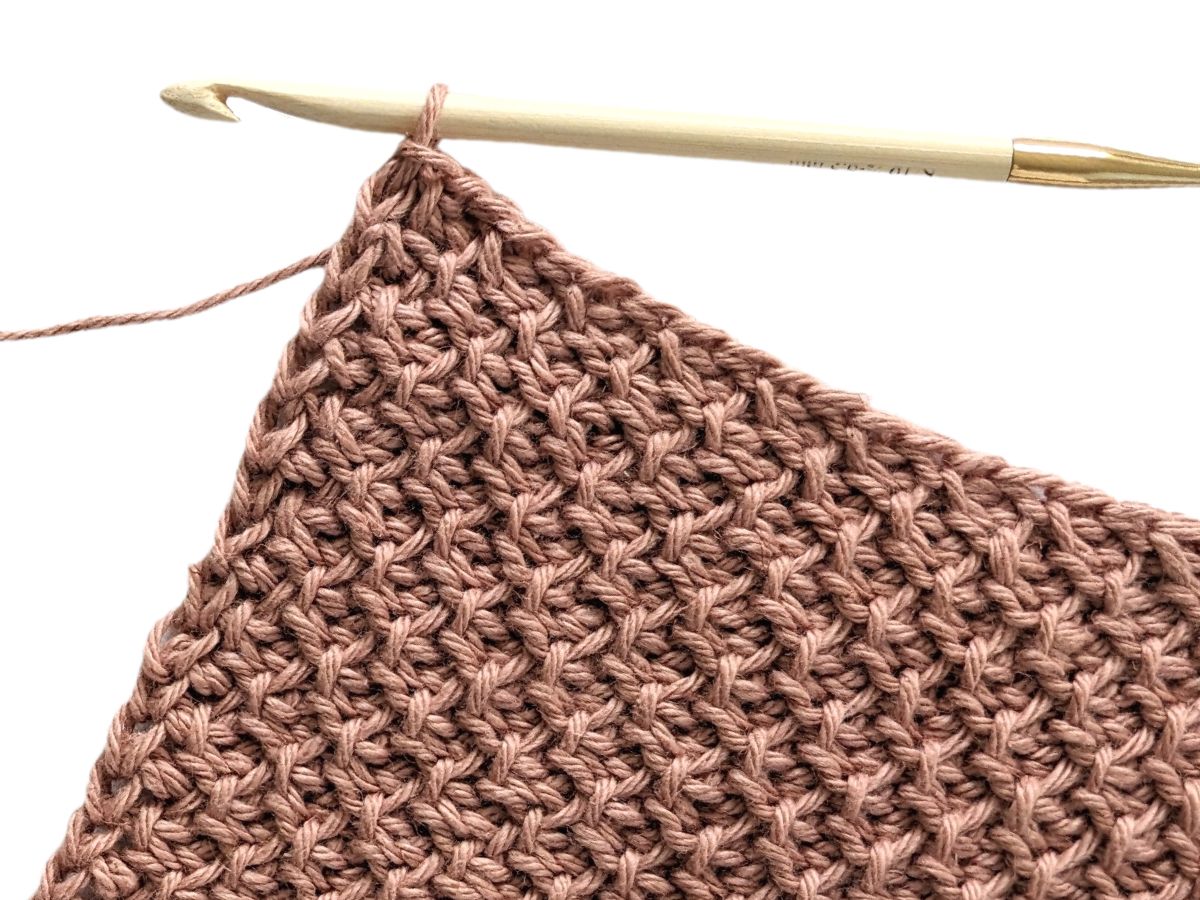
Like row 2, you are going to alternate between stitches, except row 3 starts with the Tunisian purl stitch first, and then the Tunisian simple stitch. Take a look at the photo down below to help identify what each stitch looks like.

Continue to alternate between row 2 and row 3 for the stitch pattern.
When you have made your desired amount, finish off your last row with a Tunisian Slip Stitch. Since you're making the honeycomb stitch, you want to alternate between these two stitches when making a slip stitch.
And that's how you make the Tunisian crochet honeycomb stitch!