Learn how to crochet the Tunisian Slip Stitch with this step-by-step photo tutorial.
This post contains affiliate links, which means I make a small commission at no extra cost to you. See my full disclosure here
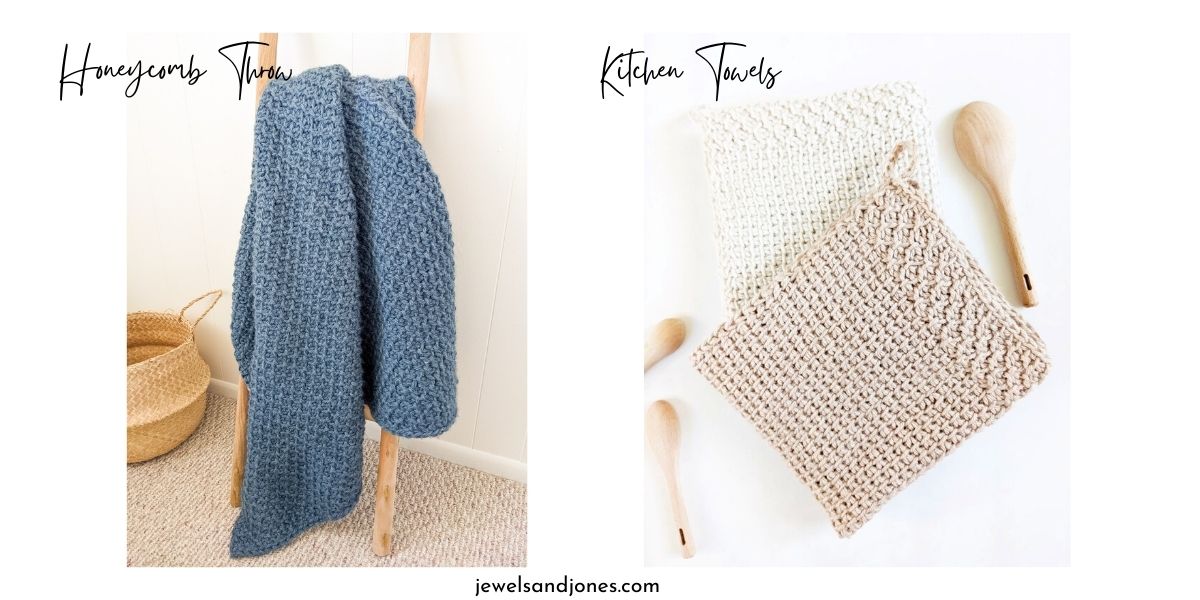
Tunisian crochet is a hybrid between knitting and crochet. Like crochet you use one hook, like knitting, you have multiple loops on the hook (needle). The result is this amazing textured like fabric that can be made into multiple different projects, like this Tunisian Crochet Blanket Pattern, and these cute Tunisian Crochet Kitchen Towels.
One great thing about Tunisian crochet is that it's very similar to regular crochet. So if you know how to make a chain, a slip stitch, and a yarn over, you can totally make a Tunisian crochet slip stitch.
It follows the same concept as regular crochet, you just place your hook in a vertical bar, instead of a chain. Sounds simple right?! The step-by-step photo tutorial down below will show you how to make a Tunisian crochet slip stitch.
For this tutorial, I used a 12.0 mm Tunisian crochet hook and Lion Brand Re-Spun Thick & Quick Yarn.
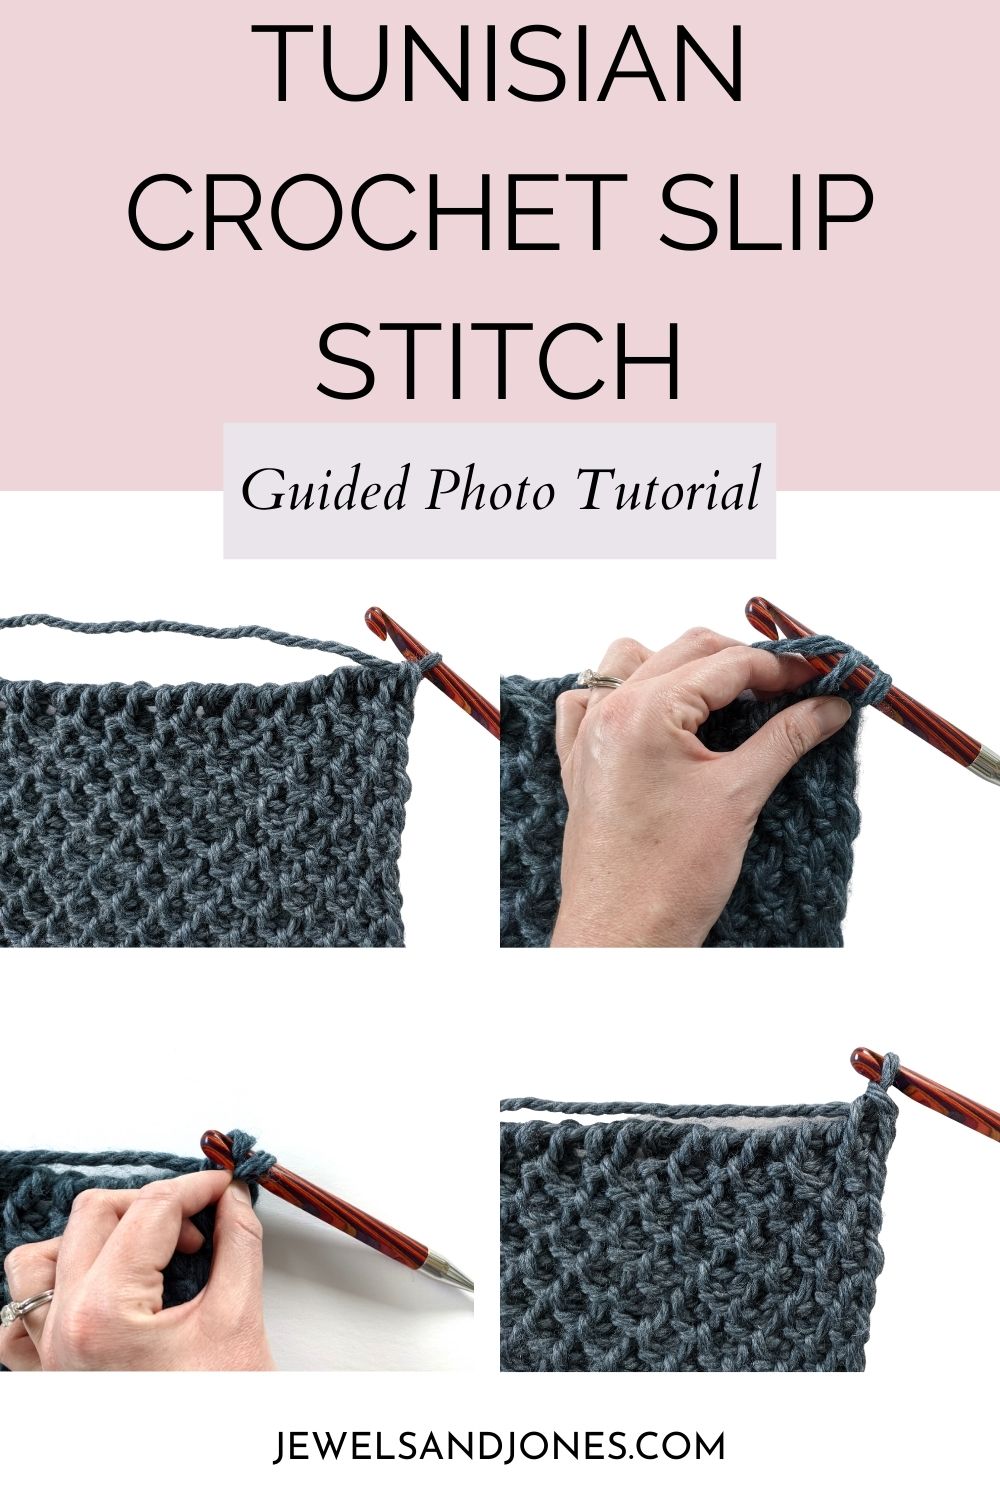
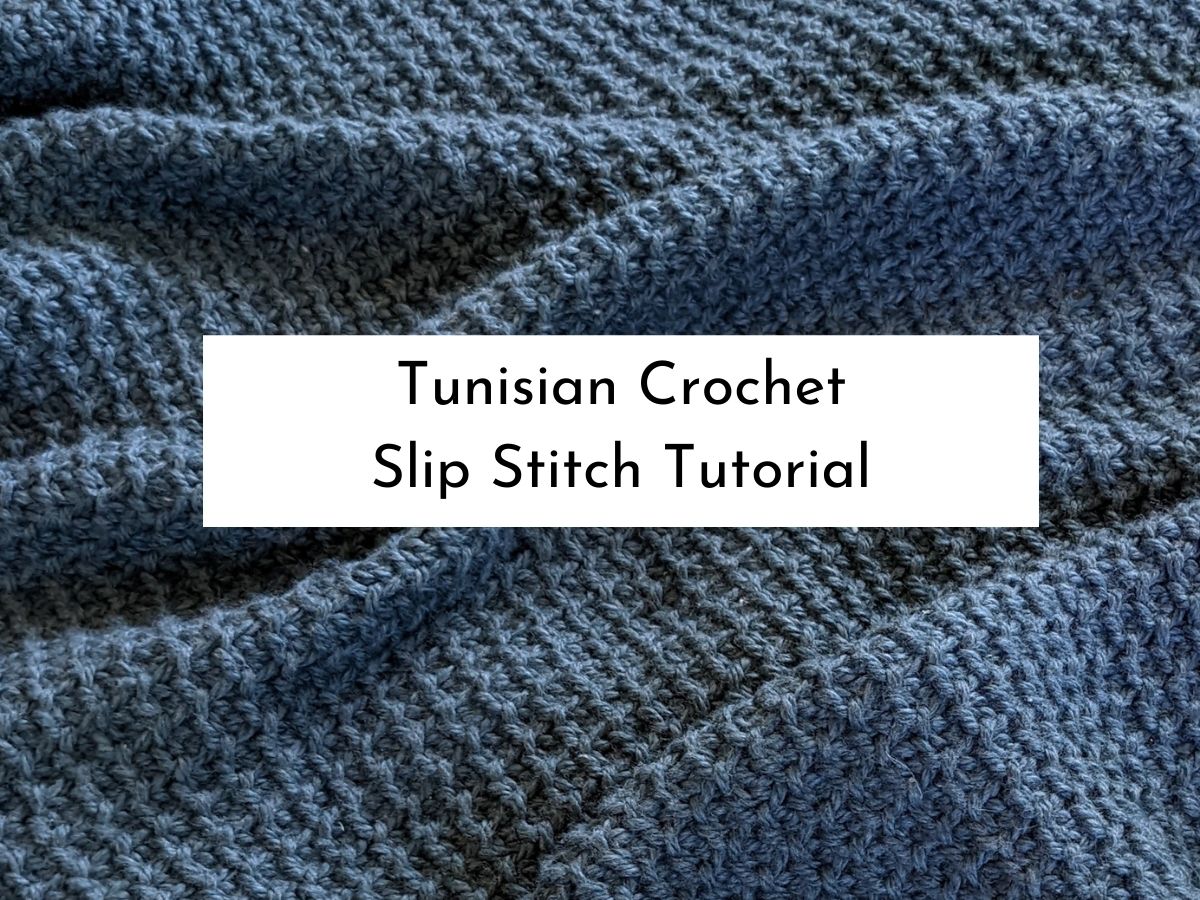
Tunisian Crochet Slip Stitch Tutorial
To make a Tunisian crochet slip stitch, simply follow the written tutorial and guided photos down below.
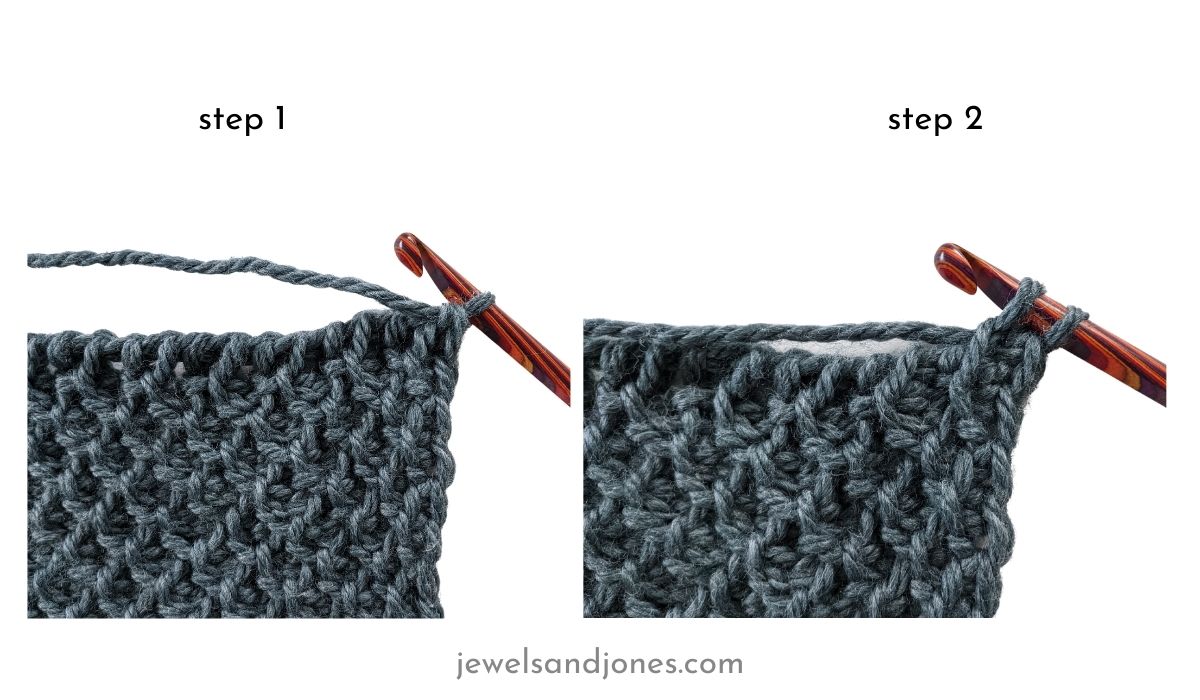
Steps 1 and 2: Skip the first vertical bar and insert your hook into the second vertical bar.
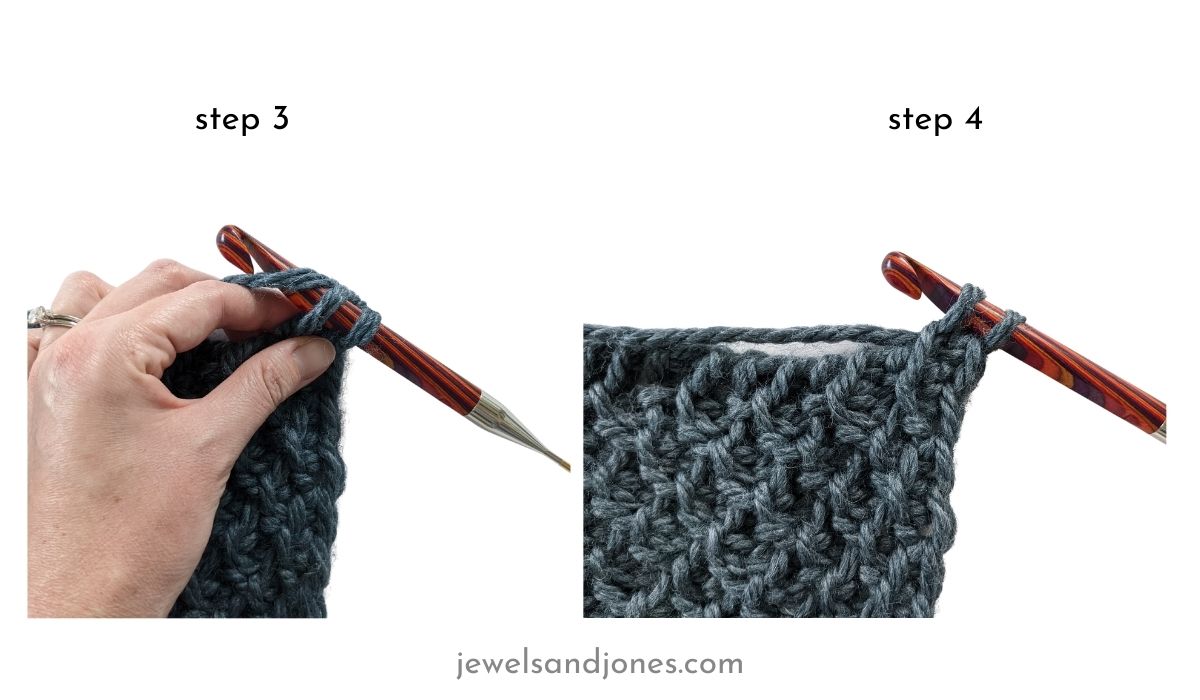
Steps 3 and 4: Yarn over, and pull through the first loop on your hook. You should have 2 loops left on your hook.
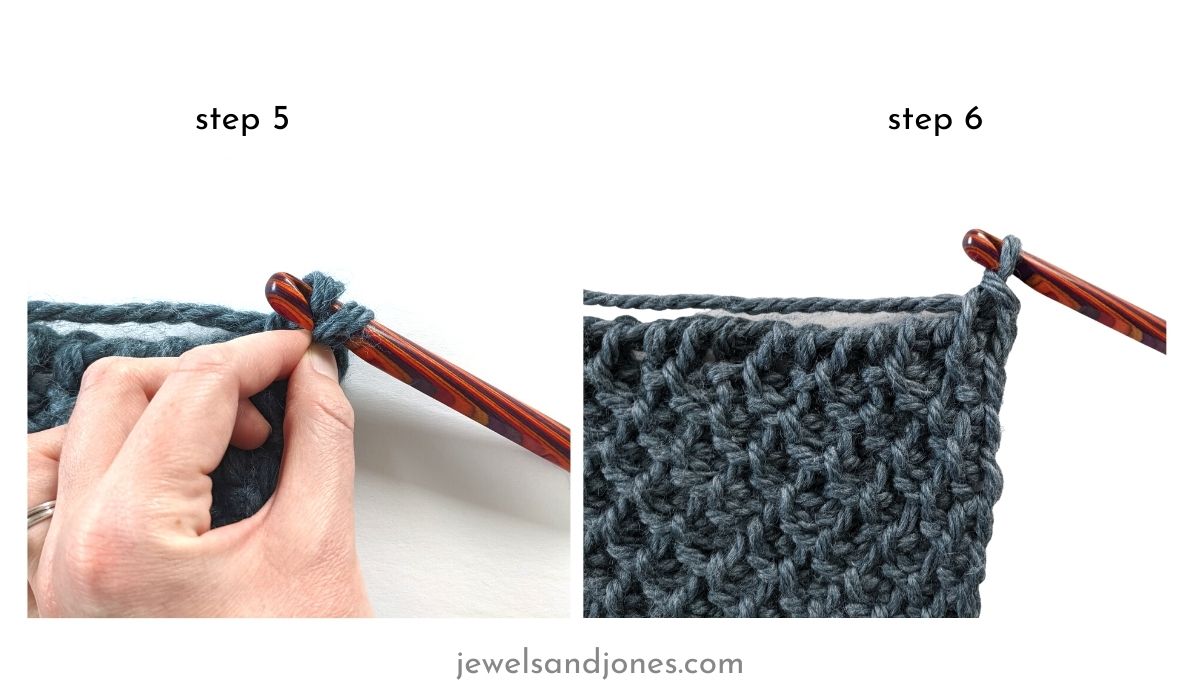
Steps 5 and 6: Pull through the last loop on your hook and you're done.
At this point, you should have one loop remaining on your hook and this is used for the following vertical bar.
Once you have the whole row completed, simply yarn over and pull the yarn through the last loop. This will create a knot and all that's left to do is cut the yarn and weave in your ends.
I hope you enjoyed this quick tutorial and don't forget to PIN IT for later use!
Other Crochet Tutorials
- How to Crochet a Pretty Puff Stitch
- How to Crochet a Stitch that Looks Like Knitting
- Crochet Double V-Stitch Tutorial
- Crochet Lotus Stitch Tutorial