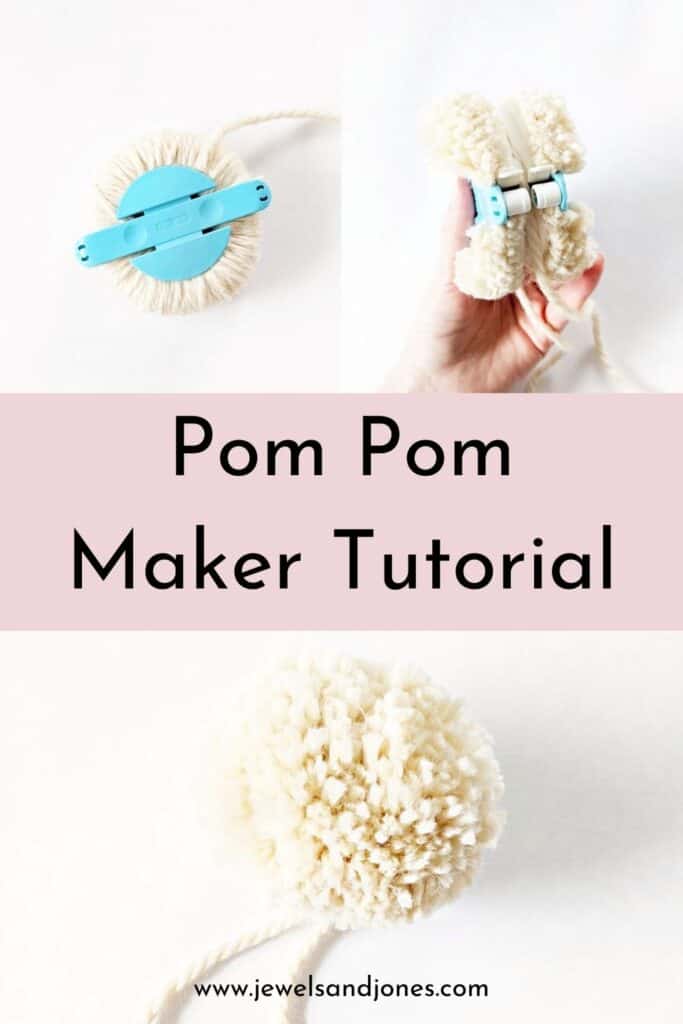
Learn how to make your very own pom pom using a pom pom maker. In this tutorial, I'm going to show you how to make the perfect pom pom in 5 easy steps.
Pom poms are great to add to a variety of projects, I especially love adding them to my crochet beanies. So if you love making them as much as I do and want to learn how to make them using a pom pom maker, then continue to scroll down for the tutorial.
This post contains affiliate links, which means I make a small commission at no extra cost to you. See my full disclosure here
Materials You Will Need to Make a Pom Pom
For this tutorial, you will need:
- Pom Pom Maker
- Yarn
- Scissors
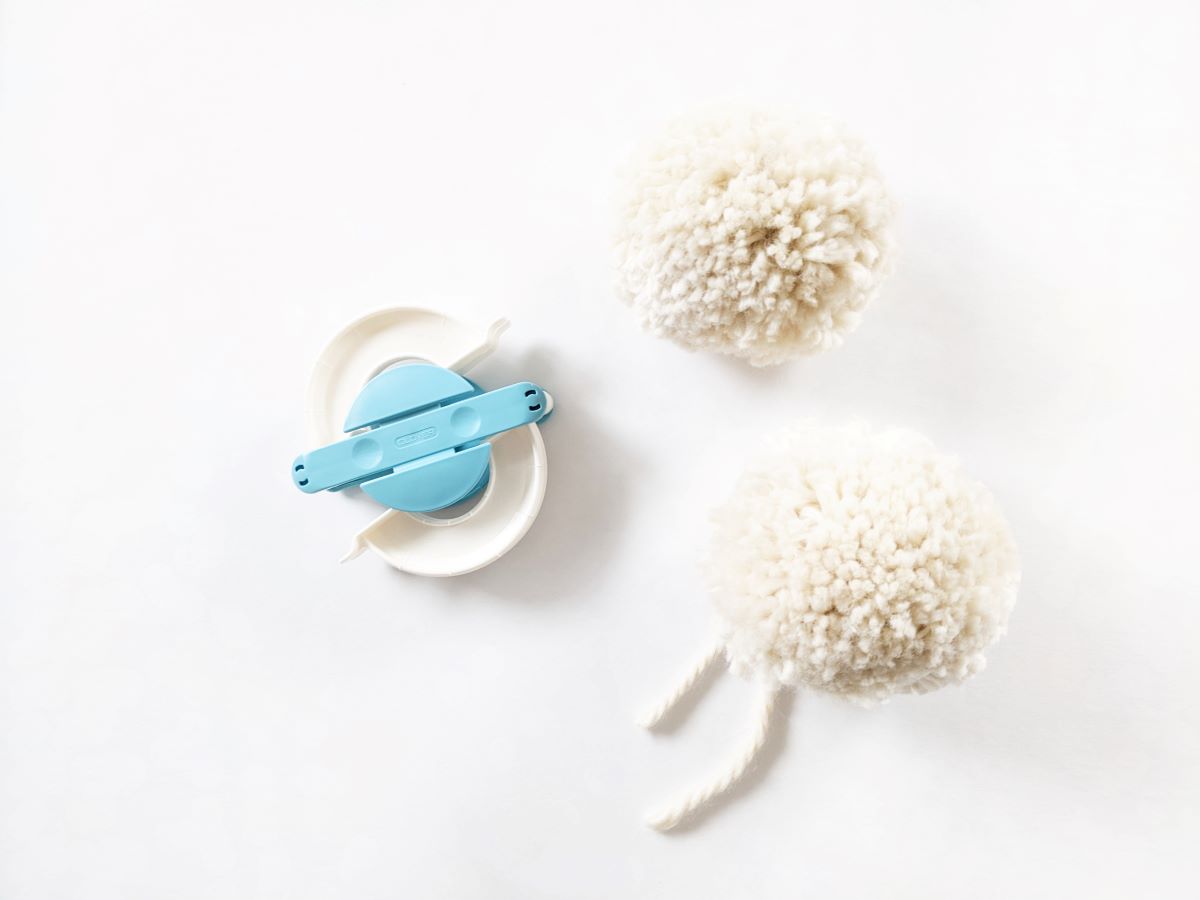
I am using a Clover Pom-Pom Maker, and Lion Brand Re-Spun Thick & Quick Yarn. If you don't have a pom pom maker, you can always make a pom pom by using either your hand, a fork, or a piece of cardboard.
I personally have used the cardboard method for years (learned it when I was little) and it works great!
What Type of Yarn is Best to Use to Make a Pom Pom?
I highly recommend using either a worsted weight number 4 yarn or a bulky weight number 5 yarn. I find that these two types of yarn result in a nice fluffy pom pom, to see an example, check out this chunky crochet pillow pattern.
However, you can use any type of yarn that you have in your stash. Just note that a thinner yarn results in a smaller pom pom. So it all depends on what type of pom pom you want for a project.
Alright, let's get started with our tutorial.
Pom Pom Maker Instructions
Step 1: Open up your pom pom maker so both sides are showing and start wrapping your yarn around one side of the pom pom maker. It doesn't matter which side you start on, just make sure that you evenly wrap your yarn.

Step 2: Once you have one side wrapped with yarn, continue by wrapping the other side with yarn.

Step 3: Close you pom pom maker back together, and grab your scissors. Flip your pom pom maker on its side, so that you can see the opening of where you started wrapping your yarn and start cutting in the middle.
Continue to cut until you reach the end.

Step 4: Once you have cut all the way around the pom pom maker, cut an additional 6" inch piece of yarn and wrap it around the middle of your pom pom maker. Once this is done, tie 3 knots.

Step 5: Open up your pom pom maker on both sides by pushing the sides outwards and you should have a pom pom that comes out. Now all that's left to do is trim up the sides.

Voila, you're done!
I hope you enjoyed this pom pom maker tutorial and that it was helpful.