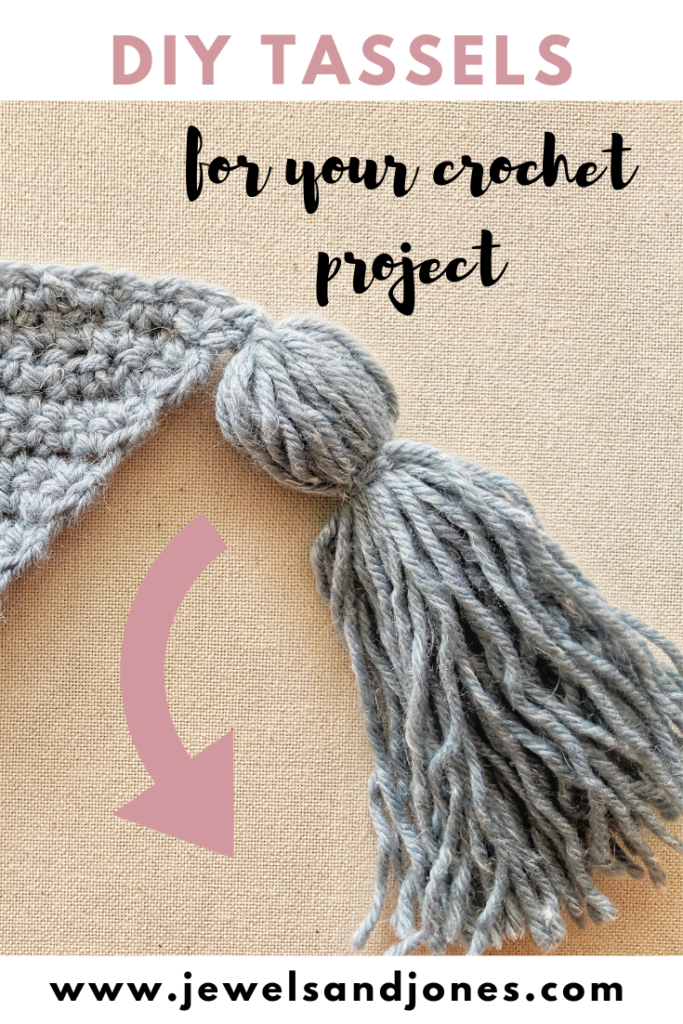
Learn how to make and add tassels to any crochet project. This is a super simple tutorial for making tassels by hand. You'll be adding them to your crochet projects in no time!
Hey friends,
I have a super simple tutorial for you today on how to make and add tassels to any one of your crochet projects. I recently finished a triangle crochet scarf that was in need of some cute tassels.
CLICK HERE if you want to check out the free crochet triangle scarf pattern!
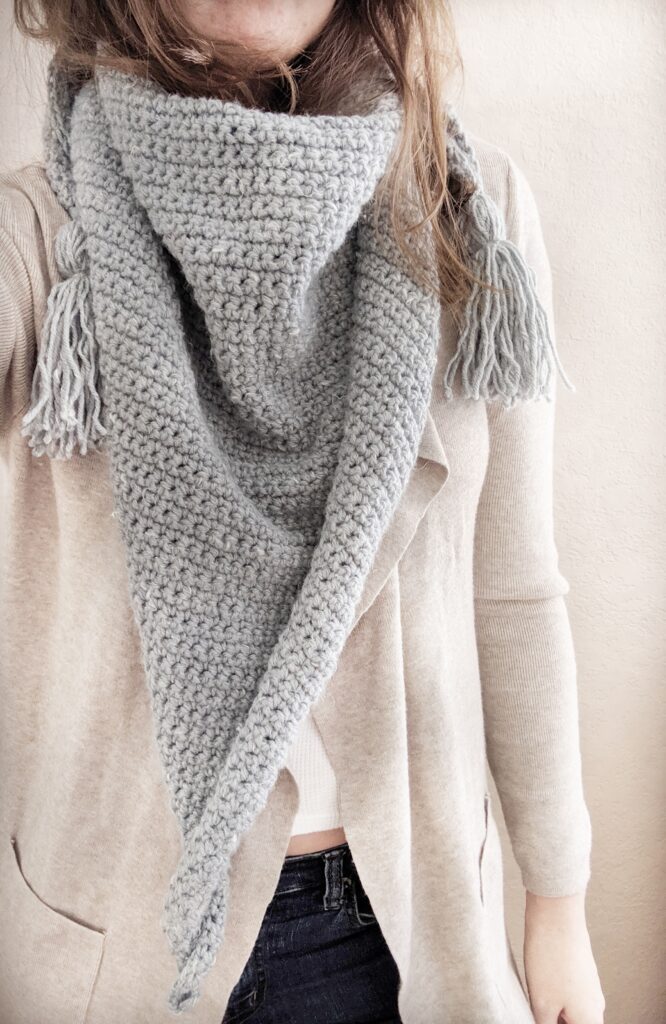
As you can see by the photo, I added 2 tassels to the scarf. I think this adds the perfect finishing touch to the scarf. As soon as you learn how to make them, trust me, you'll want to make tassels for all your crochet projects. Plus, they take just minutes to whip up!
So lets move on to the tutorial.
HOW TO MAKE TASSELS FOR YOUR CROCHET PROJECT
Below I have a step by step tutorial on how to make your first tassel. Now there are many different ways of making a tassel. One way is to buy a tassel tool maker. I've never used one before, because I prefer the DIY method. But if you do, let me know in the comment section how you like it?!
The other way is doing it by hand and it literally maybe takes about 5 minutes or less. I actually learned how to this from my mom and many other little tips and tricks.
If you would like to do it yourself, then continue on reading.
STEP 1: Grab a book and some yarn
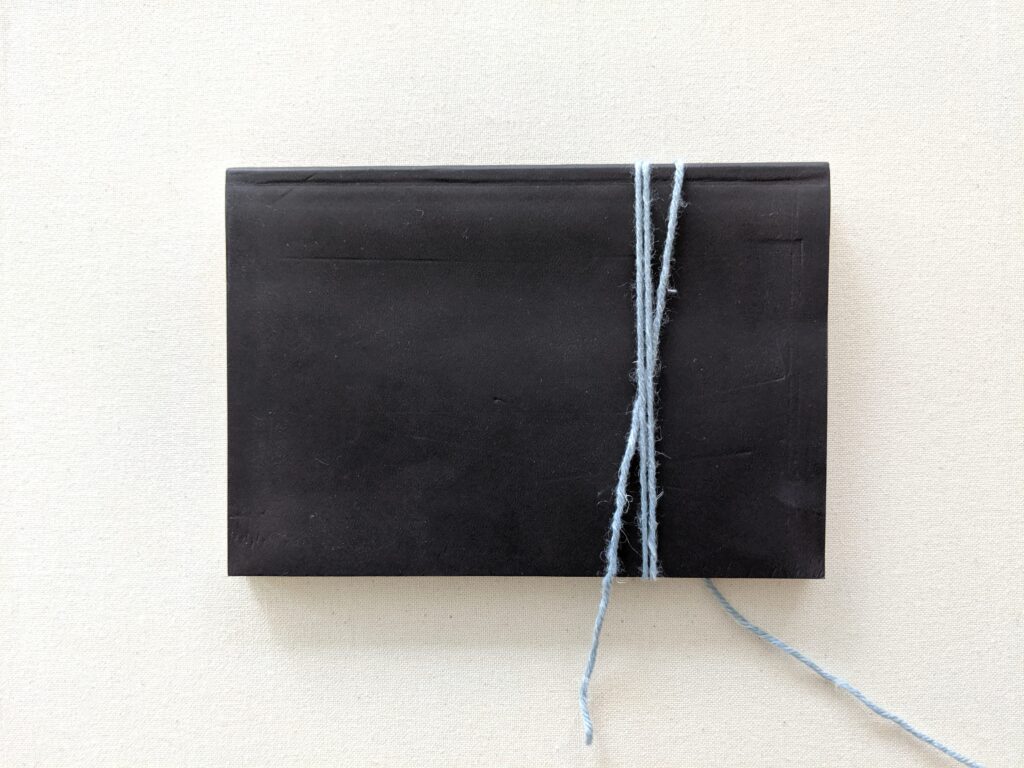
Wrap the yarn around the book (image below for reference).
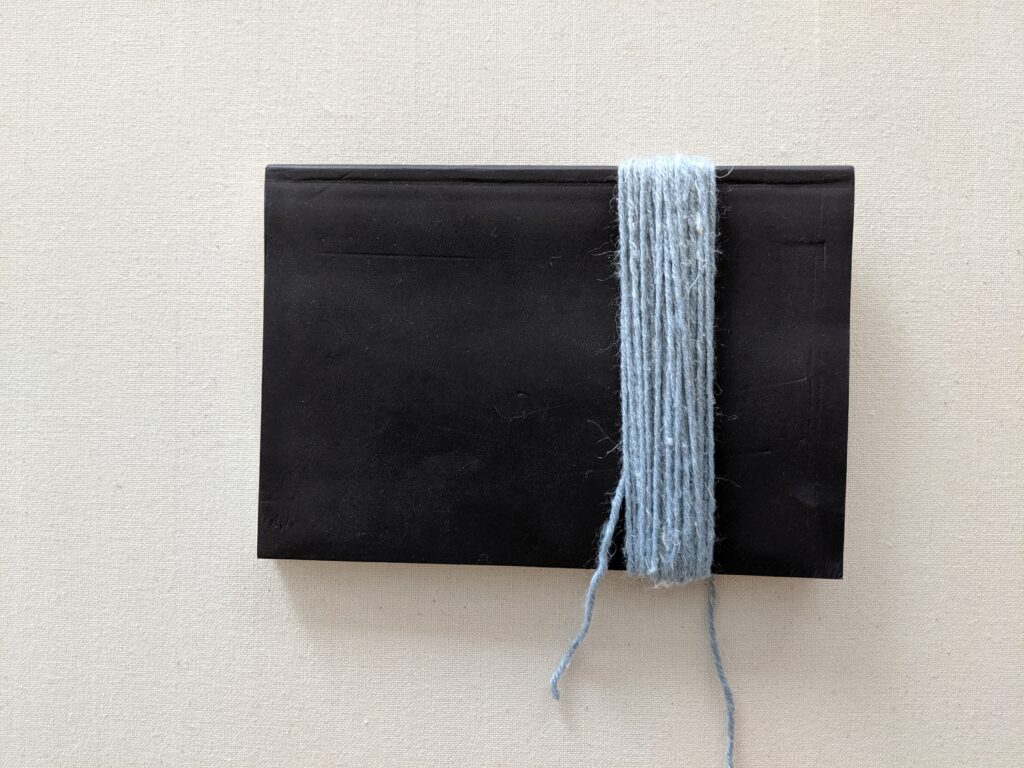
Continue to wrap the yarn around the book until you have the thickness that you would like and then cut the end. I rapped my yarn around the book about 18 times.
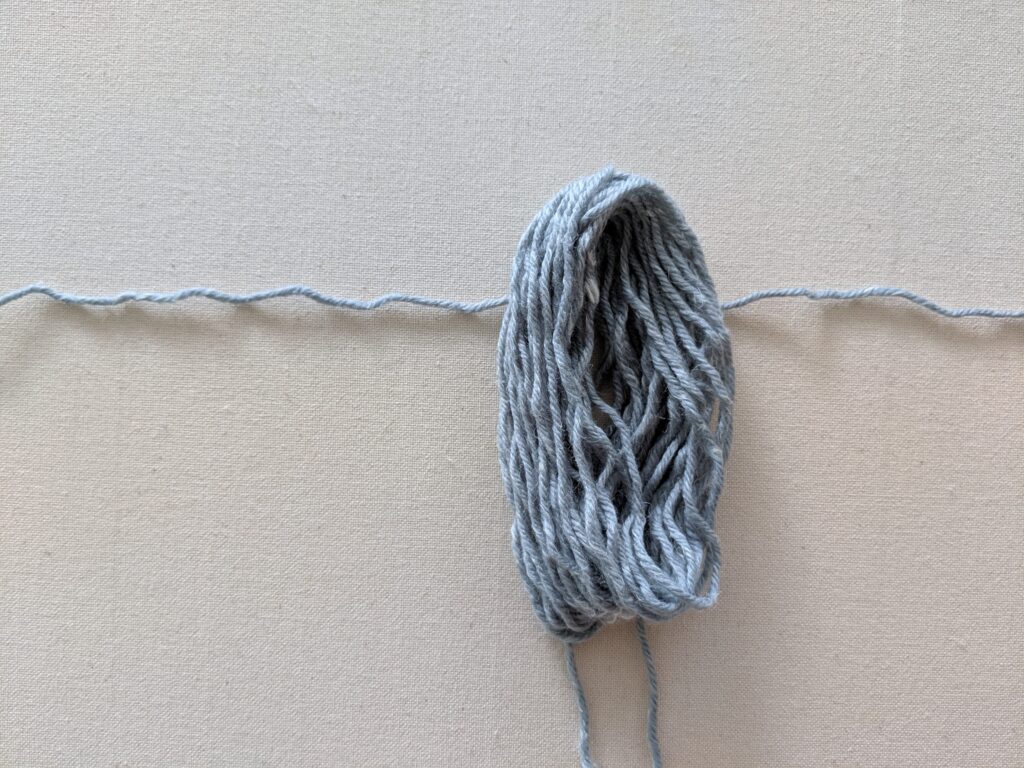
STEP 2: Gently remove the wrapped yarn of the book. Cut an additional piece of yarn and put it under the yarn that you just wrapped. As the image shows below, you want to put the yarn midway by the top.
STEP 3: Once you have the yarn underneath the bunched up yarn, you want to tie a knot to secure it.
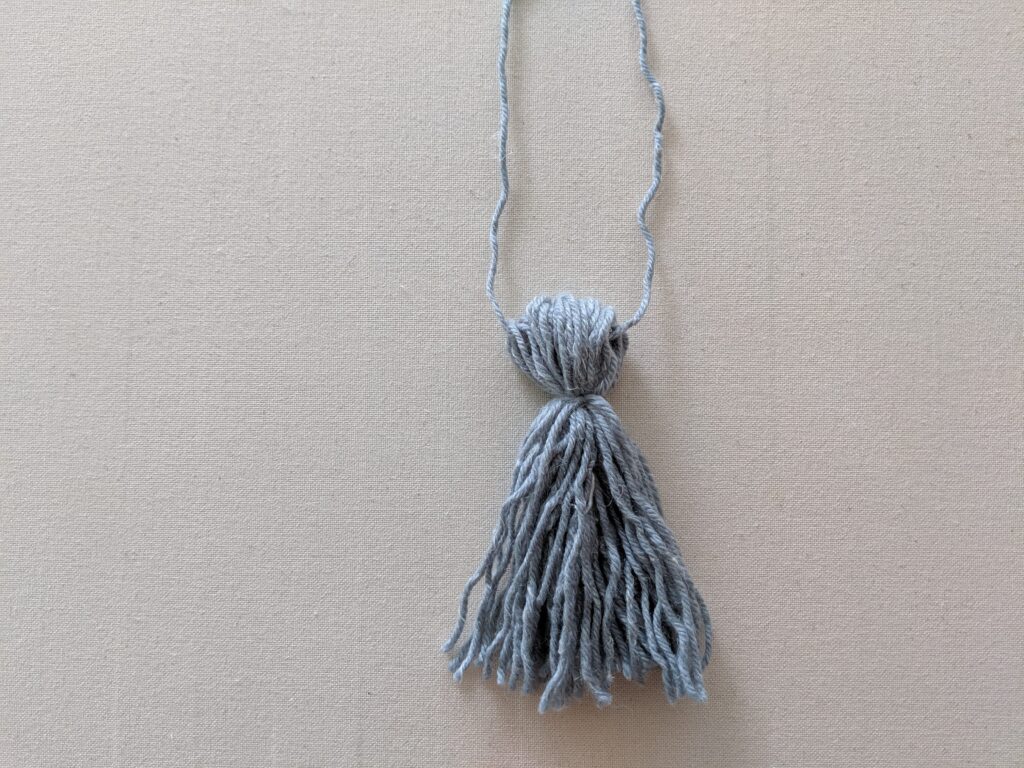
As you can see from the photo above, I've already tied it and cut the yarn on top and bottom.
SIDE NOTE: I like to leave a long "tail" when cutting, this way it blends in with the rest of the yarn. You can also cut it short and glue it so your tail ends aren't hanging out.
And you just created your very own tassel! pretty easy right?
Adding Tassels To Your Crochet Project
Now that we have created a tassel, let's add it to our crochet project.
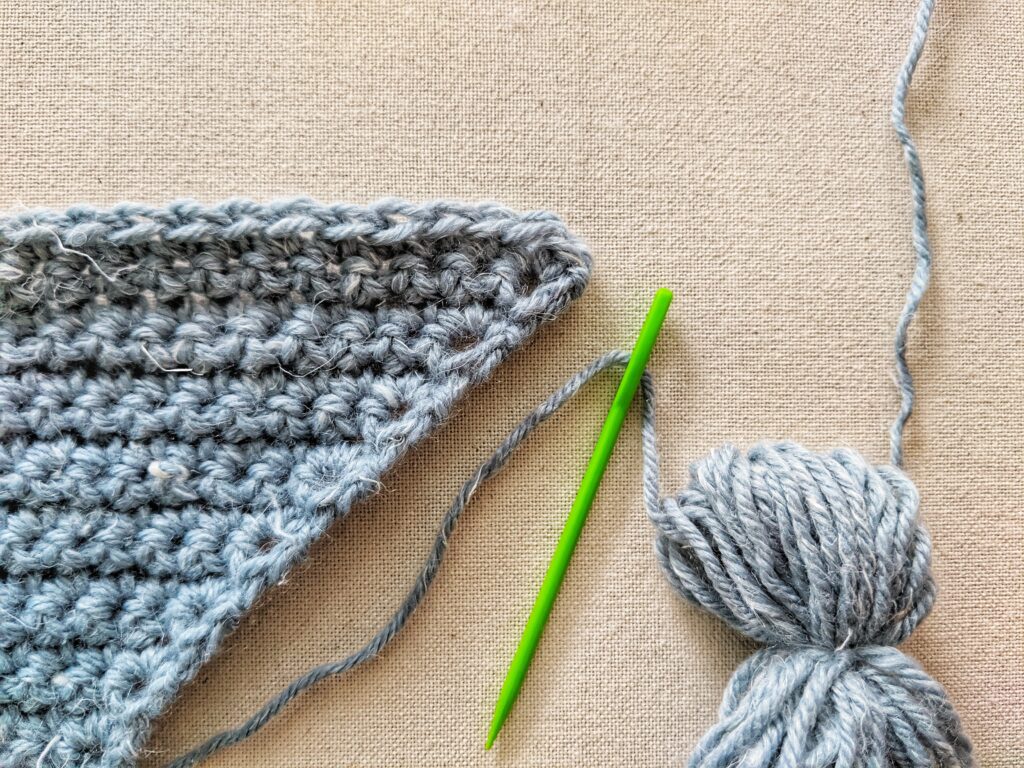
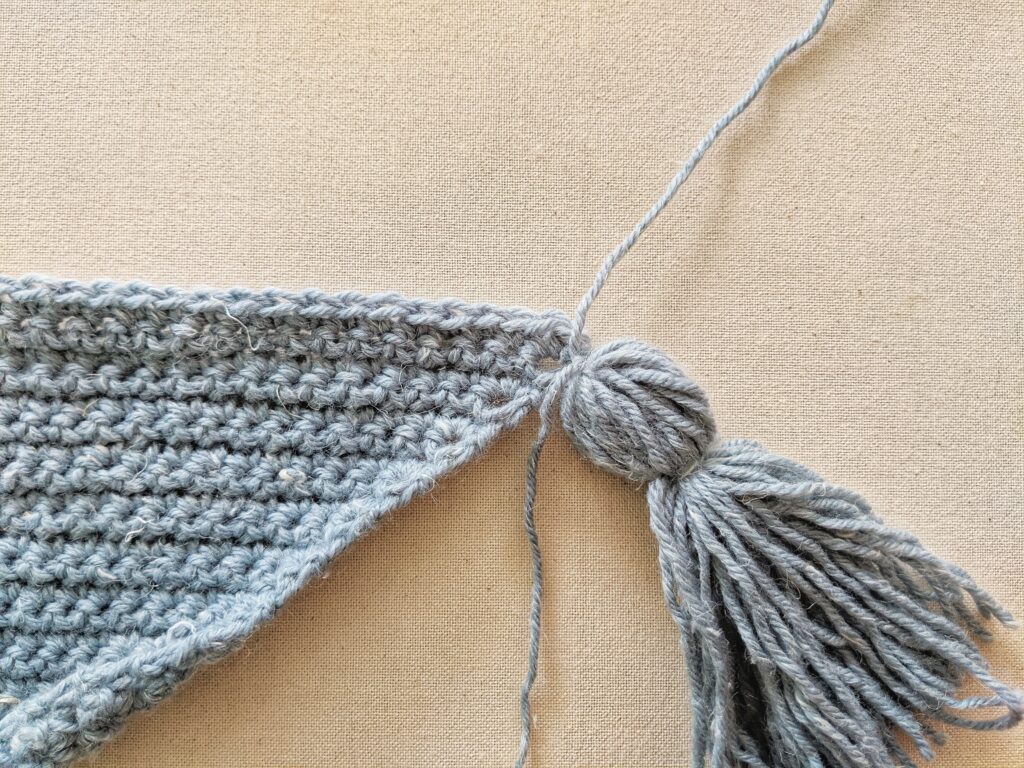
STEP 4: Cut an additional piece of yarn and insert it through the top hole of your tassel. Grab a tapestry needle and insert the yarn through it and through the corner of your triangle scarf or your other crochet project.
CLICK HERE for link to crochet triangle scarf
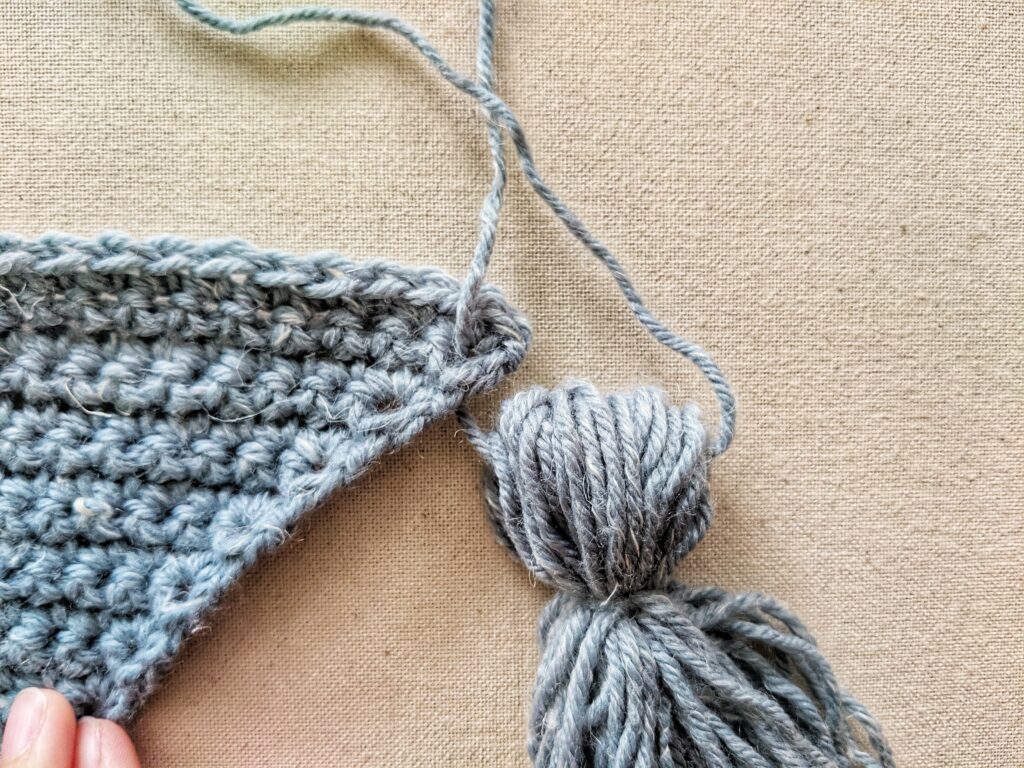
As you can see now, your tassel is almost secure to your crochet piece.
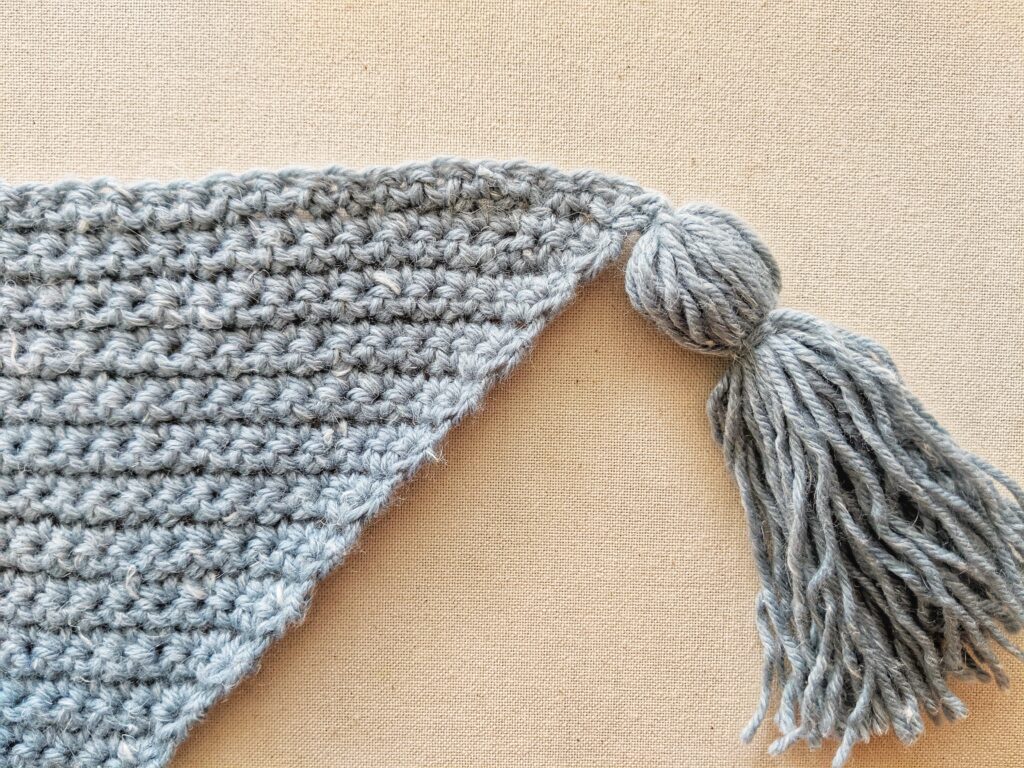
STEP 5: Finally, secure the tassel to your crochet scarf (or other project), by tying a knot and neatly working the leftover yarn through your crochet piece.
You're done! I hope you enjoyed this tutorial of making and adding crochet tassels to your crochet project.
Happy DIY-ing
-Nicky