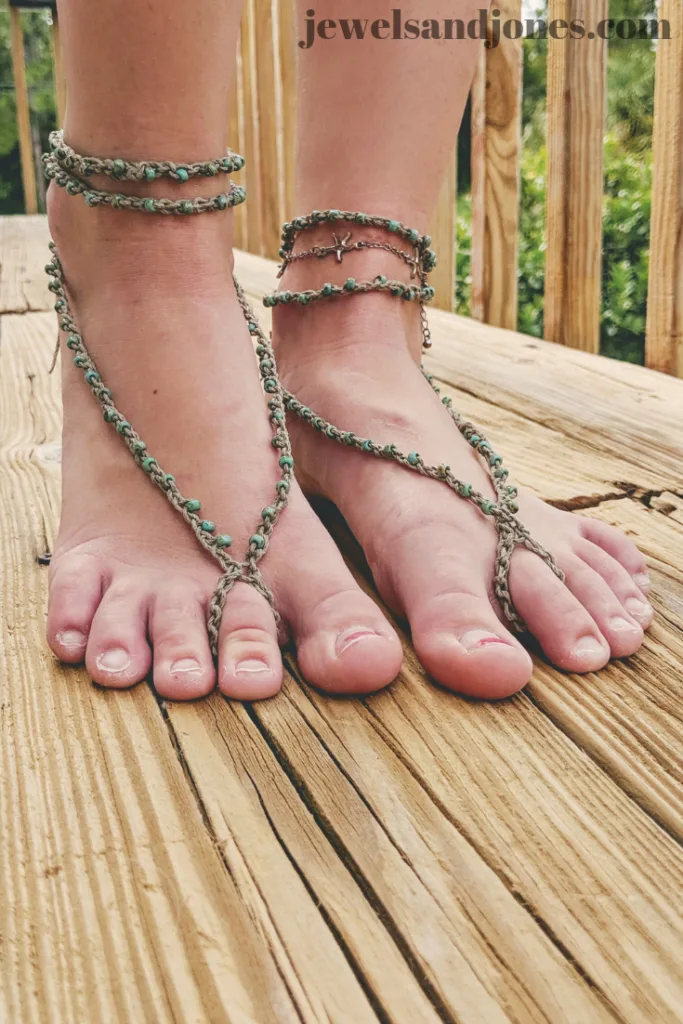
Crochet these wrap around anklets for the summer time. This free crochet pattern is sure to look stylish on your ankles. Make it in a day!
Crochet a wrap around anklet with this free crochet pattern and tutorial. these crochet anklets are sure to look stylish and be a hit during the summer time.
Keep on reading to find out the juicy details in creating these anklets or scroll down for the free pattern!

Summer is almost upon us, so I thought it would be fun to create some more crochet bead anklets. I just love making crochet anklets because it’s so easy to whip up.
Seriously you can make a couple within the hour! If you’re super dedicated, you can probably make them in under 30 minutes.
All you need are some beads and some yarn. I like using hemp string for my anklets. I find it quite durable! But embroidery floss works well too.
But here’s a quick list of all the things you can use:
- hemp string
- embroidery floss
- crochet thread
- silk string
- yarn
- twine
- ribbon
An endless amount of options. Plus, just think of all the cute variations you can make using this free crochet anklet pattern.

I’ve made a few of these crochet anklets here on the blog, you can find them here and here.
Plus, these make really cute gift for friends and family. I know that I always gifted these to my best friends in school. We would also make wish bracelets together. Have you ever made wish bracelets or beaded anklets?
If so, you’ll have no problem making these. If not, that’s totally ok. I provide a step by step tutorial down below for these wrap around crochet anklets.
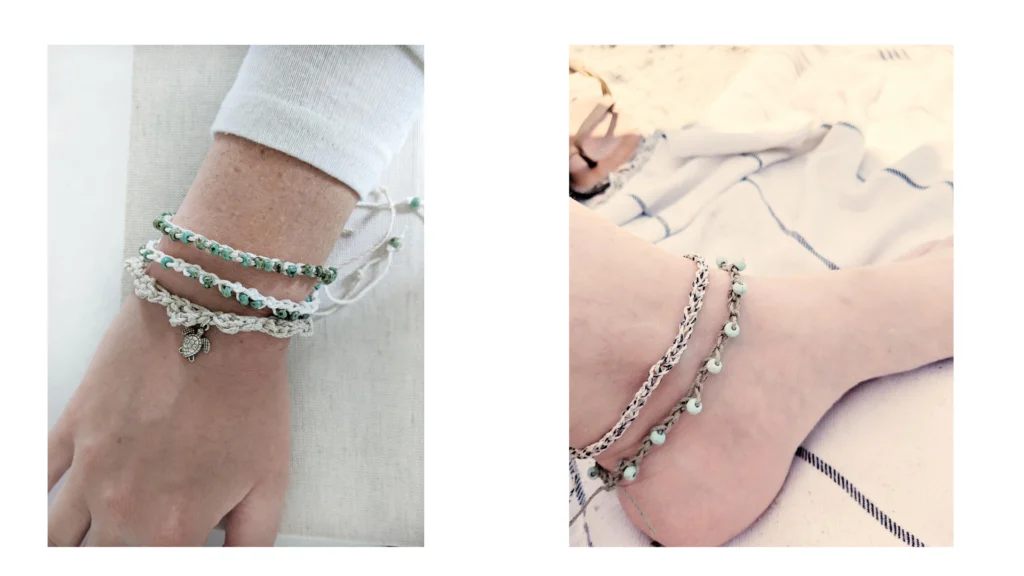
So let’s get into this pattern! But first, check out these crochet beaded patterns.
OTHER PATTERNS YOU MIGHT LIKE
PATTERN
Pattern Description:
Create an easy wrap around anklet for the summer time! These beaded crochet anklets can be made under an hour. Plus, they make the cutest gift for family and friends!
Skill Level:
Beginner +
Materials:
Size C (2.75 mm) hook
Hemp String, Embroidery Floss, or Yarn (I used hemp string in my tutorial).
Small to medium sized beads (I used Picasso Matte, size 6.0 Seed bead). Any beads will do, just make sure they have a larger hole.
Abbreviations:
ch – chain
Notes:
- Sizing will vary with this project, the size I made was a medium. If you wish to make it smaller or larger just increase and decrease the amount of chains that will wrap around your ankle. The chains around the toe area will stay the same.
- Pictures are used throughout the pattern to explain it step by step.
Pattern:
You will need about 5 1/2 ft of yarn (hemp, embroidery floss, etc.). However, this can vary depending on if you want a tighter or looser fit.
Step 1:
Fold the yarn in half (right in the middle), make a slip knot.
Photo below shows this step

Step 2:
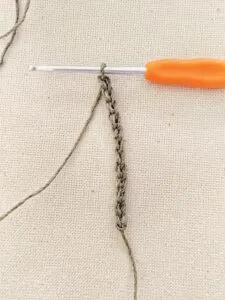
chain 12 (as shown below).
Step 3:
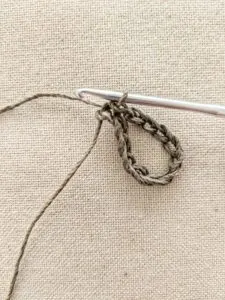
slip stitch together to the first chain you made. ( sl st to first starting ch). As shown below, this creates a loop. Which will become the “toe” area of your barefoot sandals.
Step 4:
After creating the slip stitch, chain 2 on the right side, string on a bead and chain ( chain with bead counts as one chain).
So, ch 2, ch bead, ch 2, ch bead, ch 2, ch bead and so on.


As you can see from the photos above, you want to continue this pattern until you have 45 beads total on your string. This will be a total of 135 chains (counting the beads 45 x 3 = 135).
So the pattern is as follows:
- Create a slip knot in the middle of the string
- ch 12
- sl st to first ch
- ch 2
- chain with bead (counts as one ch)
- ch 2
- chain with bead
- Repeat ch 2, ch with bead, until 45 beads total or 135 stitches. When done, loop it through and tie in the end.

Step 5:
Once the right side is finished, the left side is done the same way.
So start in the middle of your slip stitch (careful not to pull the whole to big) and create a chain.


When the chain is created, make another one (you should have 2) and then chain one with bead. Continue to do this until you have 45 bead (135 chains). It’s exactly the same as the other side.
Once finished you have yourself the cutest pair of barefoot crochet sandals. just wrap around your ankle and your done!
Pair it up with other cute anklets! If you have any questions on how to make these, just comment below.
Share your creation on Instagram or Facebook @jewelsandjones. I would love to see it!
Have a beautiful day!
Nicky
pin it for later
