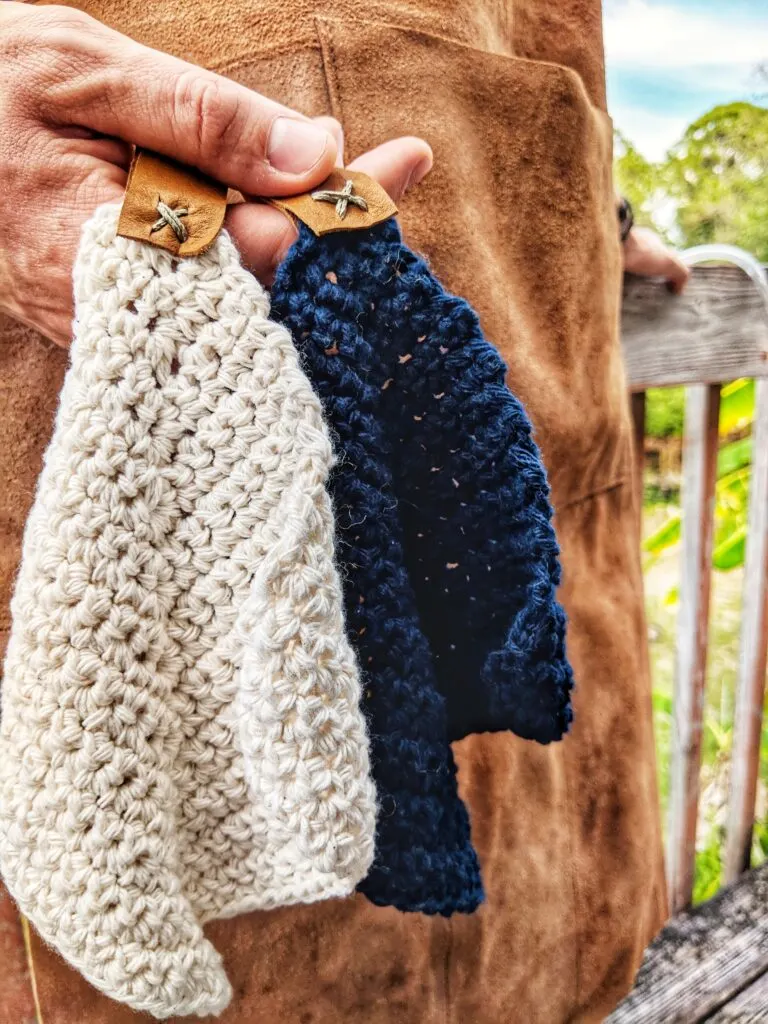
Create these simple crochet washcloths using the mitered crochet technique. These washcloths can be made within 30 minutes, all you need is a hook and some yarn.

Create these simple mitered crochet washcloths for your kitchen using the mitered crochet square technique. These washcloths can be created within 30 minutes.
It’s this really neat crochet technique where you basically work in a 90 degree angle and increase your stitch count every time you start a new row. Pretty cool right?! the results are these cute squares that look really hard to do, but in reality are pretty simple when you get the hang of it.
Plus, it’s made using only single crochets!
As I was learning how to do these squares I was thinking about all the different things you could make with this technique.
- washcloths
- blankets
- bags
- cardigan
Endless amount of options!

I decided to make these cute washcloths with leather tags and tied it together with hemp string. The washcloth itself is made with cotton yarn from Sugar’n Cream cotton yarn selection in white and blue. I really love using these yarns for simple washcloth projects. I find that this yarn is perfect for those type of projects. Plus its affordable!
So on to the pattern
What You’ll Need :
- 1 skein of Sugar’n Cream cotton yarn (4) in the color of your choice (I used ecru and indigo).
- Size H hook (5mm)
- Piece of leather
- hemp yarn
- tapestry needle
Finished Size:
Size of washcloth 7 inches
Abbreviations:
ch – chain, sc – single crochet
Notes:
- The pattern starts of with explaining it in paragraph form, because I find that it’s a lot easier to explain the method of a mitered square.
Pattern:
Start by chaining 2, then chain 3 single crochet in the second chain from hook. Once this is done, chain 1, turn, and single crochet in first chain and then 3 single crochet in the next chain, and then single crochet in last chain. You should have 5 chains when counting.
So, row 3 would be, ch 1, turn, sc 2 times, 3 sc in next stitch, sc 2 times.
With each row you increase by 1 on the left and right side.
row 4: ch 1, turn, sc 3, 3 sc in next stitch, sc 3 times
row 5: ch 1, turn, sc 4, 3 sc in next stitch, sc 4 times
row 6: ch1, turn, sc 5, 3 sc in next stitch, sc 5 times
Now that you have the pattern and see the increase you will want to this until row 23. Of course, you could always do more rows. But that is the row that I stopped at to create the washcloth. Once this done, weave in ends.

How To Leather Tags With Twine
First I cut out a strip of leather and drew a square at the bottom of the leather strip. In corners of the square I poked 4 holes. Then I grabbed the leather and positioned at the corner of the square (where I started). With twine in hand go through one leather hole, the crochet washcloth, and the other leather in back of the washcloth (photo below will help).

From there you want to go back and forth until your leather is securely on the crochet washcloth. I created an “x” with my twine on the leather. But this is totally optional. Once done, tie the ends, and then you have yourself a really cute washcloth.

Happy Hooking!
