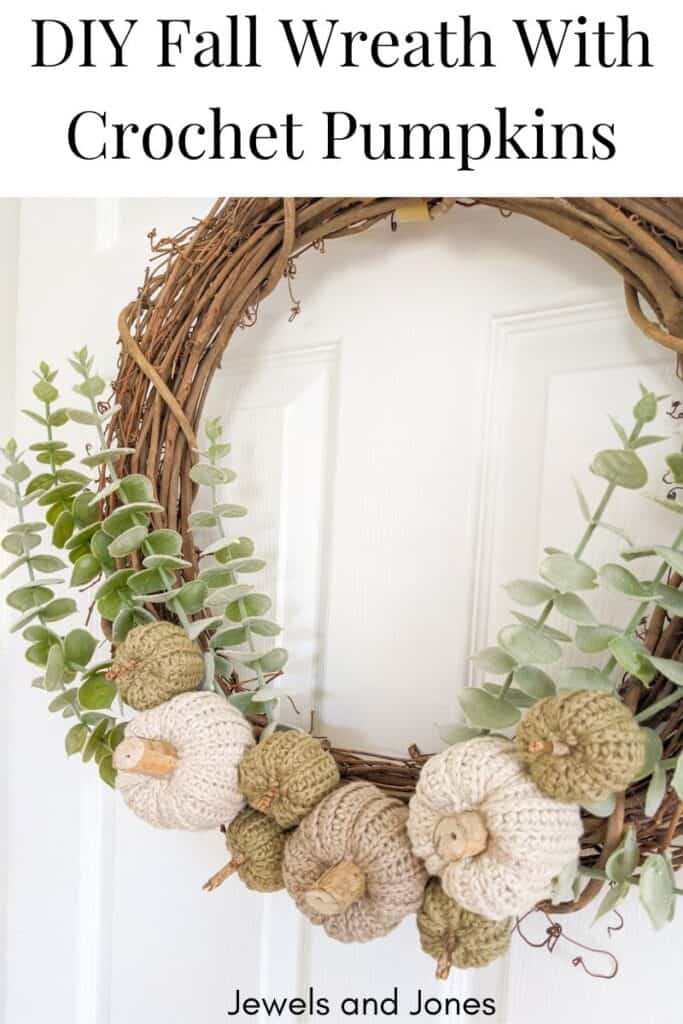

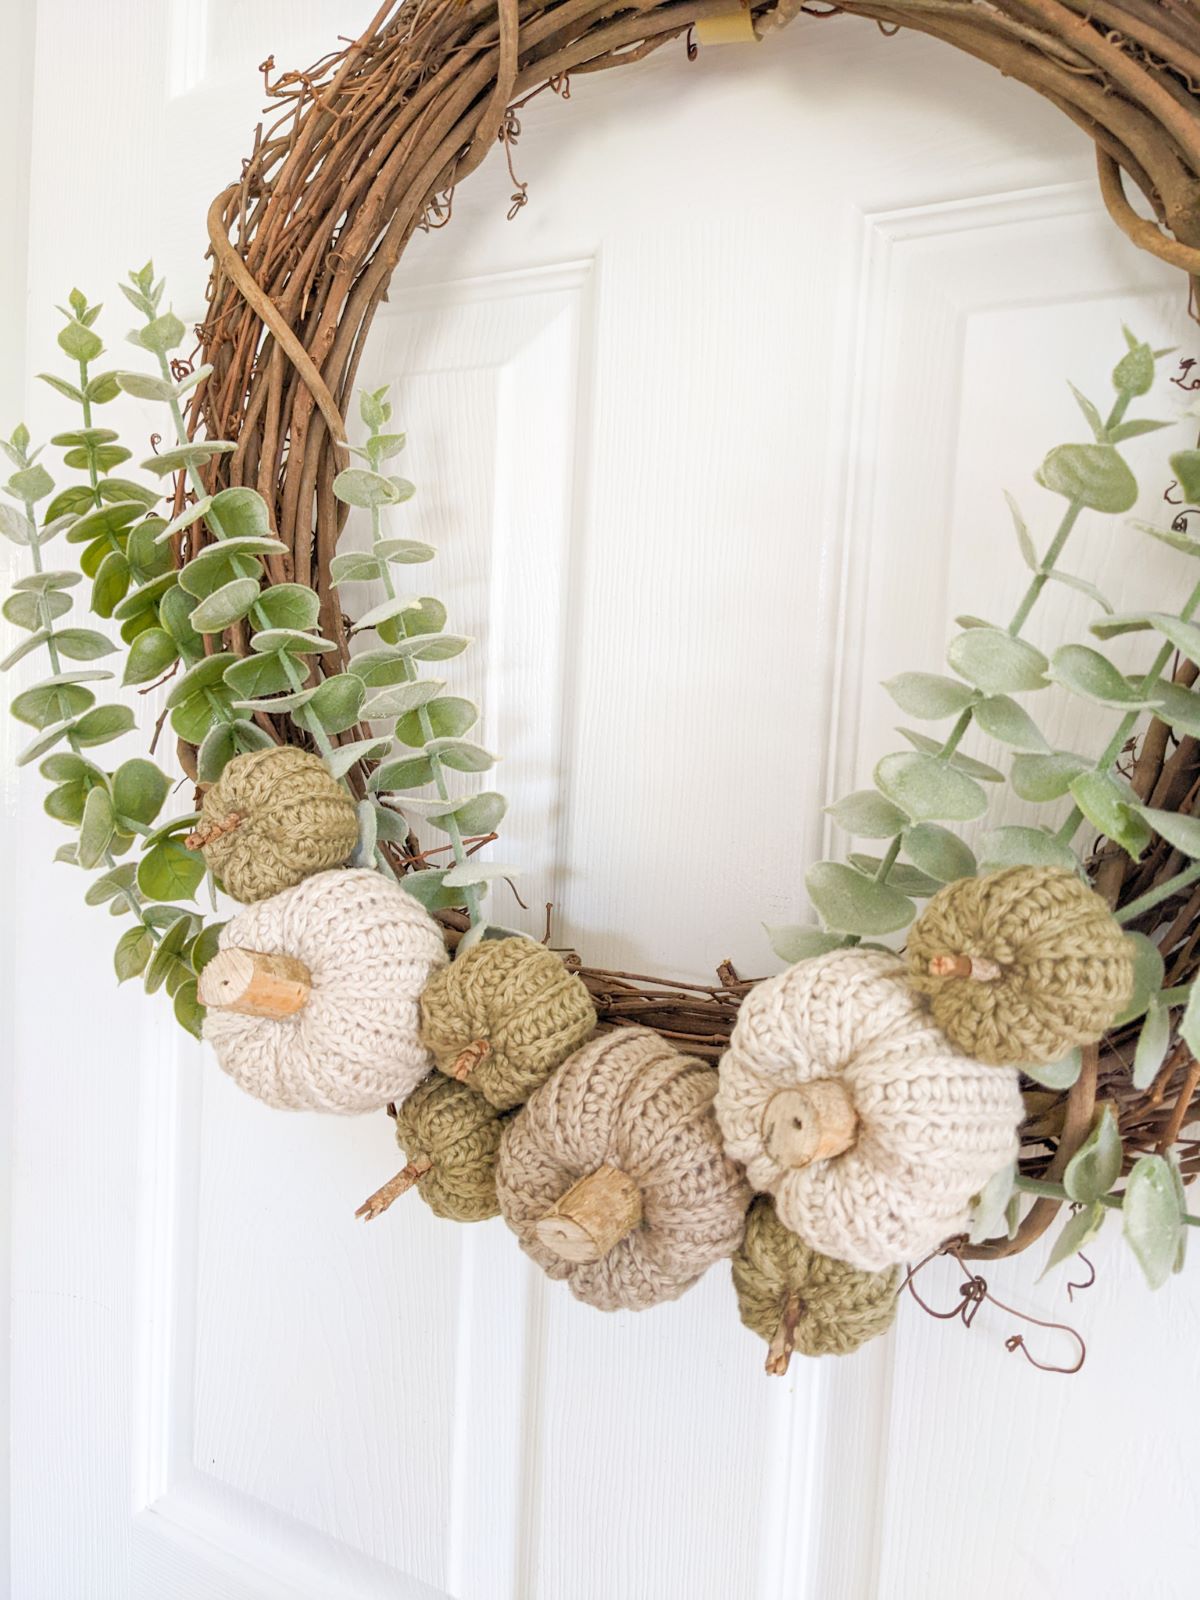
Add some charm to your fall decor by making a wreath that's filled with crochet pumpkins. This fun, yet easy project can be whipped up in a matter of minutes.
All you need to make this fall-inspired decor is a wreath, eucalyptus vines, 2 different size crochet pumpkins, floral wire, and a hot glue gun.
I love making fall-inspired wreaths because there's so versatile and customizable! There also quite inexpensive to make, especially if you have some of the materials lying around at home.
So before we get started with making our crochet pumpkin wreath, here's a list of things you'll need.
Crochet Fall Wreath Materials
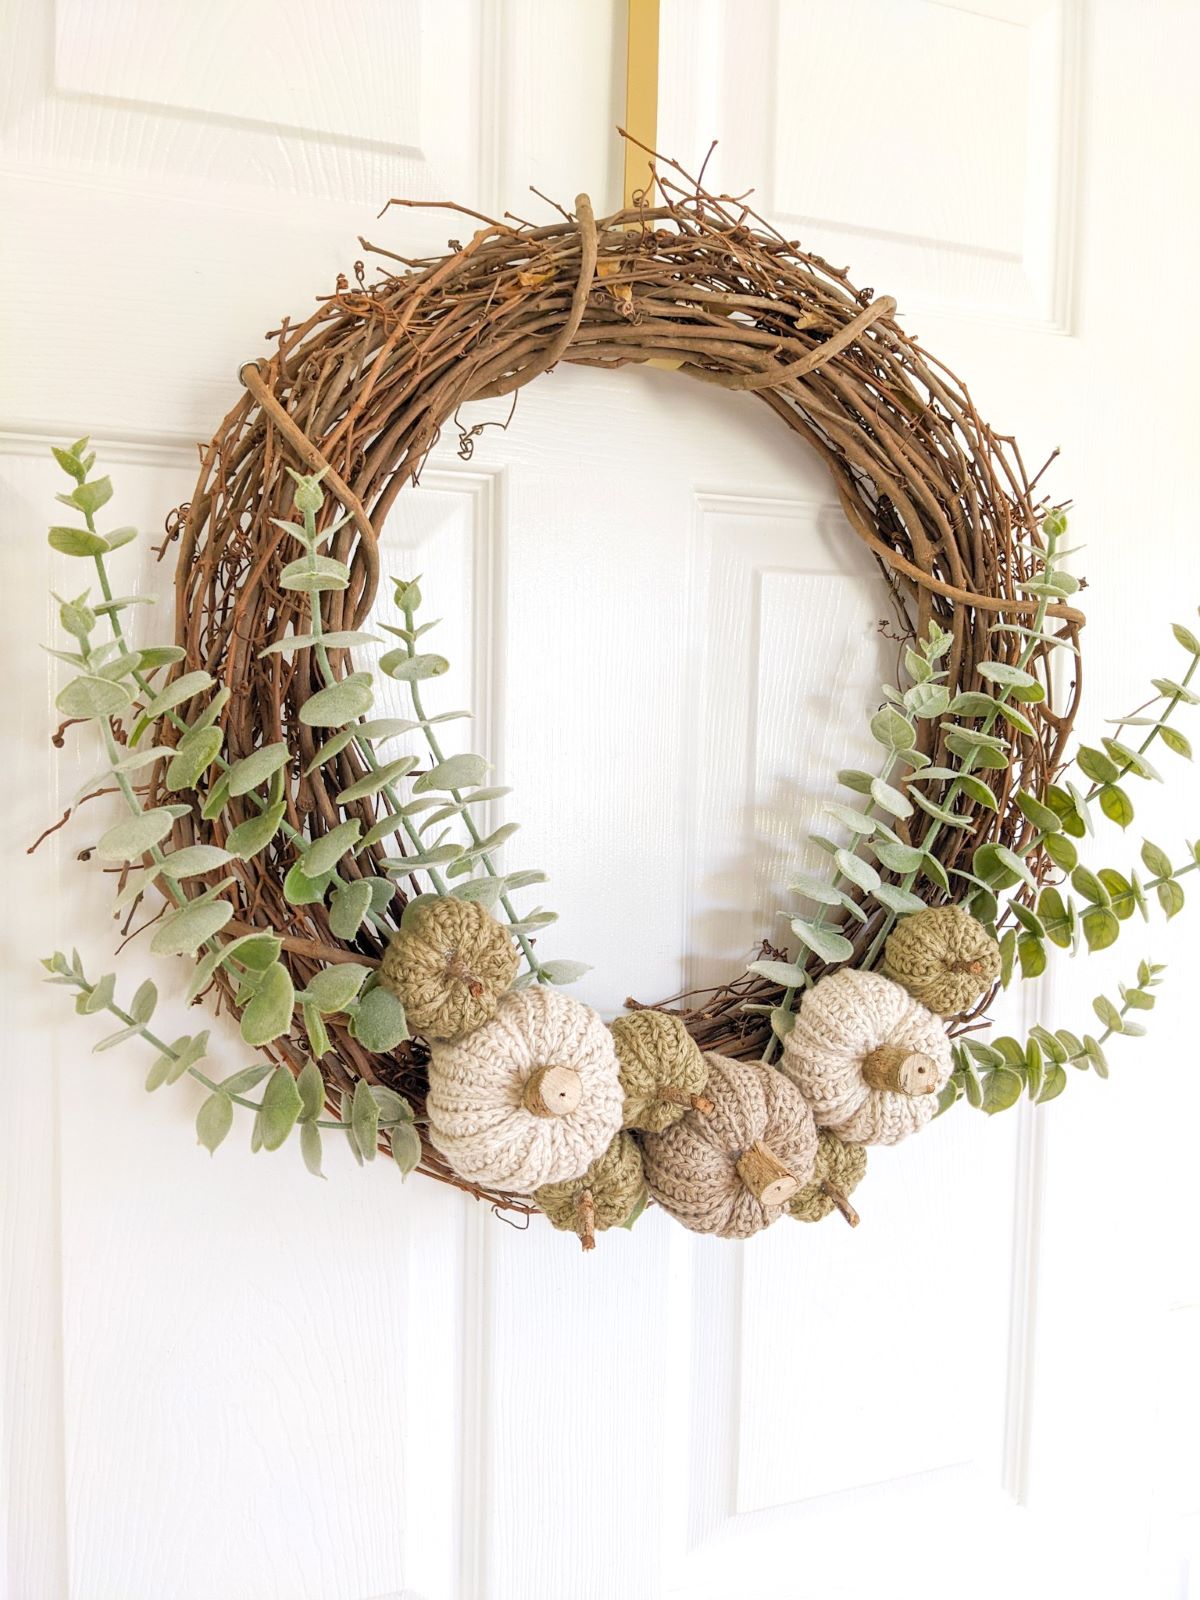
Wreath - Any wreath will work for this project, but I used a grapevine wreath that I purchased from my local craft store. You can also make your own inexpensive wreath by foraging some branches and leaves. So it's totally up to you!
Eucalyptus Vines - This wreath has 2 eucalyptus vines on it, one on each side. This part is totally customizable and optional, so you can really choose any vine that you would like.
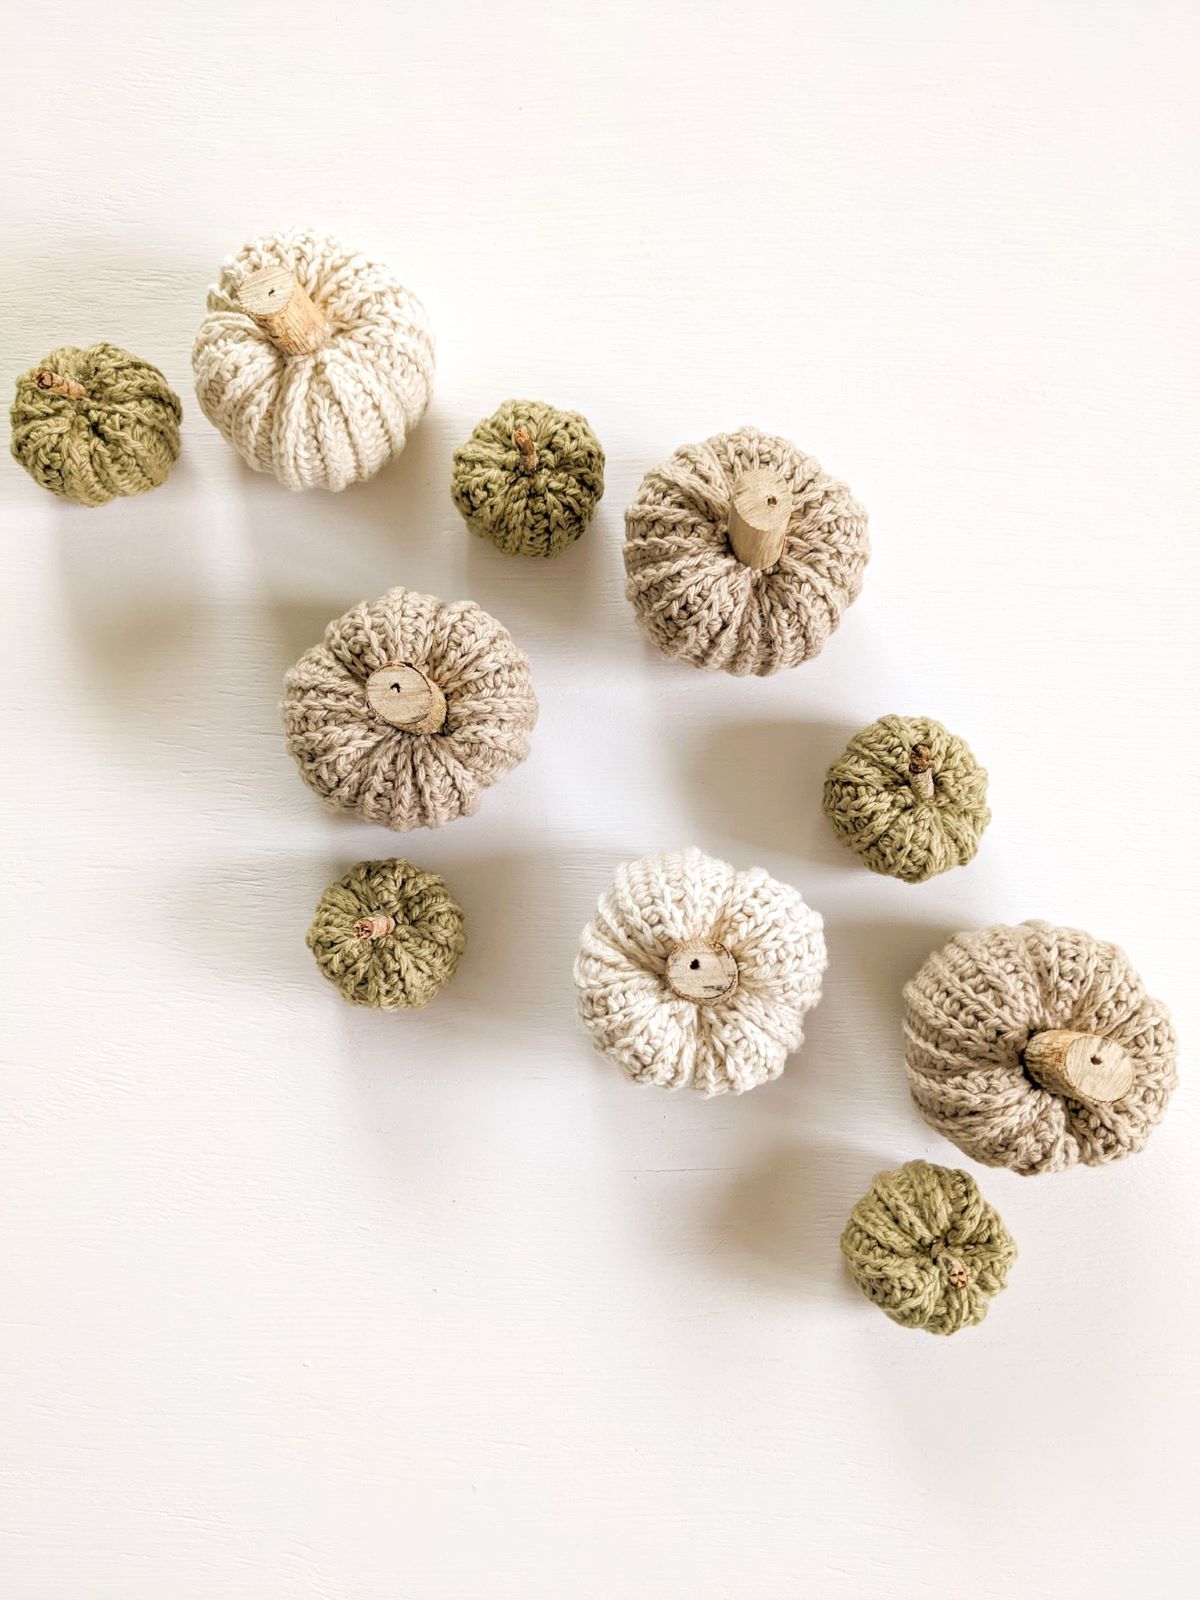
Crochet Pumpkins - You will need 2 different size crochet pumpkins for this wreath. I used 5 small crochet pumpkins and 3 big crochet pumpkins. If you like the ones that I used for this wreath, then you can find the free crochet pattern for these pumpkins in this post.
Floral Wire - If you're choosing to add some vines to your wreath or decided to make your own wreath, you are going to need some floral wire. The floral wire will be used to wrap the vines to the wreath.
Hot Glue Gun - Last but not least, you're going to need just a basic hot glue gun. The glue gun is used to glue your pumpkins to the wreath. I found this method to work best, but you can also use floral wire to attach your pumpkins.
Alright now that we've covered our list of materials, let's talk real quick about the crochet pumpkin pattern down below.
Crochet Pumpkin Pattern in 2 Different Sizes
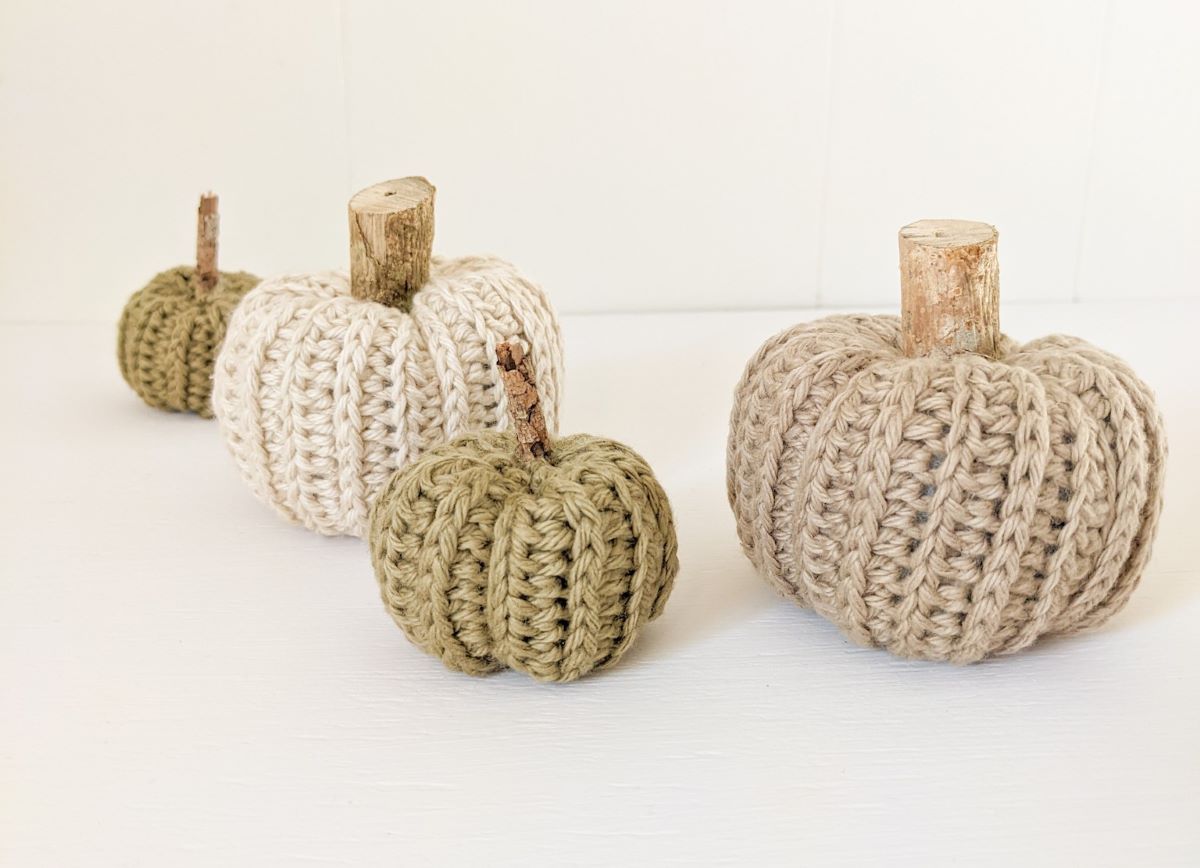
This free crochet pumpkin pattern is made in 2 different sizes, a small size, and large size. It's an easy pumpkin pattern that uses basic crochet stitches and it's made using worsted weight yarn (if you like using bulky weight yarn, here is the other mini crochet pumpkin version).
This is an easy crochet pumpkin pattern that can be worked up in about 30 minutes.
Here is the list of supplies you will need to make these crochet pumpkins:
- 4.0 mm crochet hook.
- 3 different colors of a worsted weight yarn. I used Hobby Lobby's Yarn Bee Cotton Et Lin in the colors Fern, Chintz, and Parchment (you will only need 1 ball of each). This yarn is a number 4 weight, and has 180 yards (3.5 oz) total.
- Wooden sticks.
- 1 bag of Poly-Fil.
- Darning Needle.
- Scissors.
This pattern is written in U.S. terms and chain 2 at the beginning of each row does not count as a stitch.
Instructions for Crochet Pumpkins
With your choice of yarn color, chain 13 for the small size or chain 20 for the large size. Then follow the pattern down below.
Row 1: In 2nd chain from hook, work 1 hdc, and continue to make a hdc in each chain till the end of the row. 12 (19).
Row 2: ch 2, turn, hdc 3blo in the first stitch, and across till the end of the row. 12 (19).
Row 3: ch 2, turn, hdc blo in the first stitch, and across till the end of the row. 12 (19).
Continue to alternate between row 2 and row 3, until you reach row 12 for the small size and row 20 for the large size.
Tie a knot when you have finished your last row, but leave a 60″ inch tail end. The tail end is going to be used to close the pumpkin together.
Now we will turn our rectangle into a pumpkin!
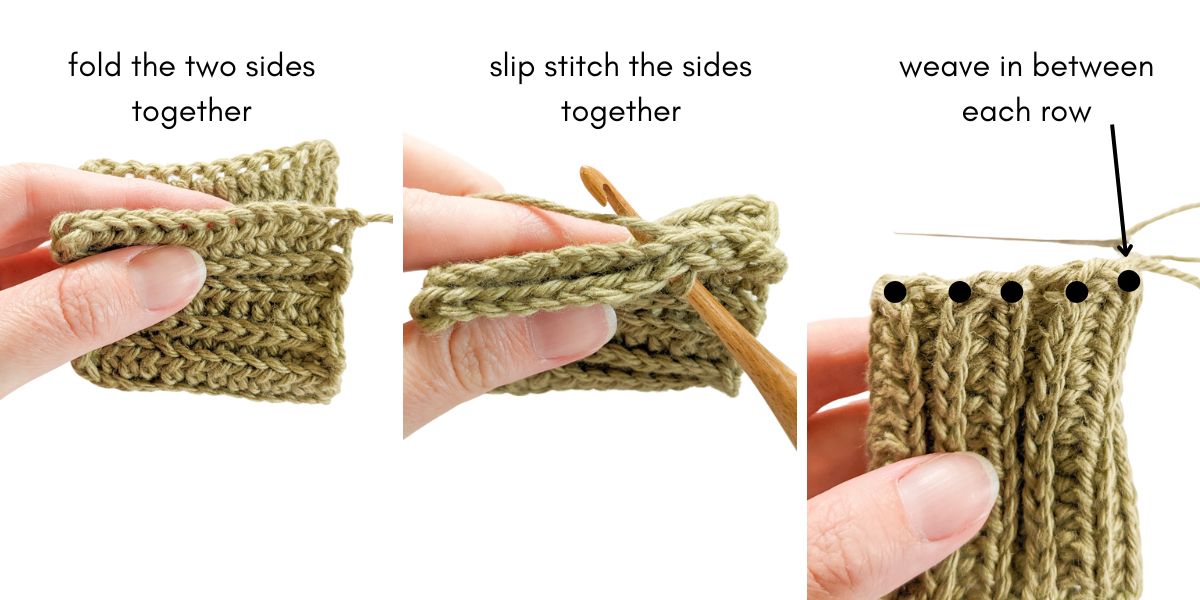
Step 1: Grab the two edges of your crochet rectangle and put them together. Then grab your crochet hook that you used to make the rectangle and slip stitch the two sides together.
Once you have slip stitched your two sides together, tie a knot, but do not cut the long tail end.
Now grab your darning needle and insert it through the tail end. Then grab the mini tube that you just created and start weaving in and out on the top part of the tube.
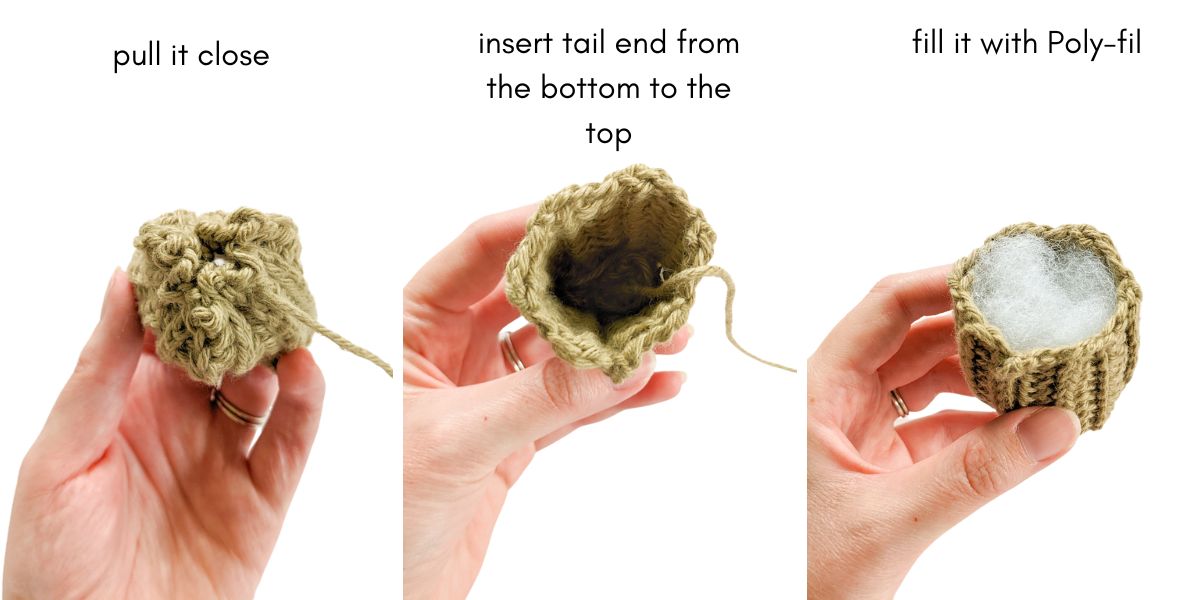
Step 2: Once you have finished weaving the top part, grab your tail end and pull tight. The top should close together.
Now flip over your pumpkin so the opening is facing you and insert the darning needle through the bottom and out the top. Then grab your poly-fil and start filling your mini tube up.
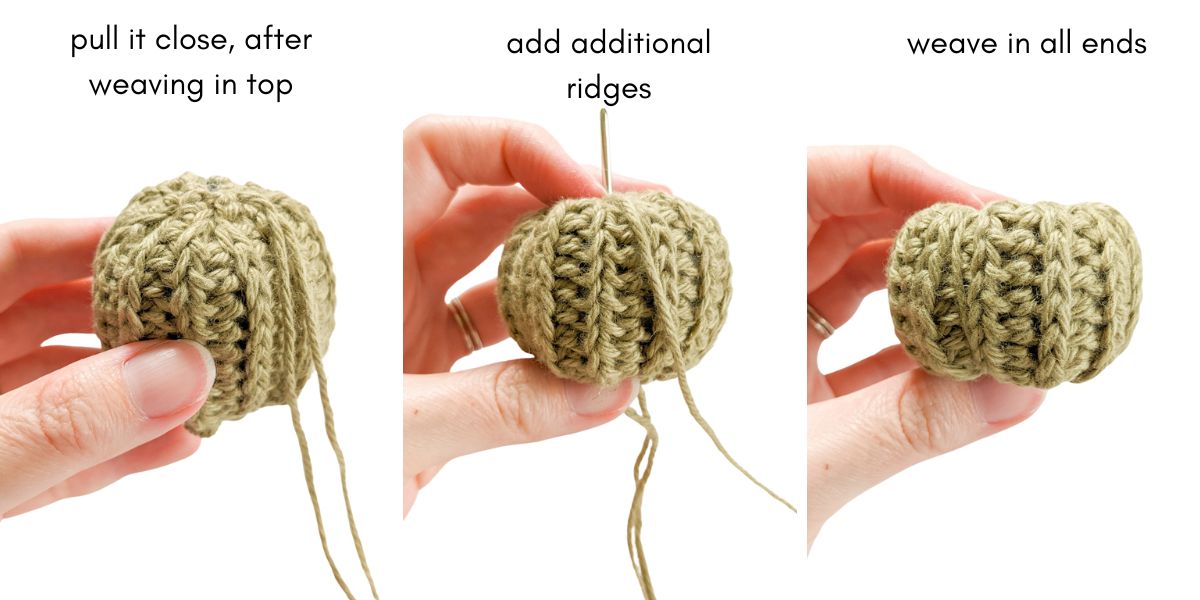
Step 3: Once you have stuffed your mini tube with poly-fil, grab your darning needle, and weave the top edge of the tube again.
Once this is done, pull it tight and secure it with a knot. Then grab your darning needle once more and insert it through the tail end. Then carefully wrap the yarn down (vertically) along each edge, and push through the bottom and out the top (4 times).
Finally, tie a knot, and work in your remaining end. Now you have a cute pumpkin!
So you're going to need 5 small pumpkins and 3 big pumpkins for this crochet fall wreath. Alright, let's start making our wreath!
How to Make a Fall Wreath With Crochet Pumpkins
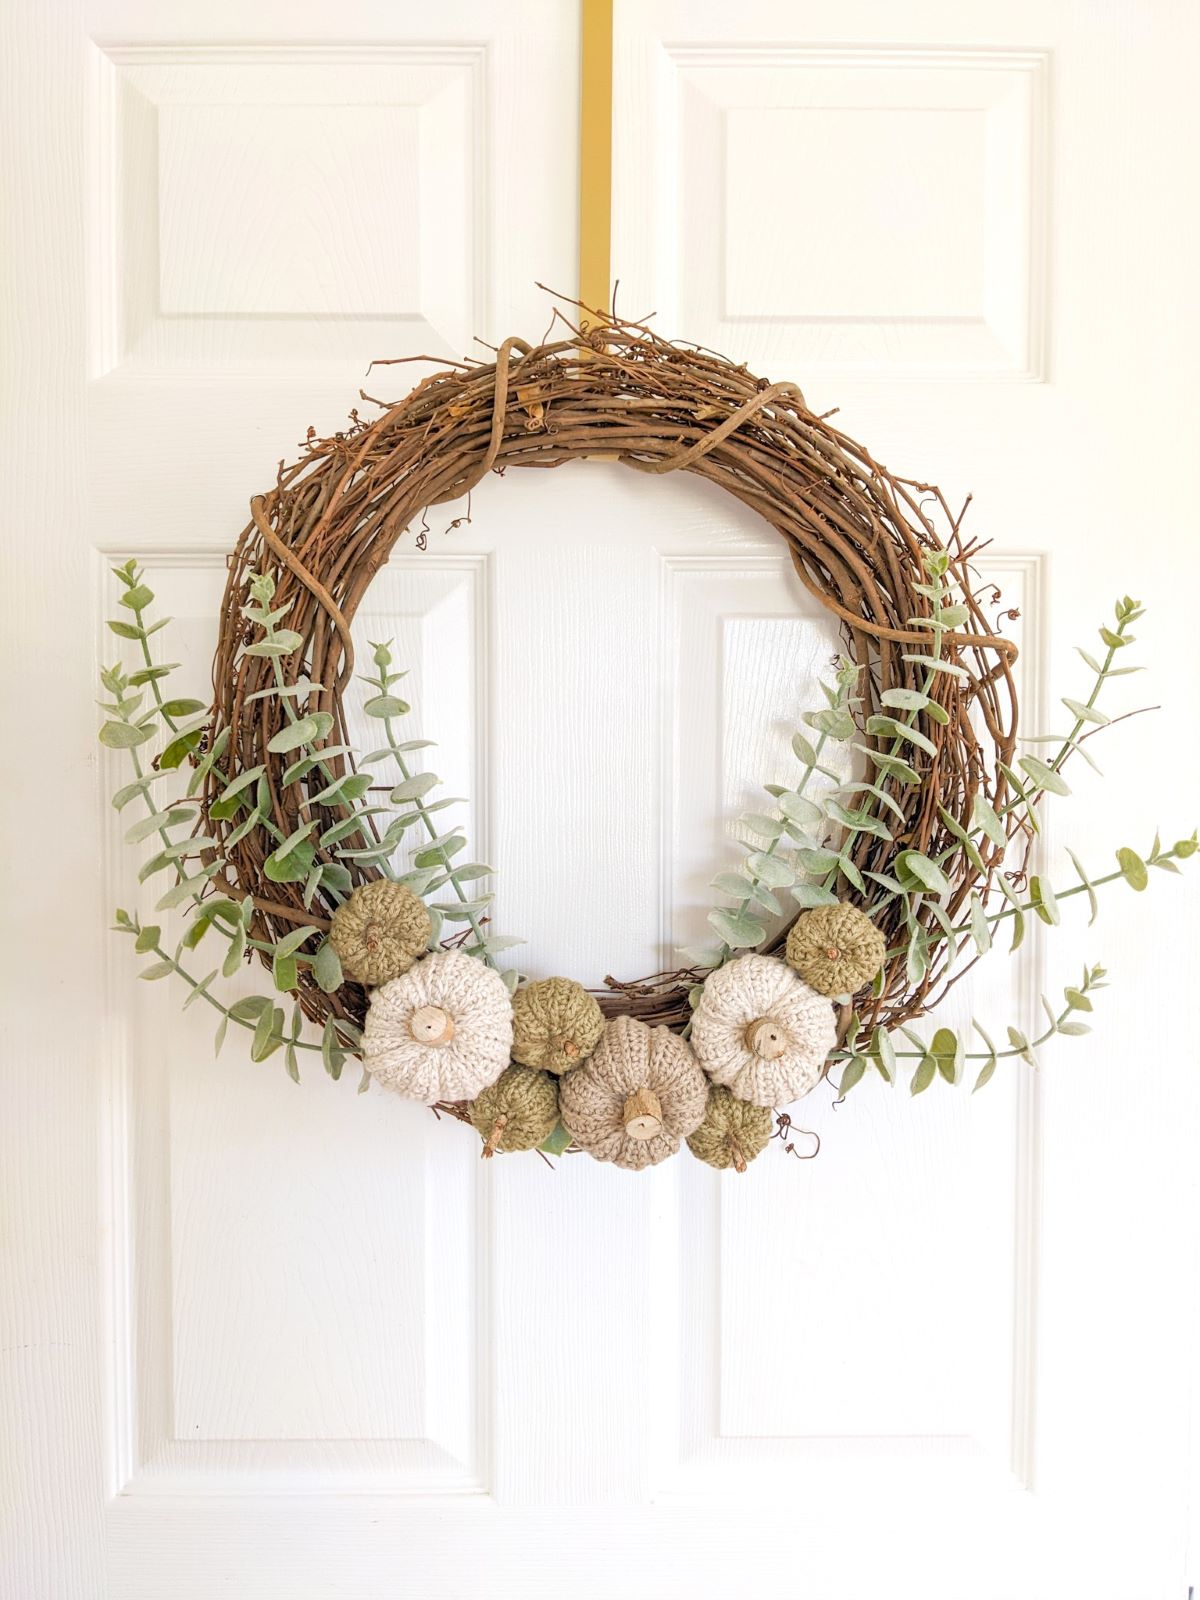
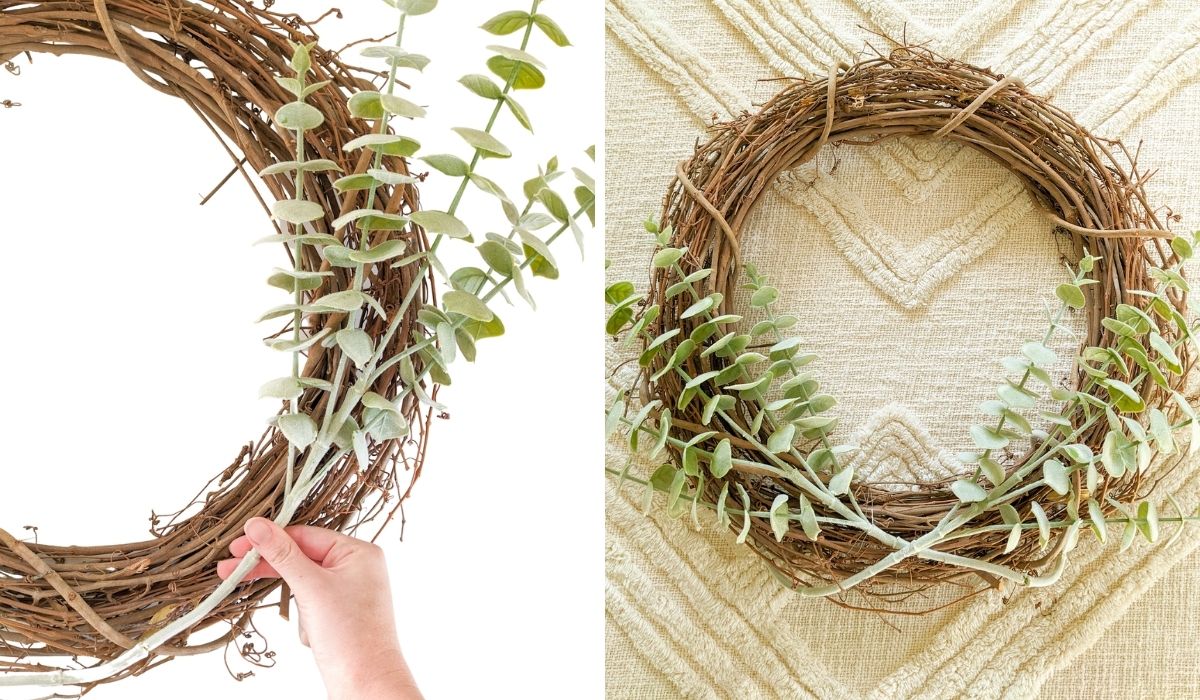
Start by grabbing your wreath, eucalyptus, and floral wire. Then carefully take one of your eucalyptus vines and place it on one side of your wreath.
You might have to bend it slightly to shape it to the wreath. Then grab your floral wire and wrap the eucalyptus onto the wreath. Once you like the way it looks, you want to do the same to the other side.
Alright, once you have your eucalyptus attached to the wreath, grab your crochet pumpkins and a hot glue gun.
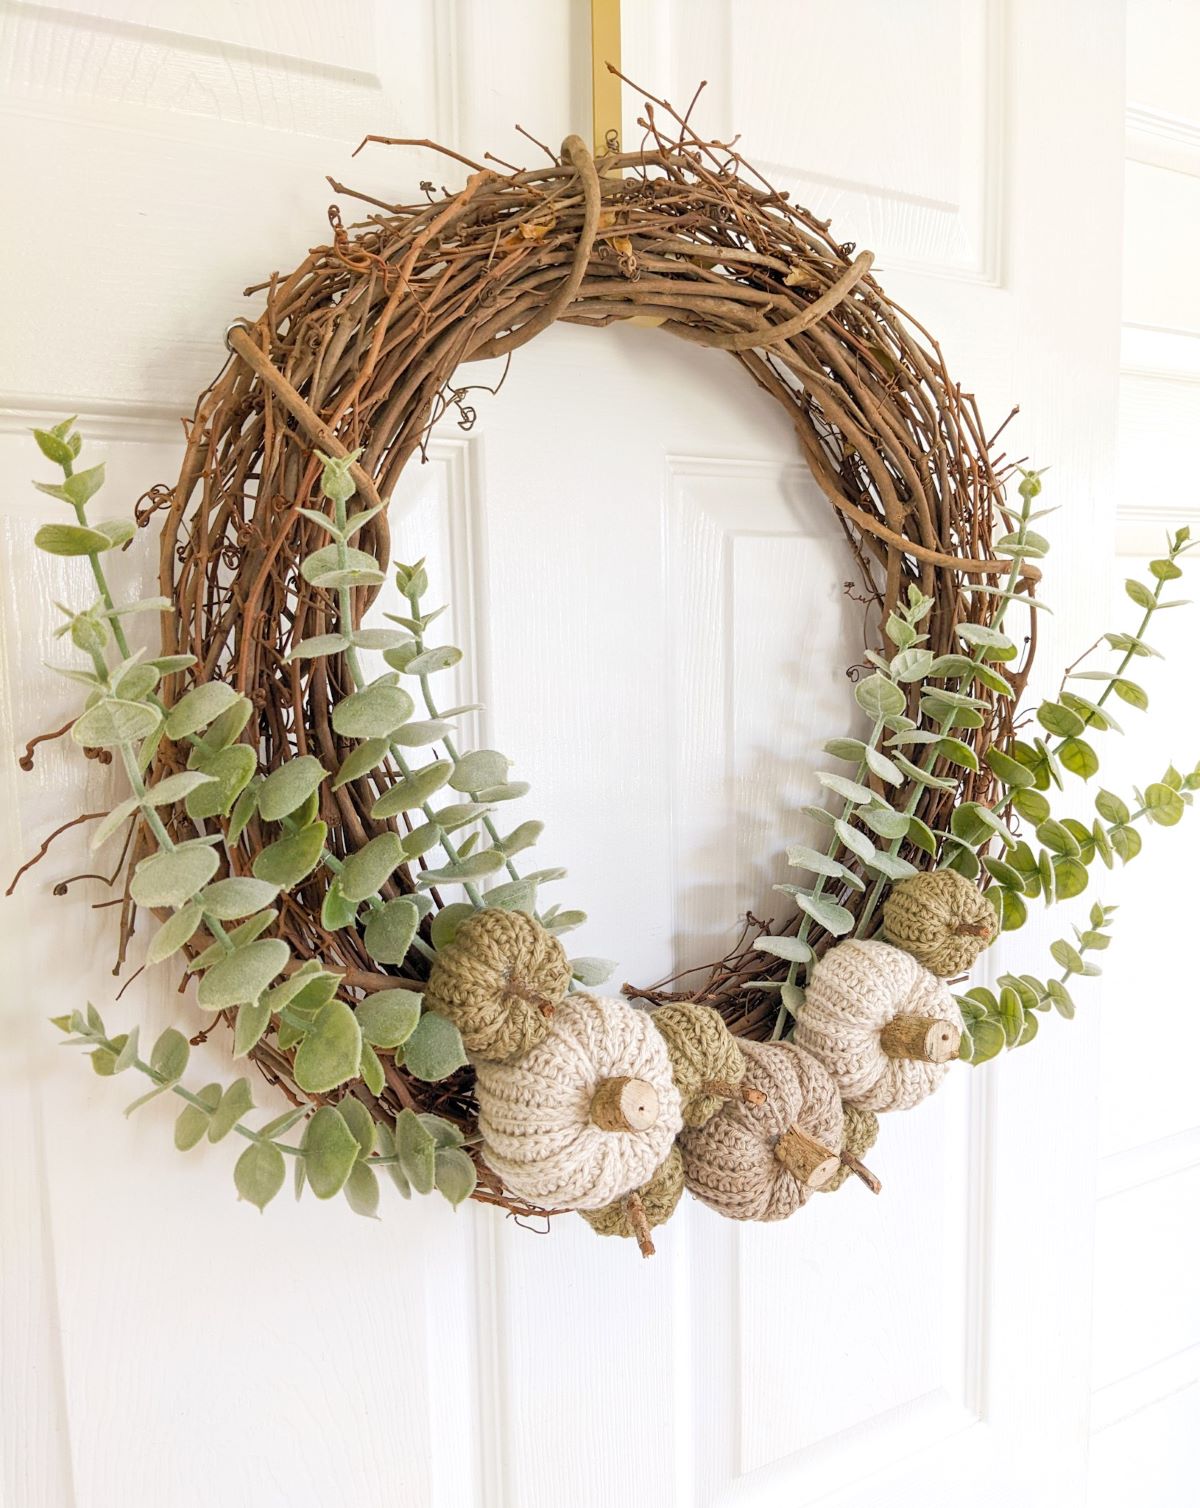
Then carefully glue your pumpkins onto your wreath in the order that you like. I started slightly to the left of my bottom center and glued a small pumpkin first and then a large pumpkin. Then I just repeated that sequence until I like the way it looked.
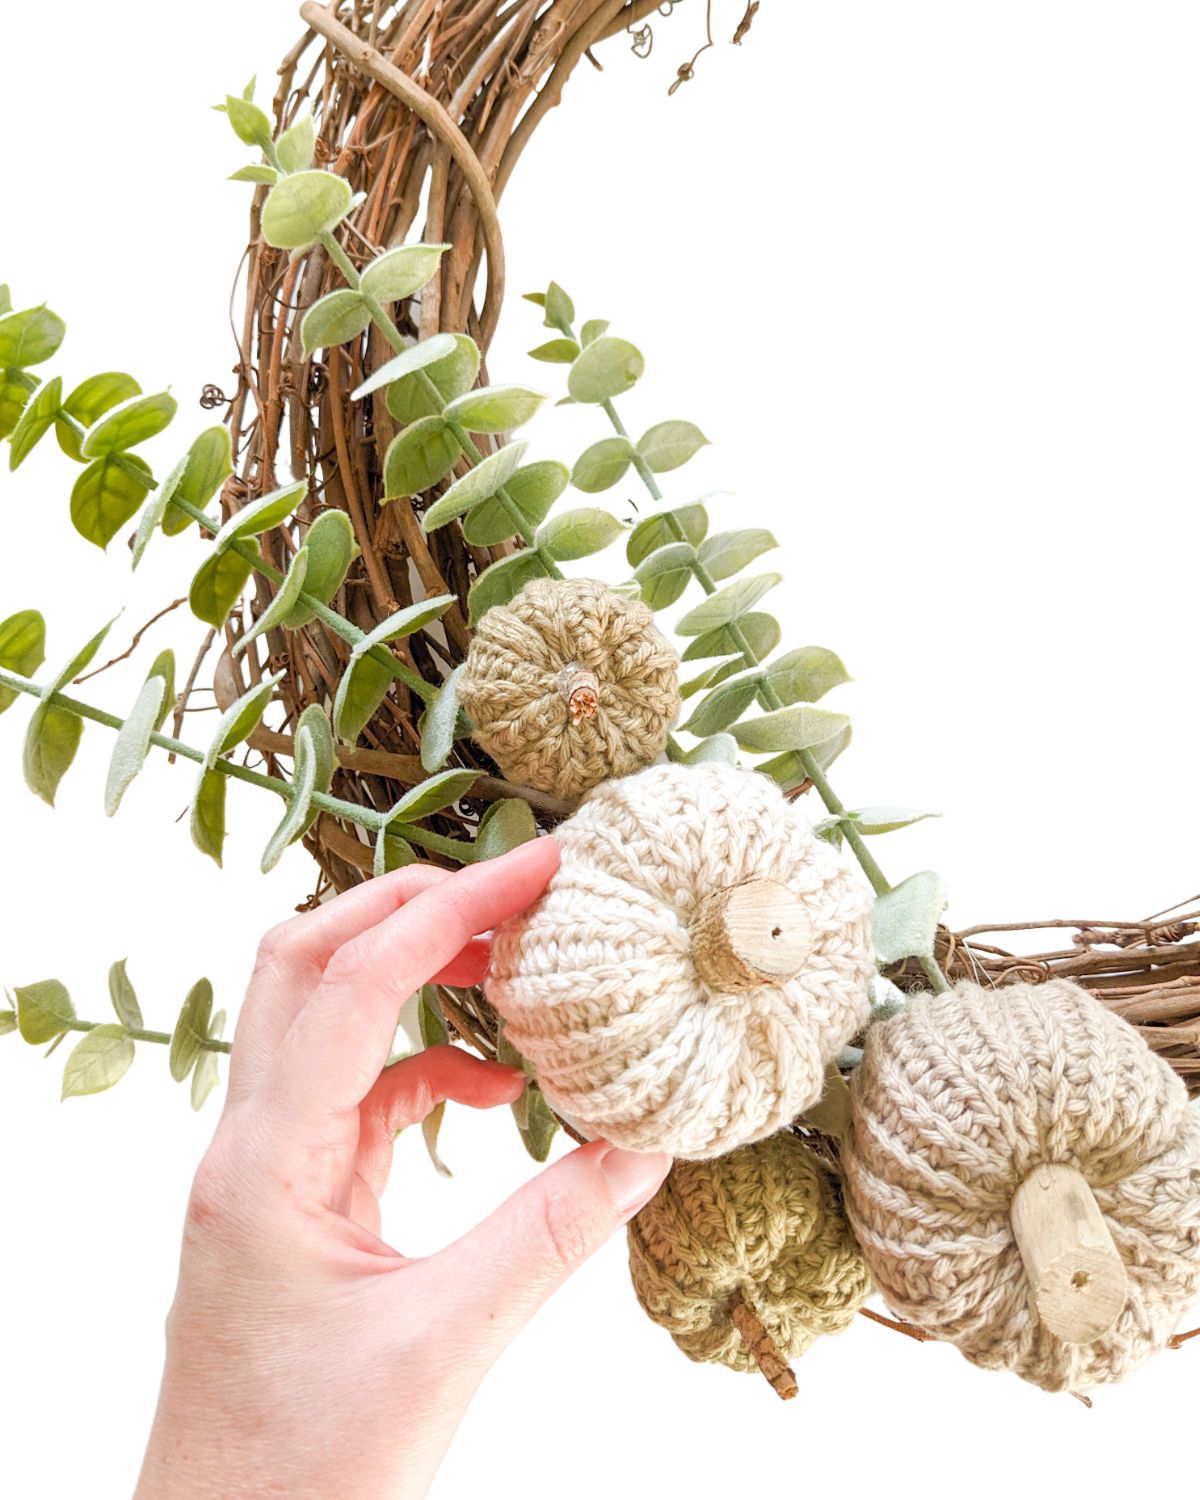
And that's it. Now you have a really cute homemade fall-inspired crochet pumpkin wreath!
I hope you enjoyed this tutorial and don't forget to share it with me. I would love to see your project.