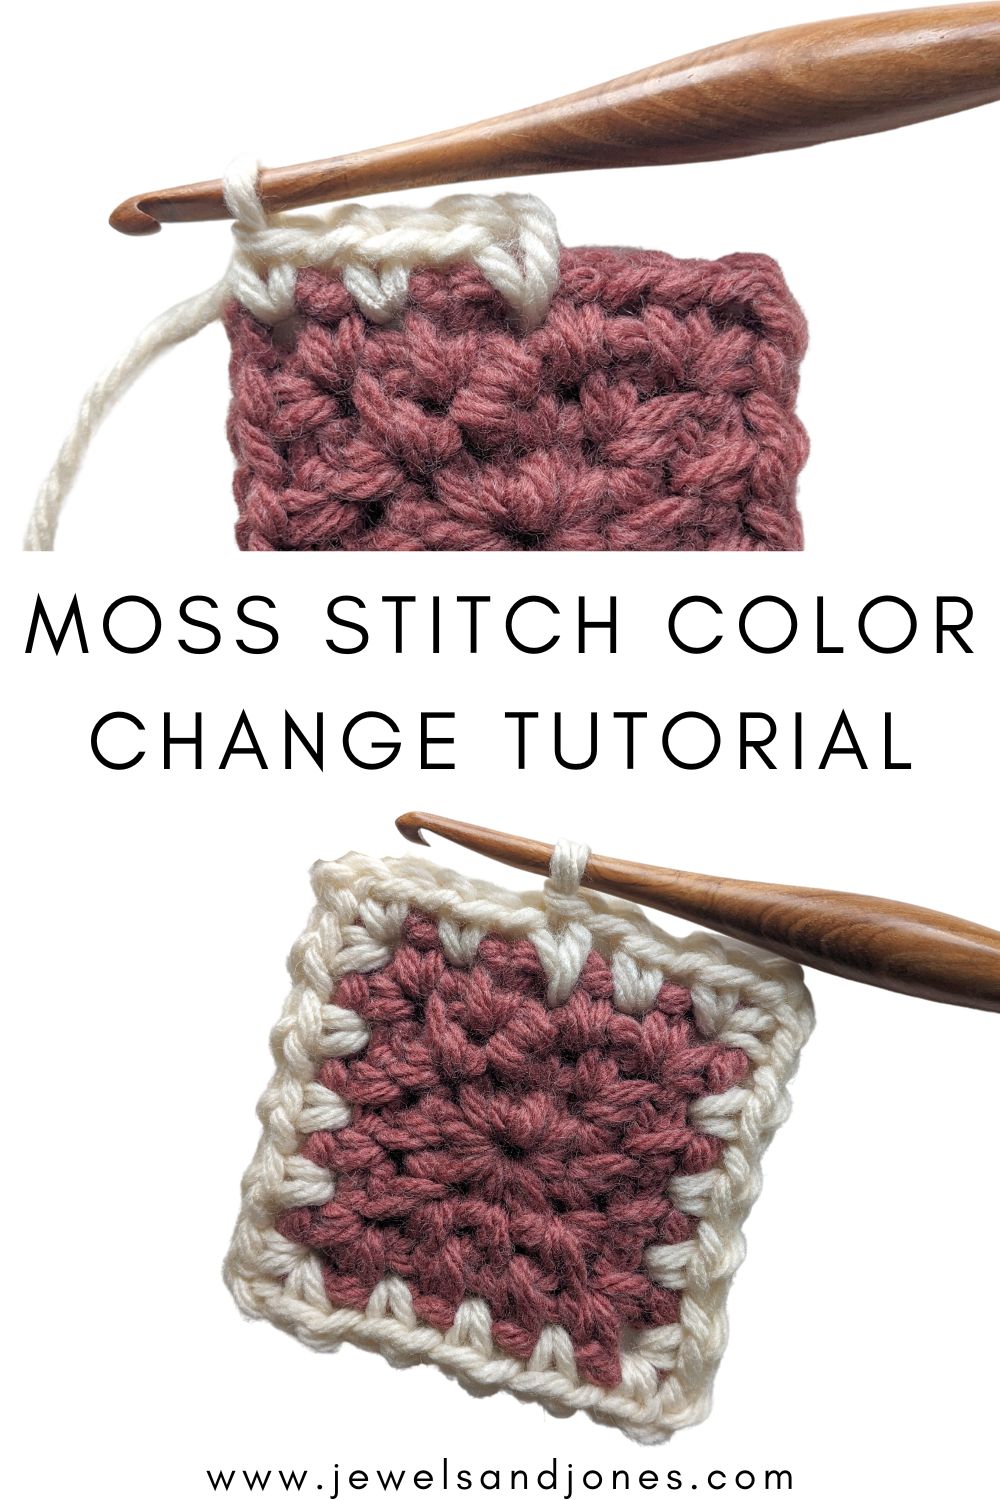
Learn how to change colors when crocheting the moss stitch square with this easy step-by-step photo + guided video tutorial.

This post contains affiliate links, which means I make a small commission at no extra cost to you. See my full disclosure here.
In this tutorial, I'm going to be showing you an easy method on how to change colors when making the moss stitch square. There are couple of different ways to change colors in crochet, but I find this way the easiest when working in continuous rounds.
It's similar to the way I change colors at the end of the row, just a tad bit different since we're working in the round. So if you enjoy that method, then I think you'll enjoy this way as well.
But like I always say, find the method that works best for you!
Down below, you'll find a detailed tutorial on how to change to another color when working on the moss stitch square. If you need a refresher on how to crochet the moss stitch square, then make sure to check out the step-by-step photo + guided video tutorial.
In the tutorial, I explain how to make the perfect moss stitch square and also give some tips on how to keep the edges straight when crocheting this square.

Alright, let's get into the tutorial! Here is a quick list of things you will need for this tutorial.
Materials You Will Need for This Tutorial
- You can use any size hook. I used a 6.0 mm crochet hook.
- Bulky weight yarn or any other yarn that works with your hook size. I used Hue + Me in the color Salt, and Love Song for this tutorial.
- Stitch Markers. You may find stitch markers helpful in knowing where to make a slip stitch when joining the work.
- A darning needle and a pair of scissors.
And here are some quick tips when changing colors for the moss stitch square.
Moss Stitch Square Color Changing Tips
- Before you change rounds and add a different color, make sure you note which side you're working on. You can do this with a stitch marker. You want to note which side you're working on because you're going to have to turn your work when working on the next round.
- As mentioned in the first tip, turn your work after every round. This will help keep the edges straight on your moss stitch square.
- Instead of working all the tail-ends in at the end, carry the yarn along your work. This will save you loads of time at the end of making your crochet square.
- Always make a color change at the beginning of the round. I find this way the easiest!
Moss Stitch Square Color Change Tutorial
Step 1: Insert your hook into the first chain space (space after slip stitch), and drape your new color of yarn over the crochet hook.
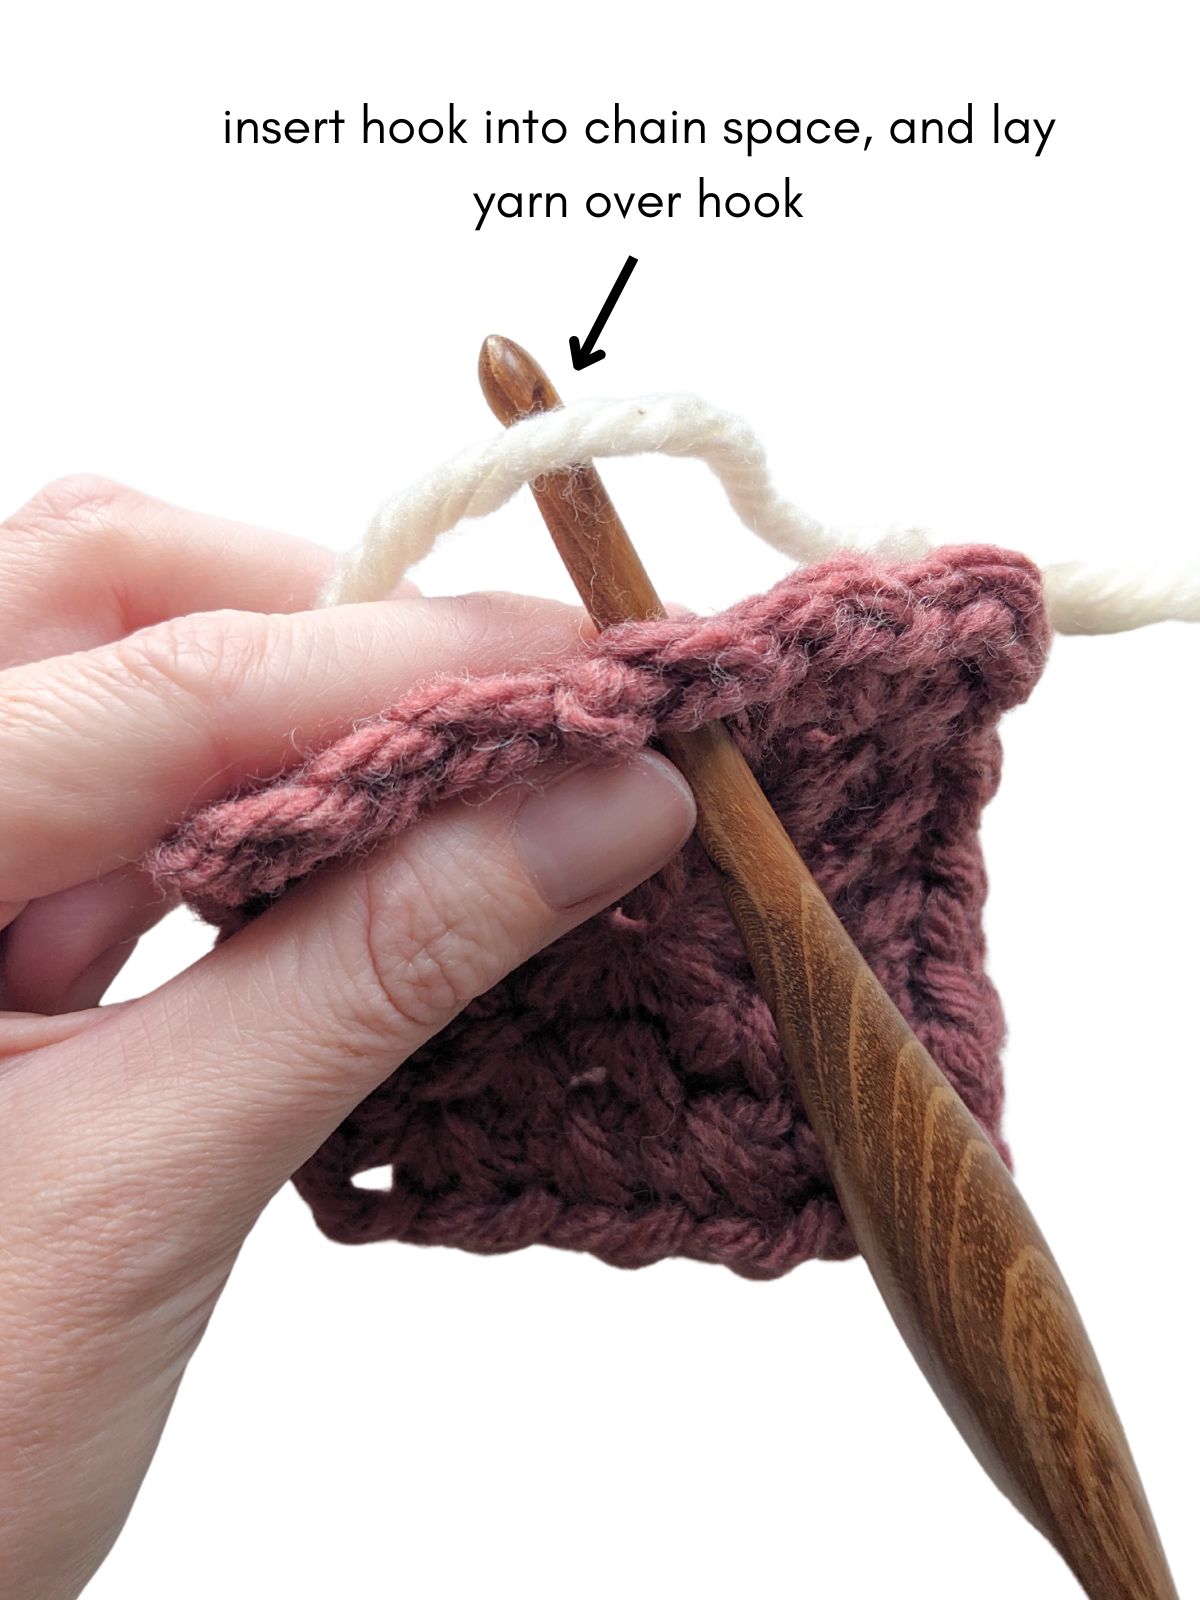
Step 2: Pull your hook, and yarn through the chain space.

Step 3: Then yarn over hook and pull through the loop on your hook.


Now you've secured the new color of yarn, and you've made a single crochet stitch. Now you're ready to continue the round.
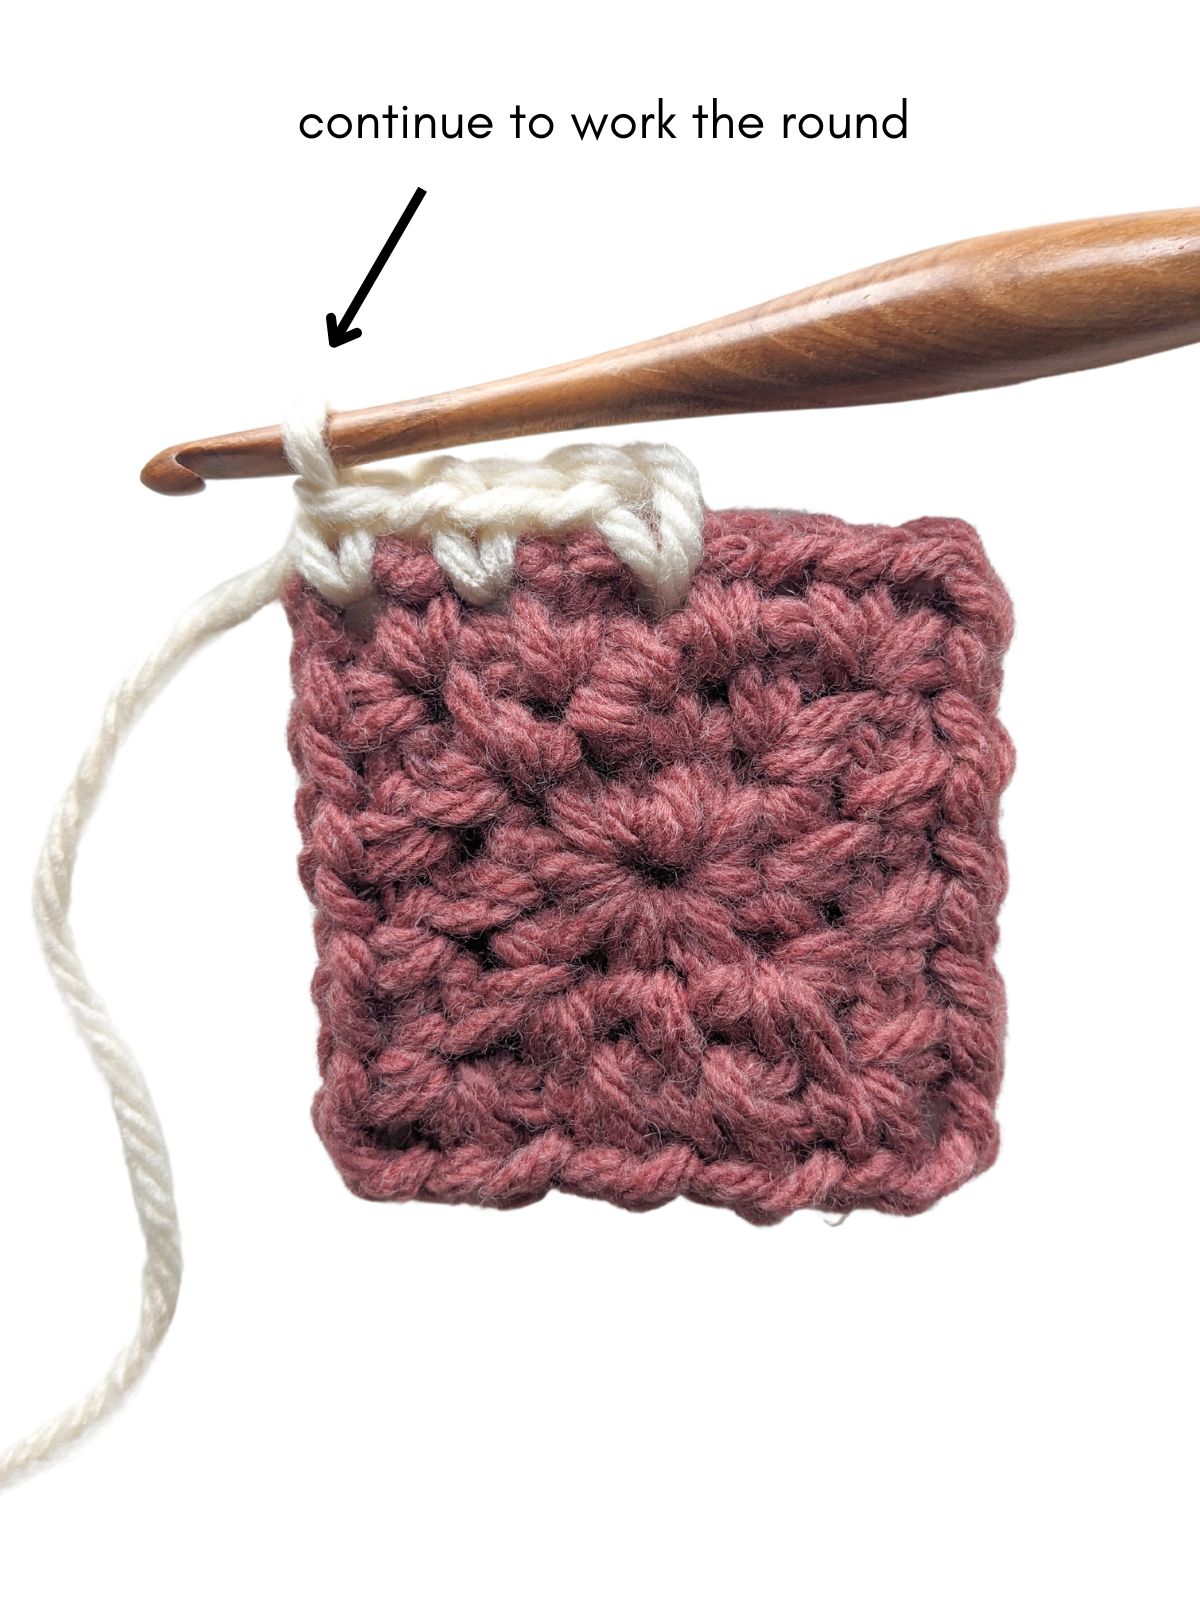
So continue by chaining one, working 1 single crochet and 1 chain in every chain space, and then 1 single crochet, 2 chains, 1 single crochet, 1 chain in every corner space.
Then make a slip stitch to the first single crochet to finish your round.

And that's how you add a new color of yarn to crochet moss stitch square. I hope you enjoyed this tutorial and that it was helpful!
Don't forget to save and PIN this post to share with other crocheters.
Other Helpful Crochet Posts:
- Different Patterns You Can Make Using the Moss Stitch Square
- Crochet Striped Moss Stitch Blanket
- How to Attach Yarn to Crochet a Border
Victoria
Wednesday 14th of February 2024
Thank you!!
Nicky
Friday 16th of February 2024
You're welcome!😊