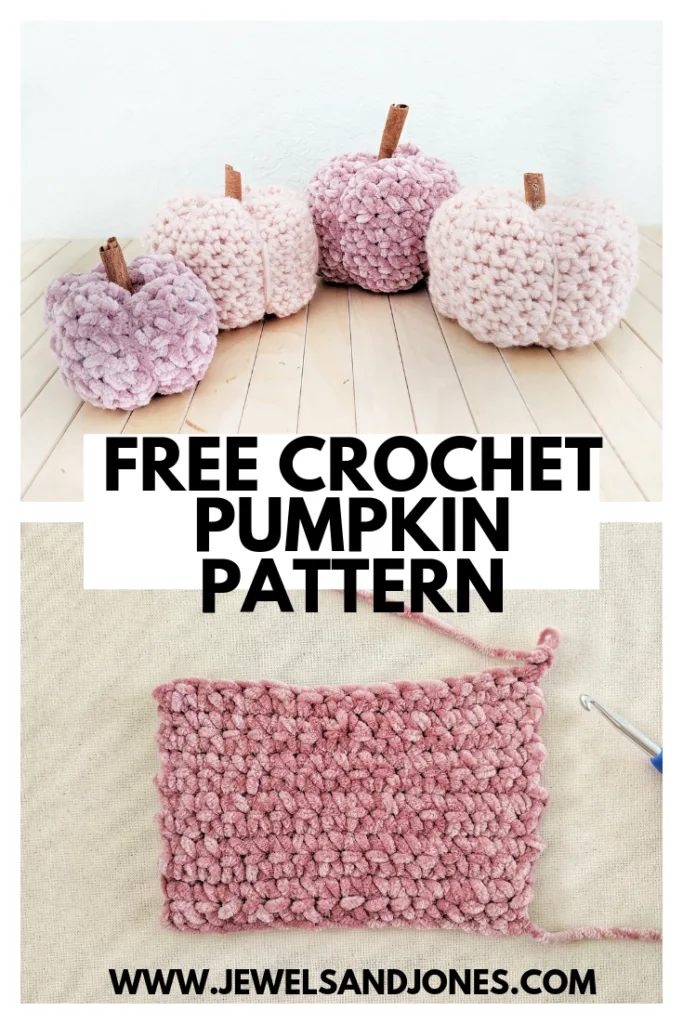
Create this simple free crochet pumpkins pattern for the fall time. These cute crochet pumpkins are sure to be a hit this season!

I’m so excited because today I have a very fun crochet project for you to make. I present the ” CROCHET PUMPKINS.” Aren’t these just the cutest pumpkins! I absolutely love pumpkin season and everything that fall has to offer.
Even though it pretty much stays the same temperature year around where I live. I still love fall time! I love seeing all the chunky sweaters, pumpkin inspired food and drinks, and let’s not forget all the fall inspired decorations in the stores. Hobby Lobby here I come!
With fall just being around the corner, I figured it would be the perfect time to create fall inspired crochet projects. Today I will be showing you how to make crochet pumpkins using Lion Brand Color Made Easy Yarn in Pale Peachy Pink. So let’s talk about how to make these super simple pumpkins in like 45 minutes.
Yup, I didn’t make a typo, it took me around 45 min to make a crochet pumpkin!
How To Make Crochet Pumpkins
As mentioned above, I wanted this pumpkins pattern to be simple and to be fast. Its a good project to make when you just want a break from the longer crochet projects. With this in mind, I decided to use a chunky yarn for my pumpkins. I used LionBrand Color-Made Easy Yarn in Pale Peachy Pink. I also had some velvet yarn left from Hobby Lobby that I used as well to create a mini pumpkin.
I absolutely loved working with the Color-Made Easy yarn because the yarn seemed to just glide through my hook and crochet stitch. The velvet yarn, although cute, was a bit harder to work with because you have to feel for your stitches.
Needless to say, any number 5 bulky yarn will work for this project.
Stitches Used For This Project
If you’ve been following my blog for a while now you know that I love using the basic crochet stitches. So for this project, you will only need to know chain and single crochet.
- chain
- single crochet
Pumpkin Pattern
Supplies Needed:
- 1 Skein of Lion Brand Color Made Easy Yarn in Pale Peachy Pink
- 1 Skein of Hobby Lobby Yarn Bee Velvety Yarn in Blush
- Size K/10.5 (6.5 mm) Crochet Hook
- Tapestry Needle
- Poly-Fil (Fiberfill)
Abbreviations:*Pattern written in standard US terms*
ch – chain, sc – single crochet
Notes:
- Chains at beginning of row do not count as a stitch.
PATTERN
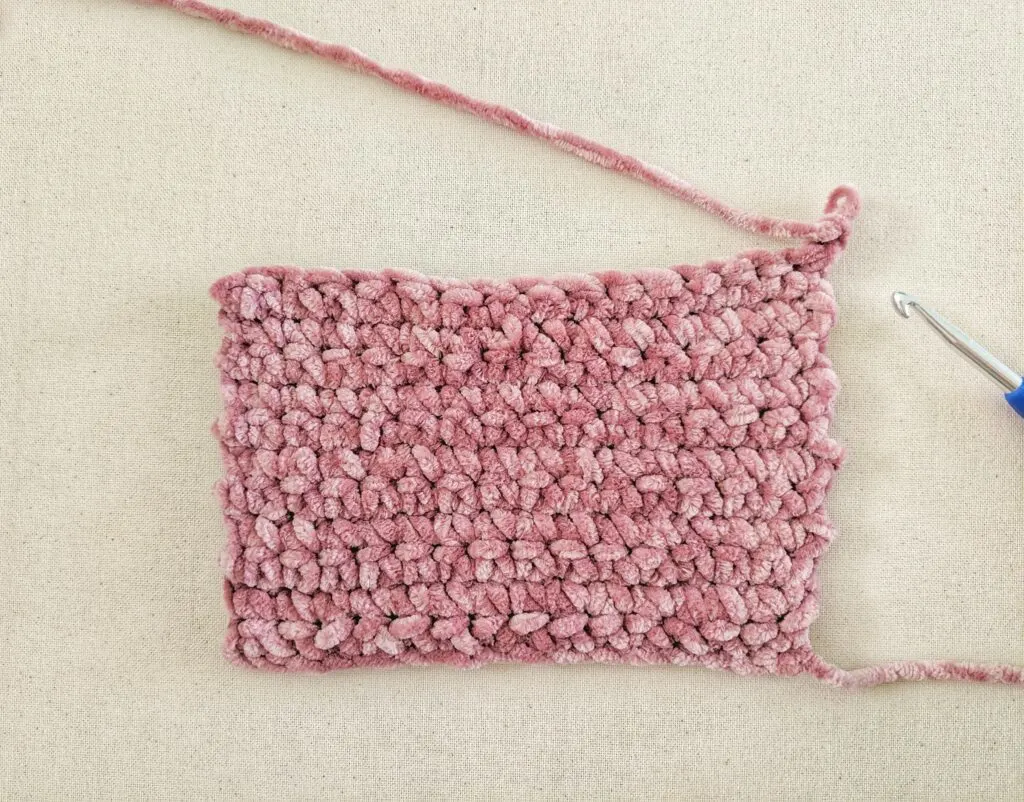
Row 1: ch 26
Row 2: In 2nd ch from hook, sc across row (25)
Row 3: ch 1, turn, sc across row (25)
Row 4 – 17: Repeat row 3
When finished fasten off and leave a long tail end.
Making the pumpkin:
Now that we have the main part of the pumpkin done, we will need to whip stitch the piece together. In order to do this, we need to fold the crochet piece over.
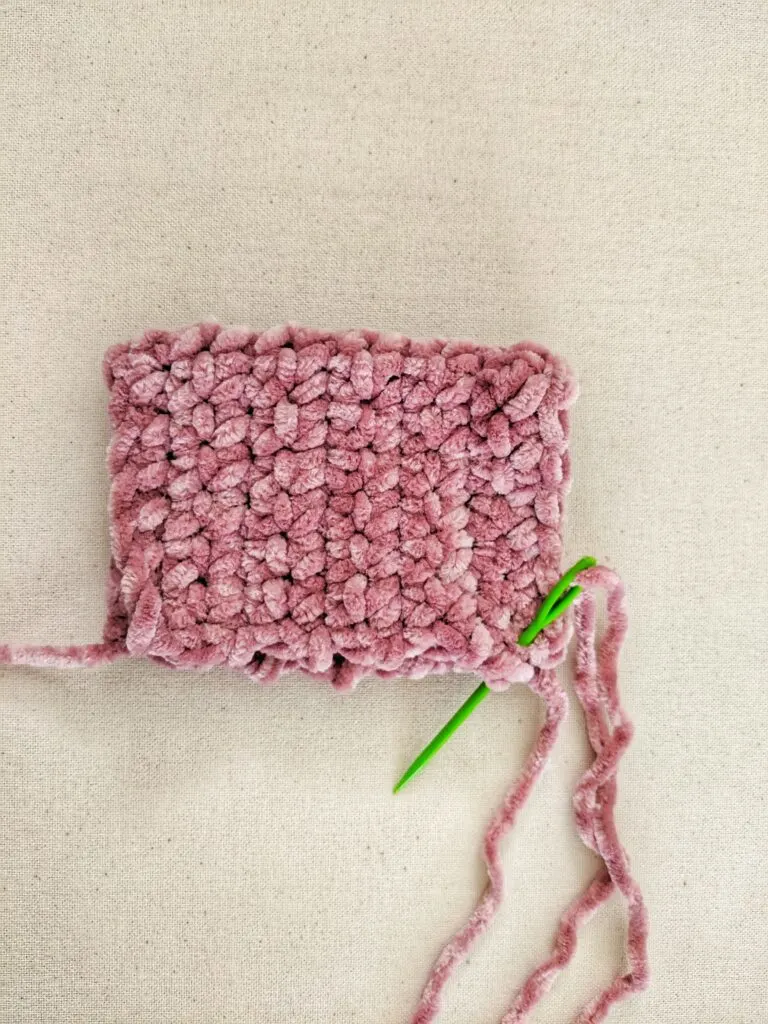
Once you whipstitch your piece, you need to cinch together one side of the crochet square.
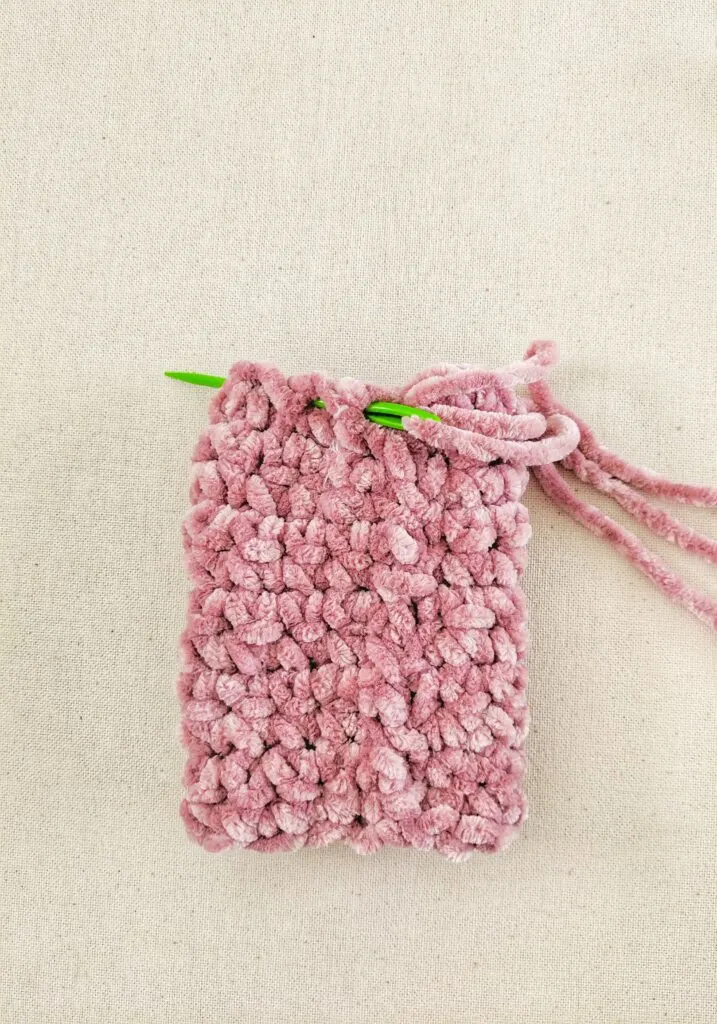
Once you have closed one side of the square, start filling it with Poly-Fil. Make sure you don’t over fill it with the fiber, because it will start to come out from the sides towards the end.
So the last step of the pumpkin is to cinch together the other side. When you cinch the other side together, make sure you cut an extra long piece of yarn. This will be used to create the different rows between the pumpkins.
All you need to do is take one side and bring it over to the other side of the pumpkin and continue to do this until you have 5 rows on your pumpkin. Make sure to pull a bit tightly because it creates a nice looking puffy row (looks more like a pumpkin!!).
Once this is done, make a knot, and weave in your end. To create the stem of my pumpkin, I used a cinnamon stick that I broke in half. You can also use a stick or a piece of leather. And now you have your very own pumpkin!
I hope you enjoyed this tutorial!
-Happy Fall
pin it for later
