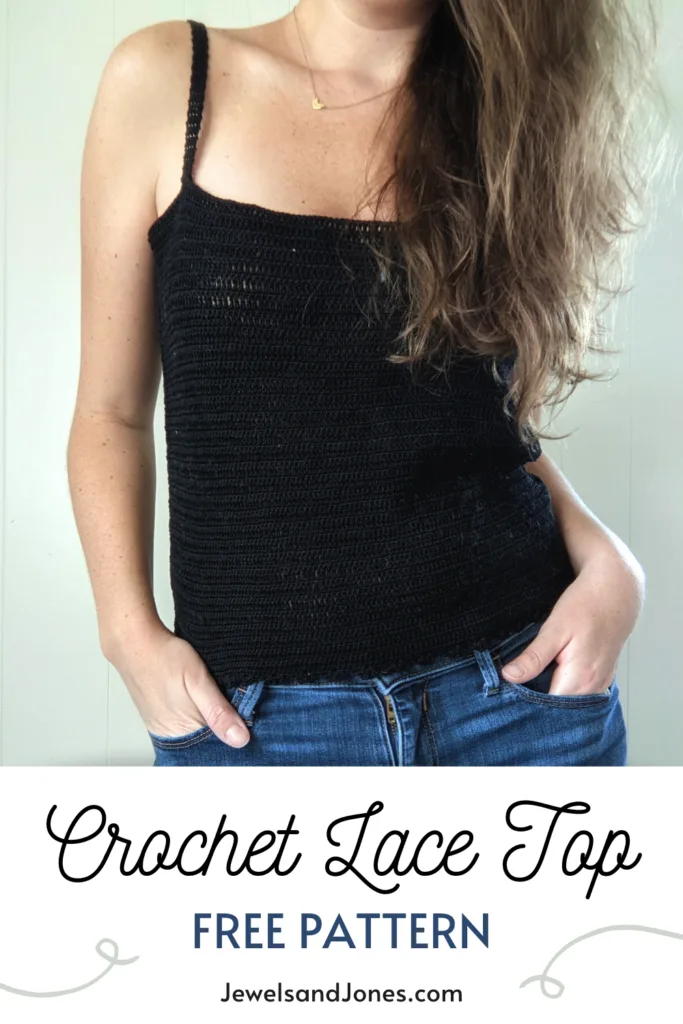
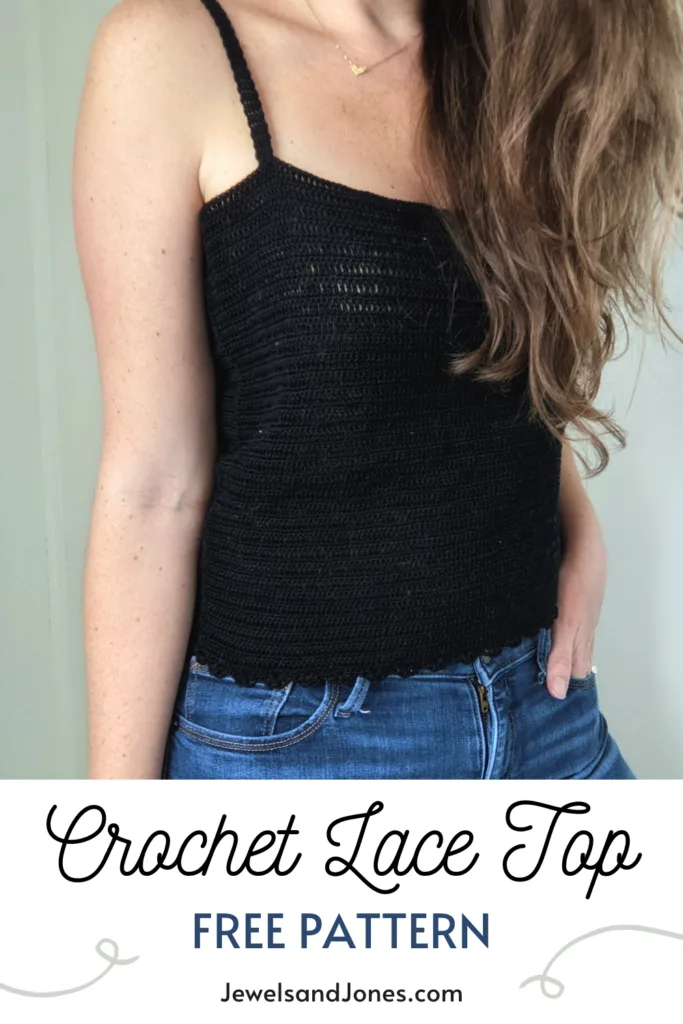
Easy crochet lace tank top made from 2 rectangles! This beginner friendly free pattern uses cotton lace yarn and simple crochet stitches.
Crochet a beautiful lace tank top for your wardrobe with this easy and beginner-friendly free pattern. This top would look cute on a pair of jeans or a skirt. It also makes a great crochet tank top for the summertime!
So if you’ve been wanting to make an easy crochet top, you’re in the right place. Today’s free pattern post will also include my inspiration behind making this top and why I chose to work with crochet lace thread.

The Inspiration + Design
I’ve been wanting to work with crochet thread for the longest time. But what held me back was the thread itself, does that make sense? I don’t know about you, but one word comes to mind when I think of crochet thread, intimidating. That’s right, crochet thread intimidates me. It’s just so thin and we all know how long a crochet project can take.
But what inspired me was the thought of creating a pretty lace top that would be perfect all year round. So no matter what, I could wear this top during the summertime with a skirt + I could pair it with some jeans and a chunky crochet shrug during the winter months. So as I grabbed that crochet thread of the shelf at Joann’s, that thought kept me inspired throughout this project.
I also wanted to make this lace top easy and beginner-friendly. So anybody at any level could make this top. It’s a simple 2 rectangle construction made with beginner crochet stitches. I’m talking single crochet and double crochet. I even have tutorials on these stitches if you need a little bit of extra help.
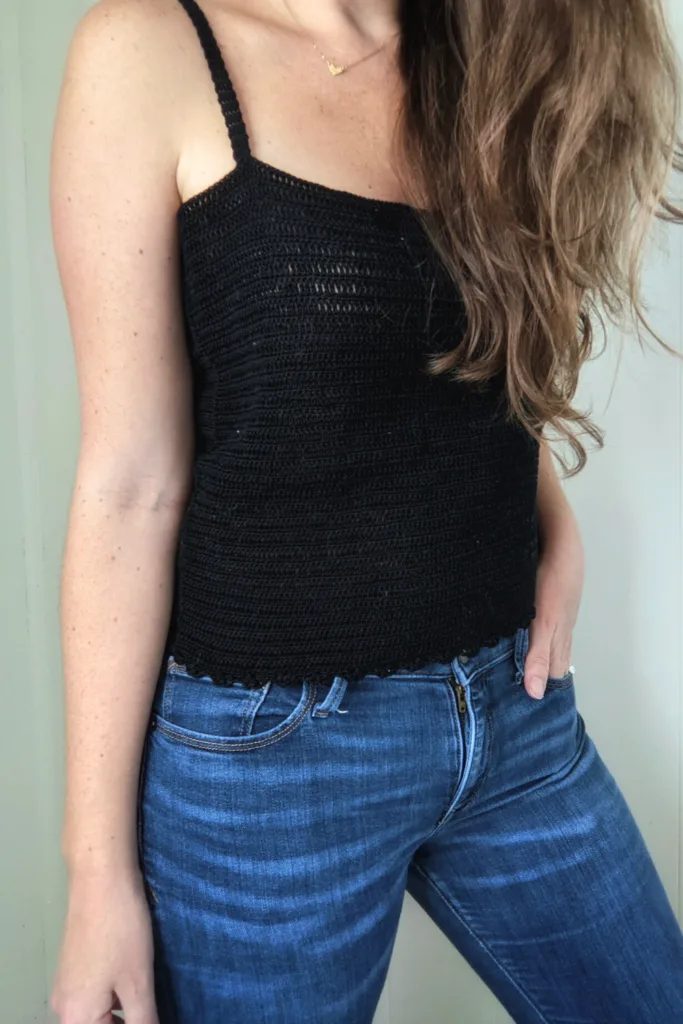
The Perfect Crochet Lace Tank Top For Anyone – Beginners Included
As mentioned previously, I really wanted this easy crochet lace top to be accessible to anyone. That’s why this top is written as a tutorial style, instead of a traditional pattern style. The pattern is written in one size, but I provide instructions on how you can make it the perfect size for you. This is something new I’m trying with my patterns, so I hope you like it as well.
On that note, let’s go into the construction of this tank top. This lacy tank top is made from 2 rectangles! All you have to do is crochet two rectangles, put one on top of the other, and seam the sides. Once this is done, it’s time for the straps. The straps are made by crocheting multiple rows of single crochet and then sewn on the front + back of the top.
For this pattern, you’re only going to need 2 straps, but you can modify it and make it 4 straps. This is what I did for the Crochet Seaside Tank Top. I just sewed on 4 straps and tied them like a bow at the shoulder. Both options look cute in my opinion!
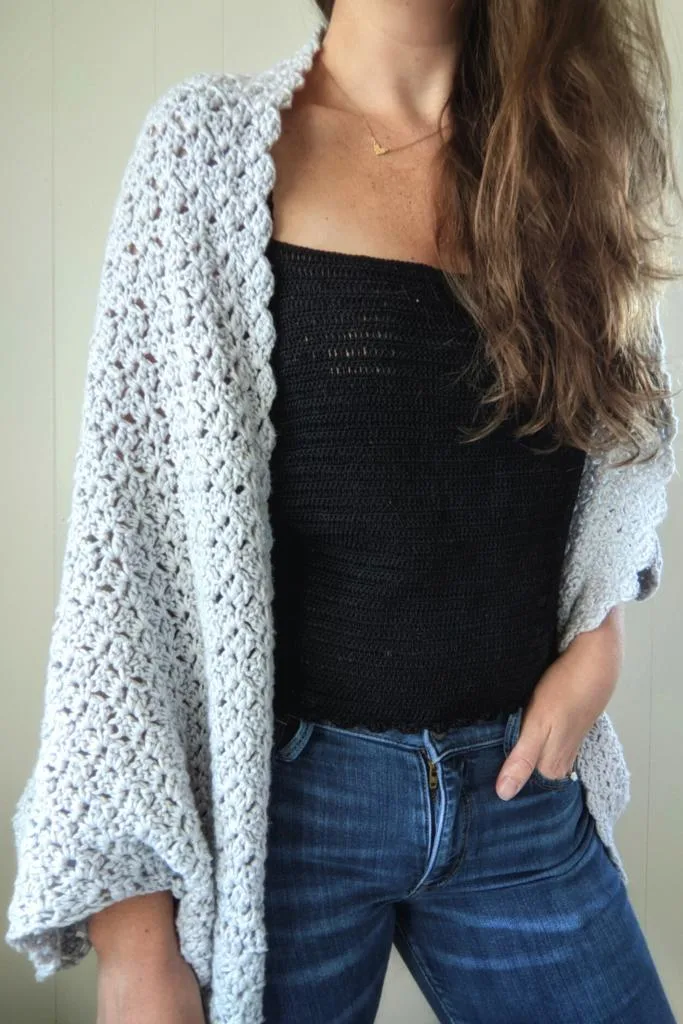
Pretty Little Puff Stitch Border
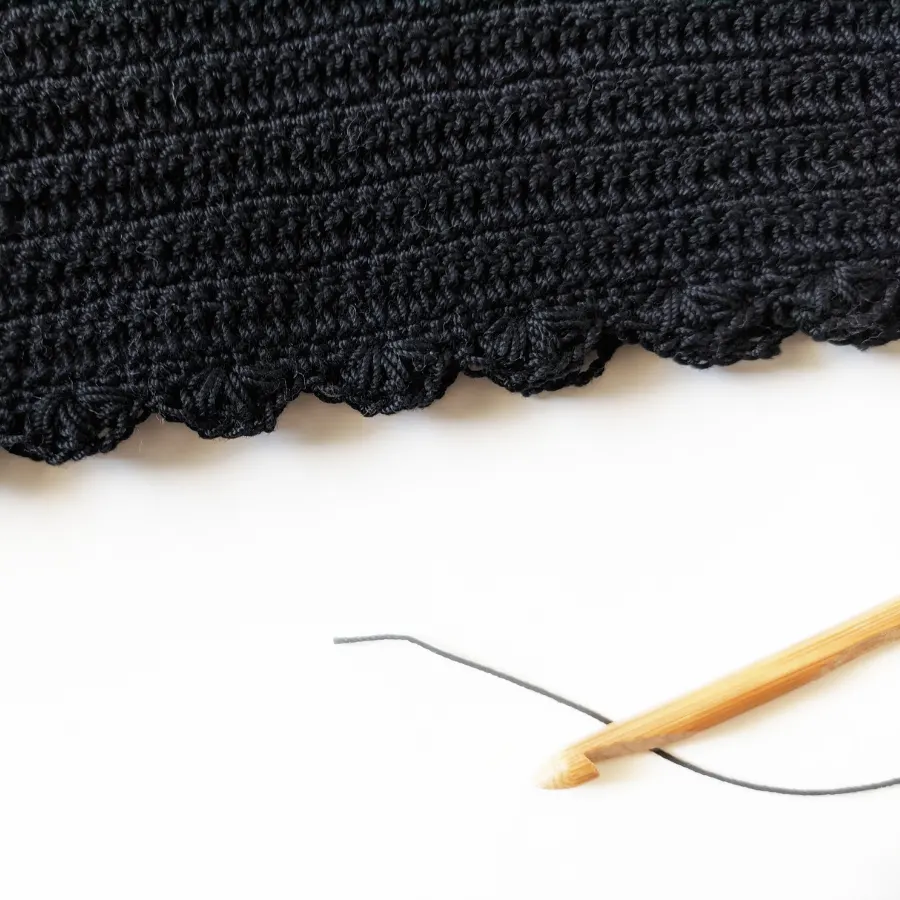
To spice up this easy crochet lace top design, I decided to add a cute triple puff stitch border. This border is optional though, so if you’re not comfortable making puff stitches, just omit this step. I just added a border because I thought it would look cute with a few puff stitches.
For the puff stitch border, all you have to do is make a series of single crochet and puff stitches. So you will be starting with a base of two puff stitches, skipping 2 chains, and creating 3 puff stitches within one chain. Then the pattern just repeats itself till the end of the row. Once you get to the last stitch, all you have to do is make 2 puff stitches and that’s it.
I’ve also created a guided step-by-step video tutorial for the puff stitch. So its totally up to you if you want to add the border.
Yarn Choice + Substitution
I used the classic Aunt Lydia’s Crochet Thread for this easy crochet lace tank top pattern. The size of my crochet thread is 10 and the color I chose is black. One thing that I love most about this yarn is that its offered in a variety of colors (34) and its affordable. I only used 1 ball of Aunt Lydia’s Crochet Thread to make this tank top and I still have yarn left over.
That’s a really good deal considering how much yarn it usually takes to make any crochet garment. One ball of Aunt Lydia’s yarn is under $10 dollars, add a coupon, and you’ll get it for less. So a really good value in my opinion. Some of my favorite colors in this line are soft mauve, natural, and bright coral.
substitution for crochet thread
If you can’t find a store that sells Aunt Lydia’s Crochet Thread, there’s a lot of other brands out there that sell a 100% mercerized cotton yarn. A great yarn substitute would be DMC Cebelia Crochet Thread or RedHeart brand Crochet Thread. Both of these yarns can be purchased online or in store. As long as you have a number 10 crochet thread size, it really doesn’t matter what brand you get.
I personally loved working with the Aunt Lydias Crochet Thread line.
Pin It for later!
Pattern
Description:
Learn how to make an easy crochet lace tank top with this tutorial style pattern. This beginner friendly pattern is made from only 2 rectangles! A perfect tank top for your wardrobe. Pair it with jeans or a cute skirt.
Materials:
– 1 ball of Aunt Lydia’s Classic 10 Crochet Thread (1000 yards) in the color Black
-Size 2.0 mm crochet hook
-Tapestry needle
-Measuring tape
-Stitch marker (4)
-Scissors
Size:
Written for a size medium, but I provide instructions on how you can make it for your size.
Gauge:
14 stitches x 4 rows = 2 inch square
Measurement:
Measurement will vary depending on size.
My measurements for a size “M”: Height – 13 inches, Width – 16 1/2 inches.
Skill Level:
Level 2, Easy
Pattern Notes:
- Pattern written in tutorial style format.
- Triple puff stitch border is optional.
Abbreviations:
ch – chain
sc – single crochet
dc – double crochet
Front + Back Panel:
-Make 2 panels, this will count as the front + back of the tank top.
For size medium, chain 126.
For all other sizes, grab your measuring tape and measure your bust. Divide that number by 2 and times it by 7.
For example, my beginning chain is a total of 126. 36″ (bust measurement) divided by 2 = 18, 18 x 7 (gauge measurement 1″) = 126.
Once you have your initial chain amount, you are going to crochet rows of single crochet and double crochet, so your pattern will look like this:
Chain 126,
Row 1: single crochet in the first stitch and across (125)
Row 2: chain 2, double crochet in the first stitch and across (125)
Continue to repeat rows 1 and 2 until your panel measures from your bust to your hip. So you want to create a long rectangle that will cover/measure from your bust to your hips.
For my size, I crocheted a total of 65 rows. If your last row is a double crochet row, crochet an extra single crochet row.
Straps:
-Make 2 straps of single crochet.
Now its time to crochet the straps. For size medium, you are going to need to crochet 12 inch straps. For all other sizes, measure from the front side of your armpit, all the way to the back side of your armpit (you can always grab a tank top and measure the straps on that tank top).
You want to start with a base of 5 chains. This base chain will be the same for all sizes, unless you want to crochet a thicker strap. Just increase the initial amount of chains.
Chain 5, single crochet in the first stitch and across (4). For row 1, chain 1 and single crochet across (4). Continue to repeat row 1 until your strap measures 12 inches or any other size.
Assembling:
Step 1:
Grab your front + back panel and put them together. Making sure that your front + back panel are aligned properly.
Step 2:
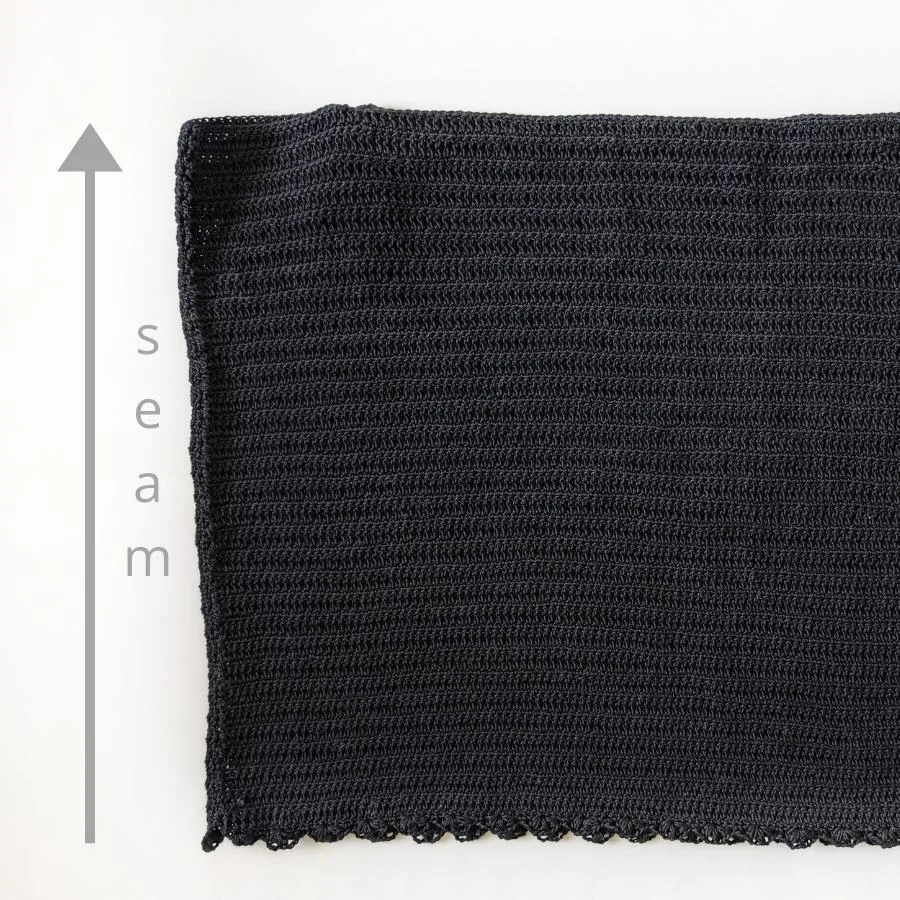
Using the whip stitch method or any other method you prefer, seam the sides till you reach the end of the panel.
Step 3:
Once both sides have been seemed together, grab your measuring tape and starting from the top right front panel measure 3 inches, place stitch marker. Repeat on opposite sides and back panel.
*** Put your top on and see if you like where the stitch markers are placed (this will be where the straps will be sewn on). If not, move the stitch marker 1/2″ inch until you reach your desired fit.***
Grab your straps and sew on where the stitch marker is placed. Working in and out between the panel and the strap. Making sure that the straps are secured tightly.
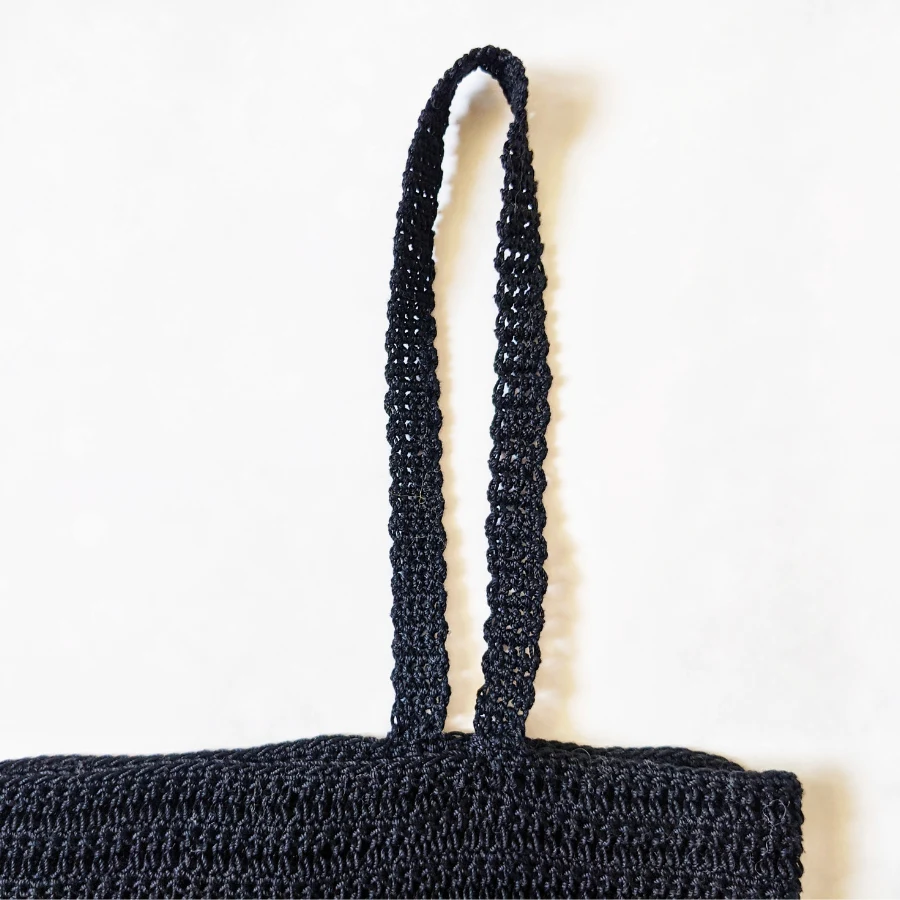
Finally, tie knot when done and work in ends.
Puff Stitch Border
Puff Stitch – (yo, insert hook into stitch, yo, draw yarn through stitch) 3 times in same stitch. yo, draw yarn through 6 loops on hook. yo, draw yarn through last 2 loops.
Once the assembling part of your crochet top is done, its time for the border (check out the video tutorial here). Reattach your yarn to front bottom side of your top. Insert your hook and chain one, in the same stitch (first stitch), create your first puff stitch, chain 2, and create one more puff stitch. *Skip 3 stitches, single crochet in the next stitch, and skip 3 more stitches. In the following stitch, crochet 1 puff stitch, chain 2, crochet puff stitch, chain 2, and crochet 1 more puff stitch. You should have a total of 3 puff stitches in 1 stitch.
Continue to repeat from * till your last 3 chains, skip 2 chains, and crochet a puff stitch, chain 2, puff stitch in last stitch.
Cut yarn and weave in ends. Repeat this on the backside of your crochet top.
You’re finished with your Crochet Lace Tank Top! I hope you enjoyed this tutorial style post and let me know if you’re ever made anything with crochet thread?
PIN IT for later
