Create this beginner friendly braided crochet headband using simple crochet stitches.
Read on below to learn about the design inspiration, yarn choice, and the free pattern + tutorial to create the braided crochet headband.
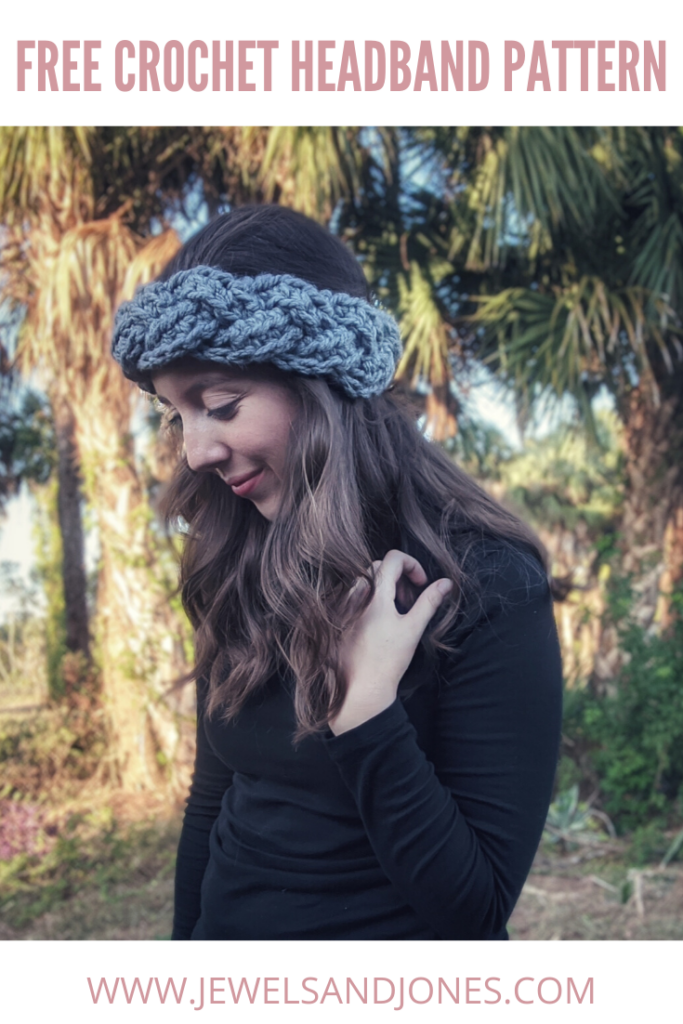
As a lover of all things crochet, especially crochet headbands. Today I am sharing this really simple beginner friendly braided crochet headband.
All you need is some chunky yarn and a hook!
DESIGN INSPIRATION
I've been wanting to make a braided crochet headband for the longest time! I've just had so many other WIPS going on that I promised myself to finish those first before I started another crochet pattern.
The design inspiration for making this braided headband came from wanting to make something that incorporated braids. I've always loved the look of crochet braids and so I thought "why not create a braided crochet headband?!."

If your interested in more crochet headband pattern, check out the simple twisted crochet headband using only single crochets!
YARN CHOICE
I chose to do a chunky yarn for this braided headband because I love the overall look that it gives. The chunky (bulky) yarn that I went with was Lion Brand Thick & Quick in the color grey. Its an acrylic based yarn that I love using for my crochet projects.
So I chose to work with LionBrand Thick & Quick, but any bulky weight yarn will work for this project.
Let me know in the comments below what your favorite bulky yarn to use is? I'm always looking for all types of bulky yarn!
DETAILS
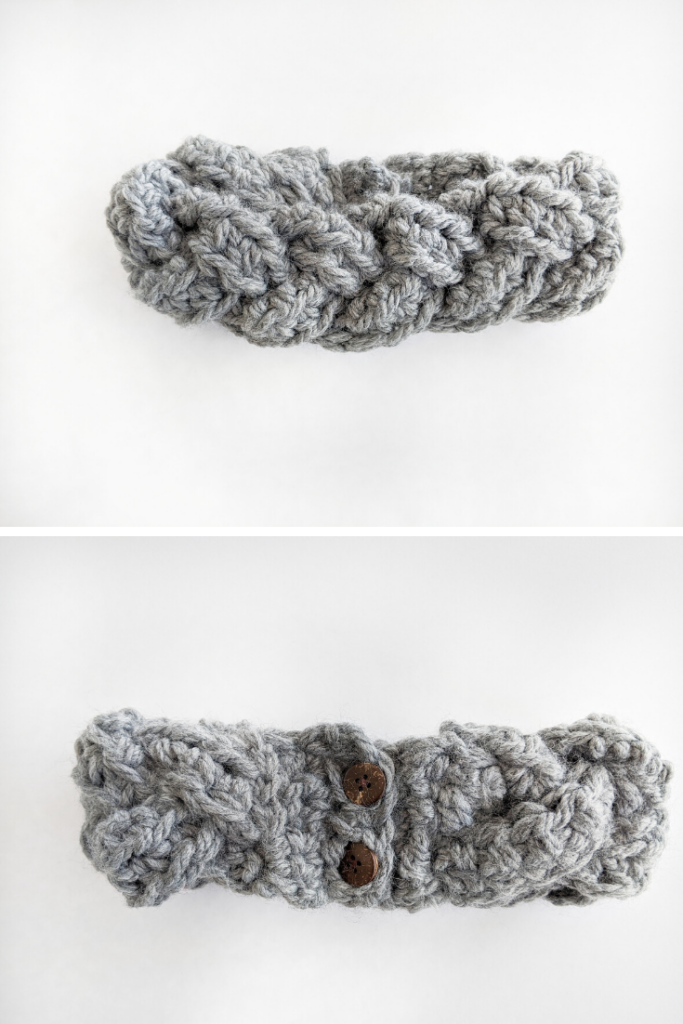
There are so many cute little details that make up this crochet braided headband. One of those details is the buttons. I decided to add two buttons to my headband as I wanted to add a closure. But this is totally optional!
When you scroll down, you will see instructions on how to add buttons and button holes to this headband.
THE PATTERN
Supplied Needed:
- Bulky weight yarn (category "6", I used Lion Brand Thick & Quick in the color Oxford Grey). 1/2 of a ball is needed.
- 10 mm hook (U.S./N)
- Tapestry Needle
- Buttons
Gauge:
6 hdc x 8 rows = 4 inches
Abbreviations:
ch - chain
sl st - slip stitch
sc - single crochet
hdc - half double crochet
Notes:
- Pattern written in U.S. terms.
- Beginner crochet pattern.
PATTERN:
Part 1: (Make 3)
ch 38
Row 1: In 2nd chain from hook, hdc across (37)
Row 2: Repeat row 2
Finish off and weave in ends.
Tutorial:
At this point, you should have 3 long rectangle strips. These will be used to create the braid.
First we need to overlap each strip and slip stitch it together.
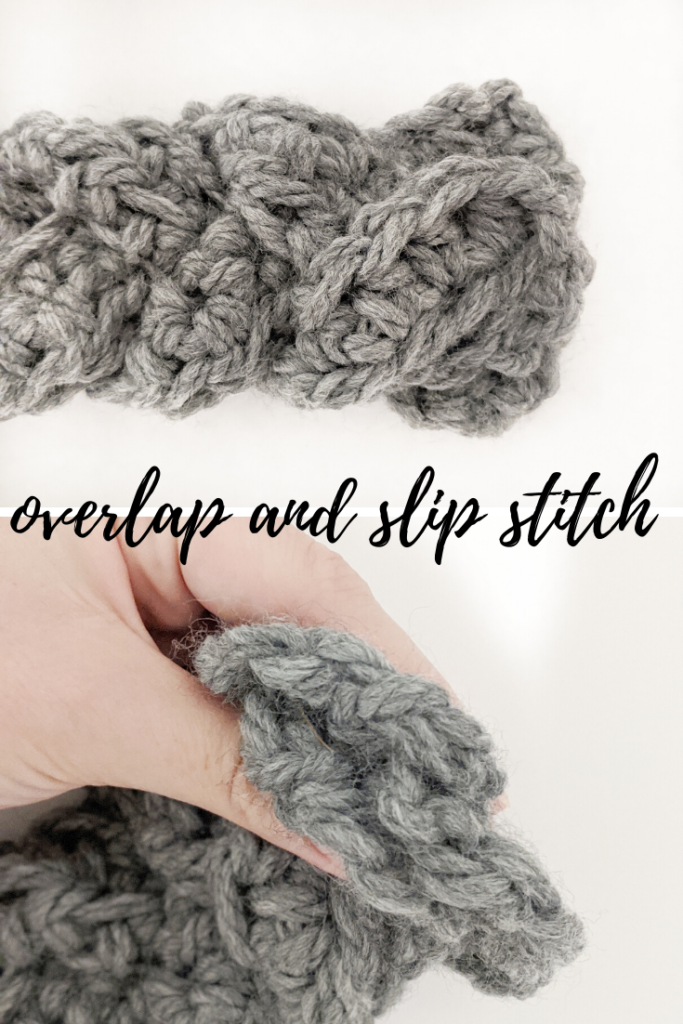
Take each strip and lay them over each other, as shown above. Then sl st (9) across starting from right to left. Make sure all the pieces are connected when slip stitching across. This is very important! It's what will hold your three pieces together.
Pattern is as follows:
sl st across (8)
Row 1: ch 1, sc across (7)
Row 2: ch1, sc, ch 1, skip 1, sc, sc, ch 1, skip 1, sc, sc
Row 3: ch 1, sc across (7)
finish off and weave in ends.
Braid the 3 pieces together
OTHER SIDE:
You need to slip stitch 8 times (just like previous side) to hold the three pieces together.
Pattern is as follows:
sl st across (8)
Row 1: ch 1, sc across (7)
Row 2-3: repeat row 1
Finish off and weave in ends.
AND YOU'RE FINISHED!
If you liked making this pattern, check out the braided cup cozy pattern. It's made almost the same way, except it can be used as a cozy for your favorite cup!
Happy Crocheting!
Anna Parmelee
Friday 31st of December 2021
I I loved your blanket shrug so much I thank you. I love the stitch & was wondering if you will ever create a Shawl using same one stitch repeat. It will look just as beautiful too using the H hook also. Thank you so much, Anna P.
Nicky
Monday 3rd of January 2022
Hi there, definitely! I've added it to my list of things to make in the future.