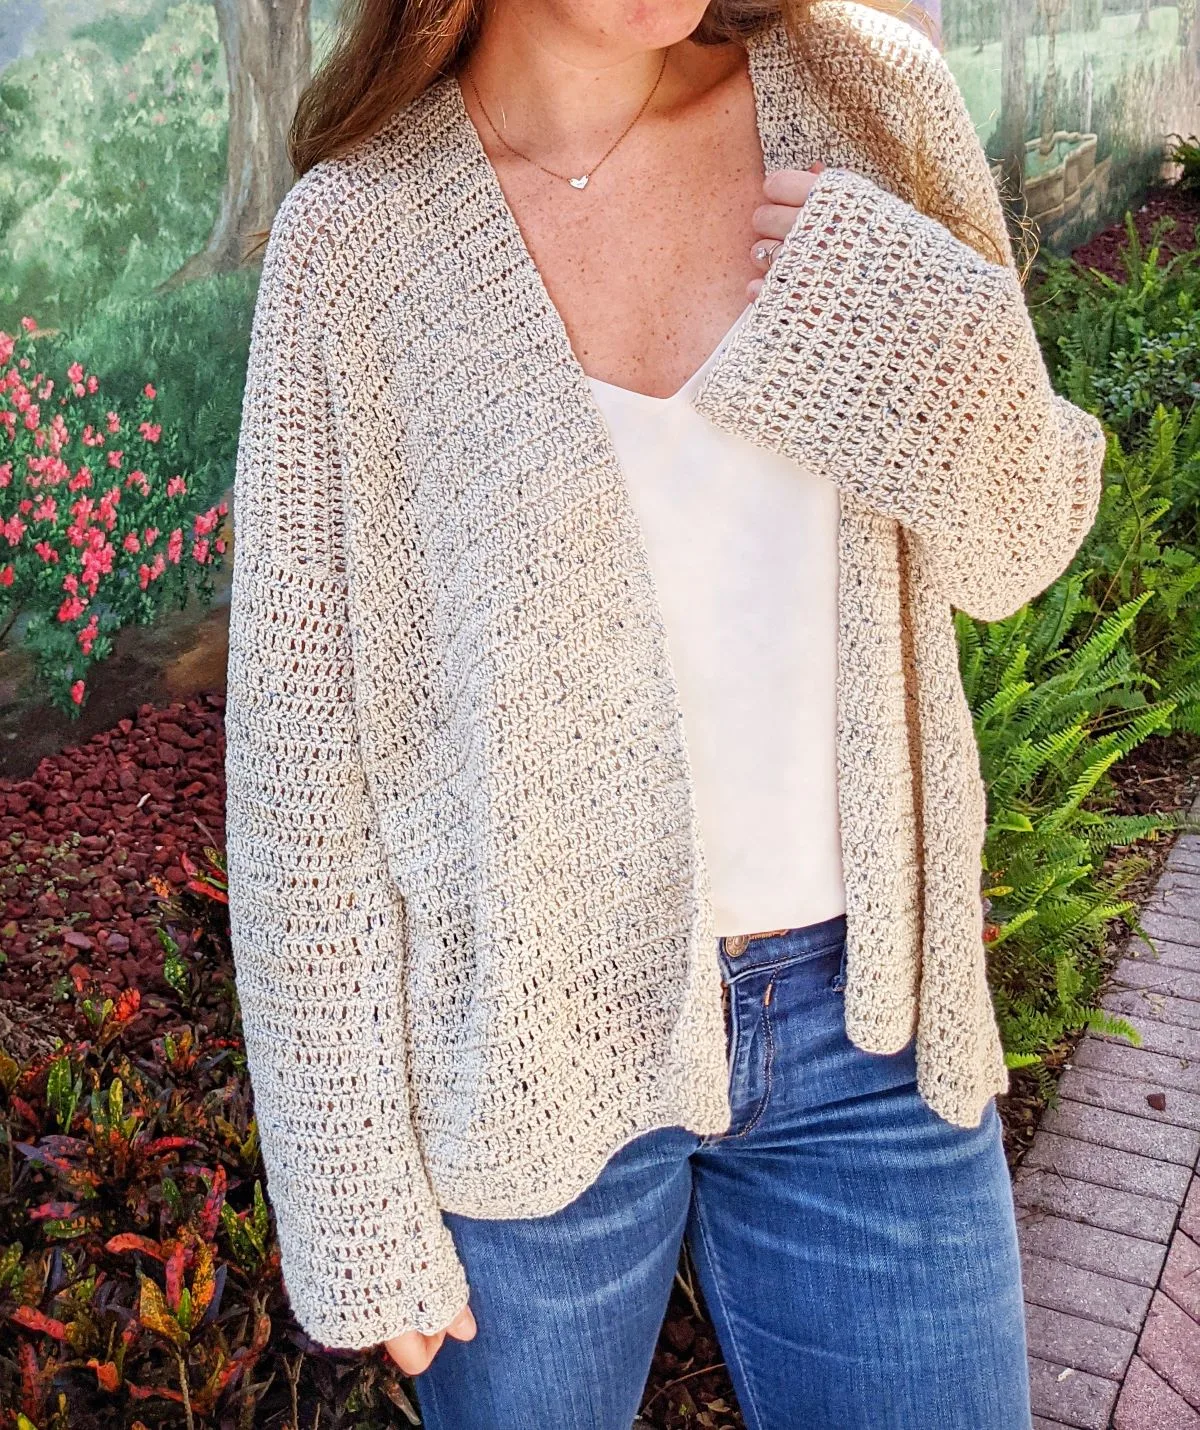
Add some flair to your wardrobe with this easy beginner-friendly crochet cardigan. This free crochet cardigan pattern is cozy, comfortable and adds the perfect boho touch to your outfit!
Made from 5 rectangles and one stitch, you’ll have your drapey, oversized crochet cardigan made in just a few days. It’s super comfy and great for those chilly mornings.
Continue to read through for the inspiration behind this design or scroll down for the free pattern + guided video tutorial.
This post contains affiliate links, which means I make a small commission at no extra cost to you. See my full disclosure here
Beginner Crochet Cardigan
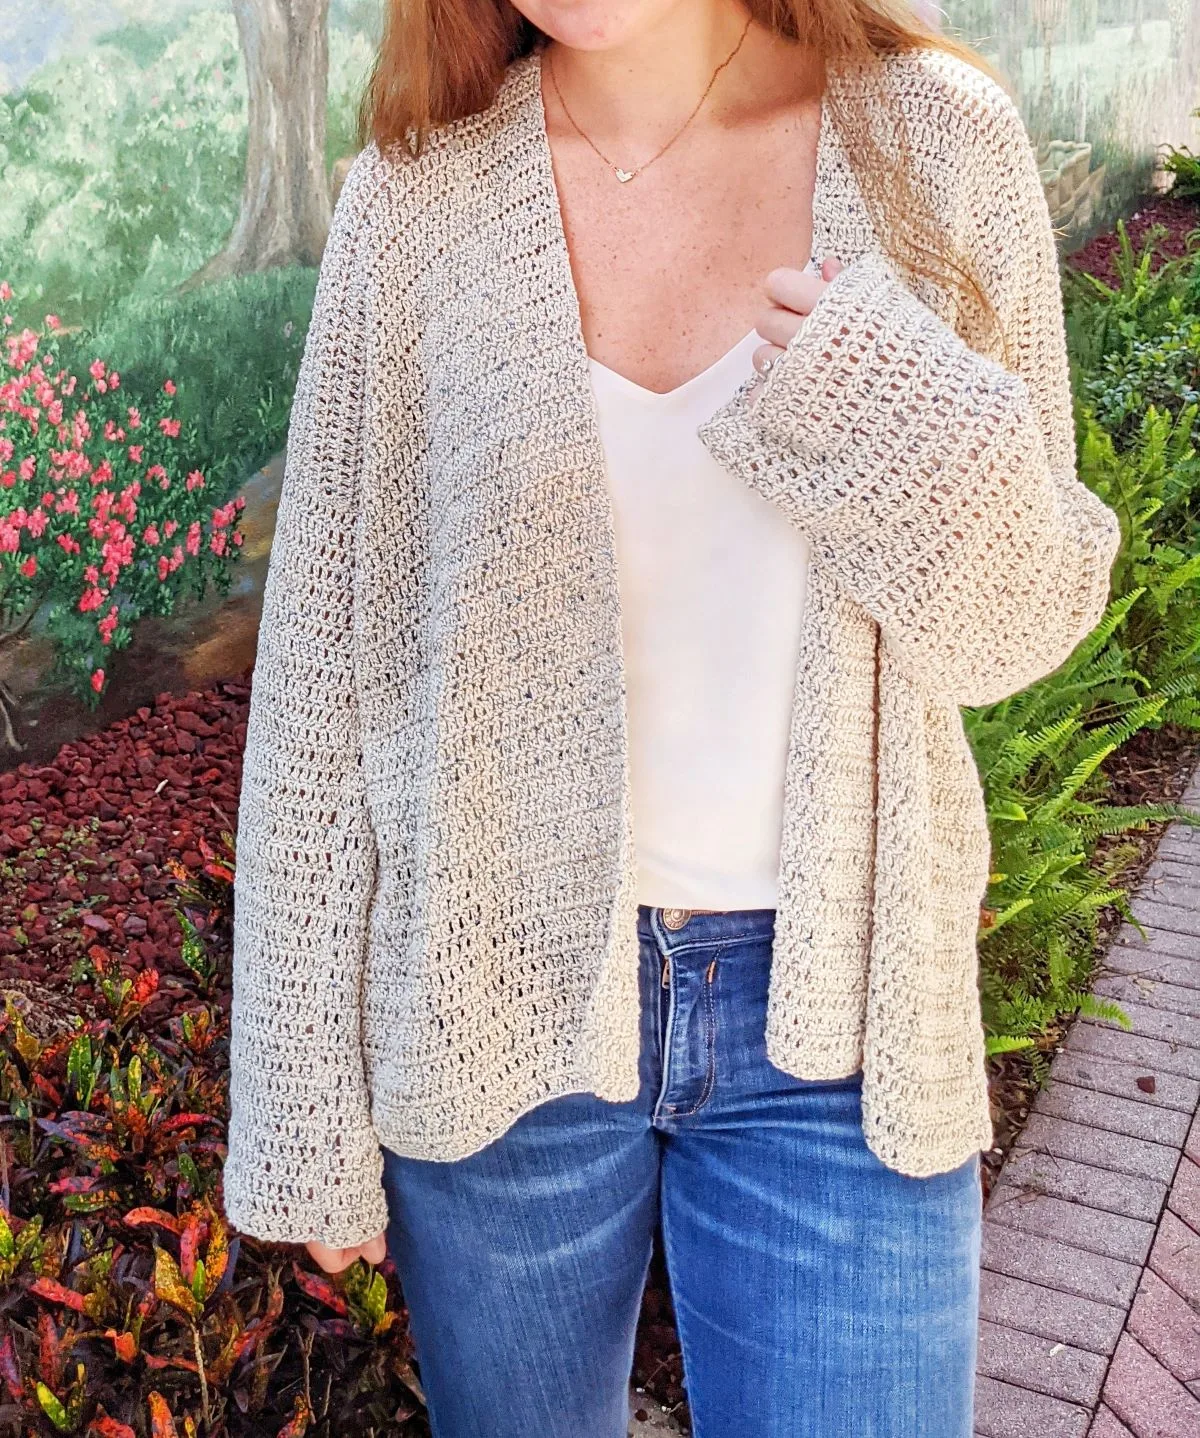
My latest design and free pattern is a crochet cardigan that is perfect for beginners. It’s drapey, flowy, oversized, and adds the perfect boho touch to any outfit.
You can wear it as a cozy coverup in the mornings or pair it with some jeans and flats for a night out. It’s one of those crochet cardigans that’s perfect for every occasion.
I just love the way this crochet cardigan came out and I’m so happy to be sharing it with all of you! I’ve made this crochet cardigan with beginners in mind. So if you’re new to crochet or new to making crochet garments, I think you’ll love this easy crochet cardigan pattern.
It’s made from 5 rectangles and uses only double crochets. Once you have all the panels made, all you have to do is put them together, seam them, and you’re done! I’ve also put together a step-by-step video tutorial to help with any confusing parts.
If you love making this crochet cardigan, you may also like this beginner-friendly free crochet shrug pattern.

What type of yarn is best for a crochet cardigan?
For this simple crochet cardigan, I chose a lightweight number 2 cotton yarn. I think lightweight yarns work great for crochet cardigans because it creates the perfect drapey, flowy look. It all depends on what type of look you’re trying to achieve when making a crochet garment.
I knew that I wanted a very drapey long flowy cardigan, so that’s why I went with lightweight cotton yarn. The yarn I chose to work with for this pattern is Hobby Lobby’s Wrapology Hues yarn in the color Enternal Indigo.
It’s a beautiful double twisted sport weight yarn that has different mixtures of blue and white. There are a couple of different colors in this line and one ball contains 524 yards of yarn. I loved working with this yarn and thought it was perfect for this cardigan.
If you choose to go with a different yarn, just make sure it’s a number 2 lightweight yarn. I choose cotton, but you could easily go with a different fiber, like bamboo or linen.
How to Put Together A Crochet Cardigan
For this simple crochet cardigan, you will be making a total of 5 panels, all in double crochet. Once you have your panels made and worked in your ends, you want to grab your back panel and two front panels.
First, lay your back panel down, then put the two front panels on top. Seam the sides according to your size, and then seam the top of the panel together. Finally, grab the two smaller panels and fold them over.
Once you have the small panels folded over, seam them close. Now you have a sleeve. The last part is to insert them into the cardigan and seem them to the front + back panel.
Once you’ve done all of that, you’re done! All that’s left to do is work in your ends. There will also be step-by-step photos + a guided video tutorial to help you with this part.
Other Free Crochet Wearable Patterns
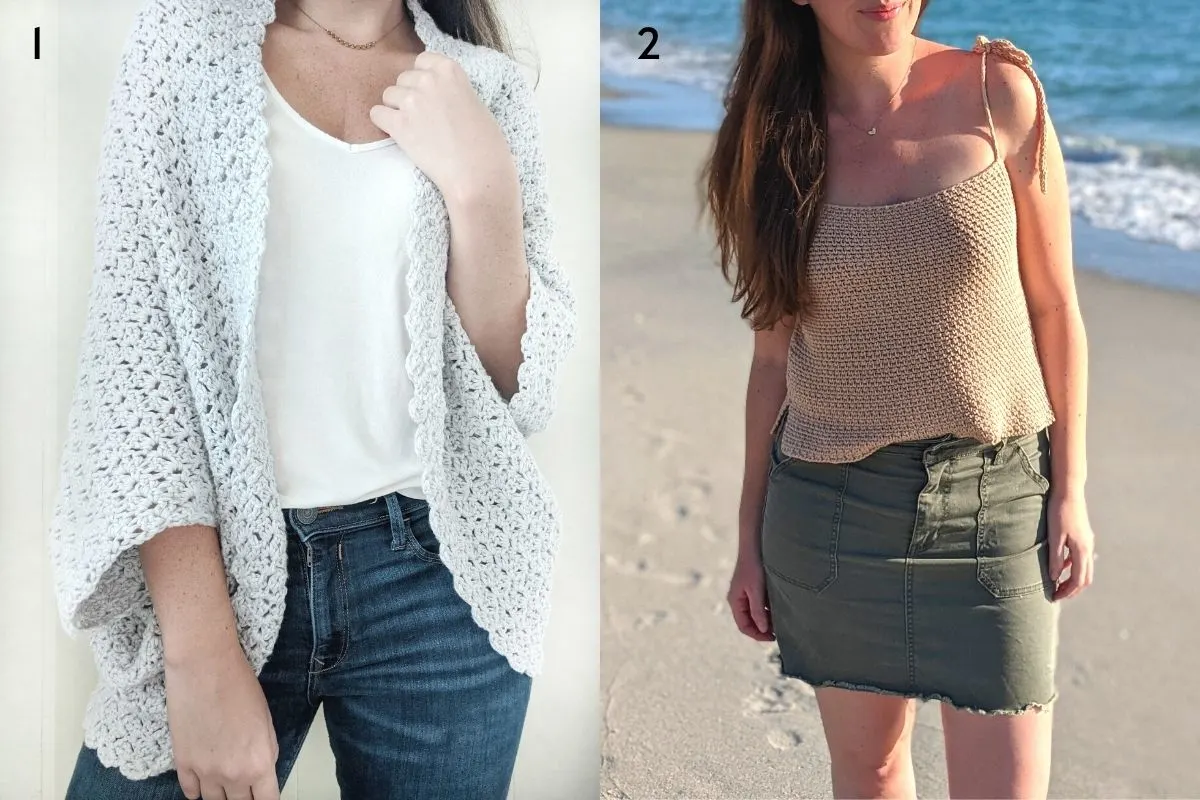
- The Blanket Shrug – An easy one stitch repeat crochet shrug that’s beginner-friendly and includes a guided video tutorial.
- Seaside Crochet Top – This tank top is made from only 2 rectangles! It’s made using only single crochet and double crochet + includes a guided video tutorial.
PIN IT for later
Pattern
Description:
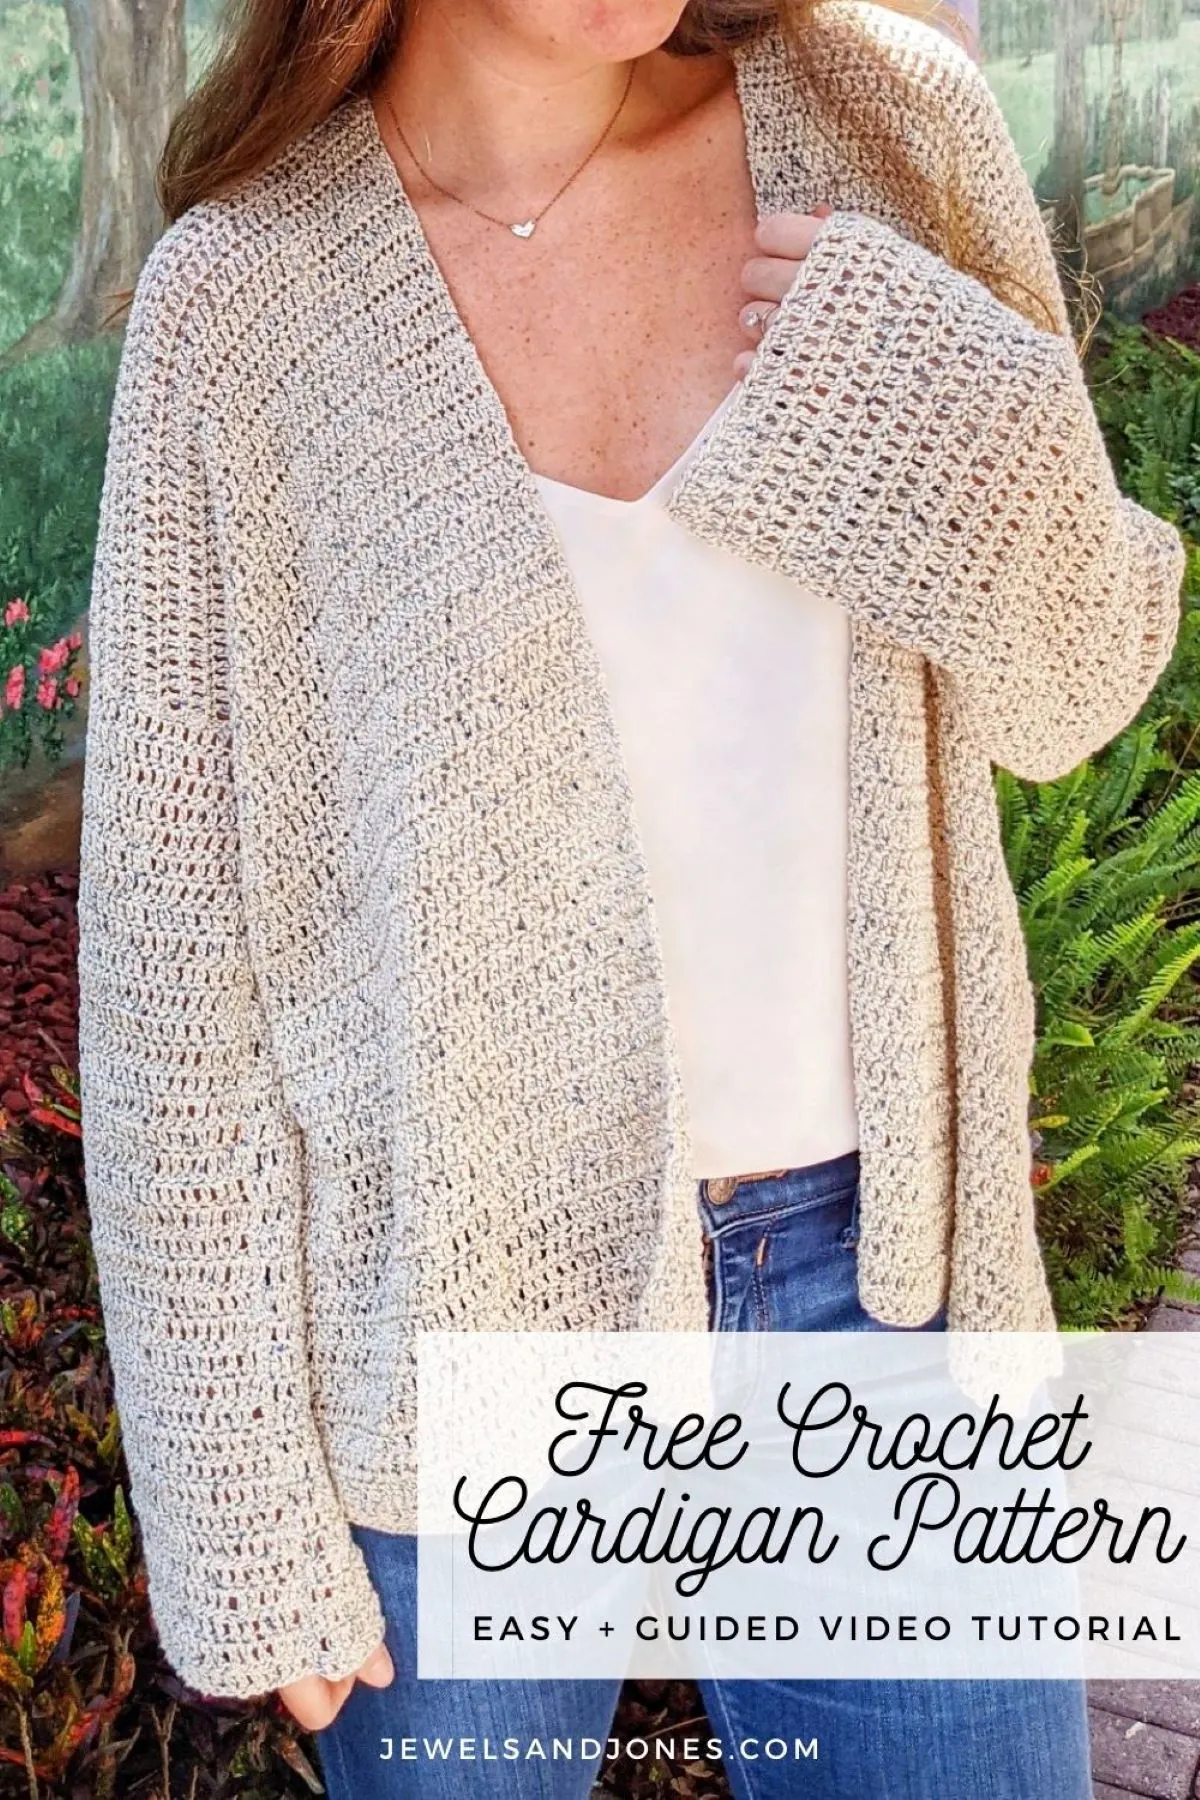
Learn how to crochet a simple oversized crochet cardigan with this free crochet pattern + guided video tutorial. This easy beginner-friendly cardigan is made using only double crochets. It’s the perfect cozy cardigan to add to your wardrobe!
Materials:
- Hobby Lobby Wrapology Yarn in the color Eternal Indigo (Weight 2/light, 7.0 oz, 524 yards) or another sport weight #2 yarn.
Adult Small/Medium – approximately 2,399 yards or 4 1/2 balls.
Adult Large/X-Large – approximately 2,804 yards or 5 1/2 balls.
- Size 4.0 mm crochet hook
- Stitch Markers (optional)
- Tapestry Needle
- Scissors
Yarn Substitution:
WeCrochet Comfy Fingering Weight Yarn
Finished Sizes:
Adult Small/Medium: 50″ chest, 24″ length
Adult Large/X-Large: 54″ chest, 26″ length
- Cardigan has an oversized, relaxed fit.
- Cardigan is shown in size S/M, model is 5’9 and bust measures 36″.
Gauge:
8 rows x 16 stitches = 4″ inch square
Skill Level:
Beginner
Abbreviations:
ch – chain: Yarn over, pull through loop on hook.
dc – double crochet: Yarn over, insert hook into stitch and pull through, yarn over and pull through first two loops on hook, yarn over and pull through last two loops on hook.
Pattern Notes:
- Pattern written in U.S Terms.
- Cardigan is shown in size S/M, model is 5’9 and bust measures 36″.
- The cardigan is designed to be more of an oversized, relaxed fit.
- The sleeves of the cardigan are a bit longer, so you can fold them over. Or you can easily make it shorter by subtracting rows.
- Customize the length of the cardigan by subtracting or adding rows.
- ch 2 does not count as a stitch.
Beginner Crochet Cardigan Pattern
Back Panel
- Make 1 back panel
ch 100 (108)
Row 1: dc in 3rd chain from hook, dc in next stitch and across till end of row. 98 (106).
Row 2: ch 2, turn, dc in first stitch and across till end of row. 98 (106).
For size S/M: Rows 3 – Row 48: Repeat row 2
For size L/XL: Rows 3 – Row 52: Repeat row 2
You can easily modify the length of this cardigan by adding or subtracting rows.
- For longer cardigan, add additional rows.
- For shorter cardigan, subtract rows.
Finish off and work in ends.
Front Panels
- Make 2 front panels
ch 50 (54)
Row 1: dc in 3rd chain from hook, dc in next stitch and across till end of row. 48 (52).
Row 2: ch 2, turn, dc in first stitch and across till end of row. 48 (52).
For size S/M: Rows 3 – Row 48: Repeat row 2
For size L/XL: Rows 3 – Row 52: Repeat row 2
Finish off and work in ends.
Sleeves
- Make 2 sleeve panels
ch 60 (68)
Row 1: dc in 3rd chain from hook, dc in next stitch and across till end of row. 58 (66).
Row 2: ch 2, turn, dc in first stitch and across till end of row. 58 (66).
For Size S/M: Rows 3 – Row 36: Repeat row 2
For size L/XL: Rows 3- Row 37: Repeat row 2
Finish off, but leave an extra long tail end to sew the seam of the sleeve.
Seaming the Cardigan Together
To begin assembling your crochet cardigan, grab your back panel and two front panels.
Lay your back panel down first, and put the two front panels on top. Making sure that it’s evenly lined up on the back panel.

Then cut a long piece of yarn that is twice the size of your panel and seam the sides together (according to your size, down below) using the whipstitch method.
For sizes s/m: Seam up to row 33, leaving a gap of 7.5 inches.
For sizes l/xl: Seam up to row 35, leaving a gap of 8.5 inches.
Once you have your side panels seamed, it’s time to sew the top edges of the front + back panel. Cut another long piece of yarn and seam both front panels to the back panel using the whipstitch method.
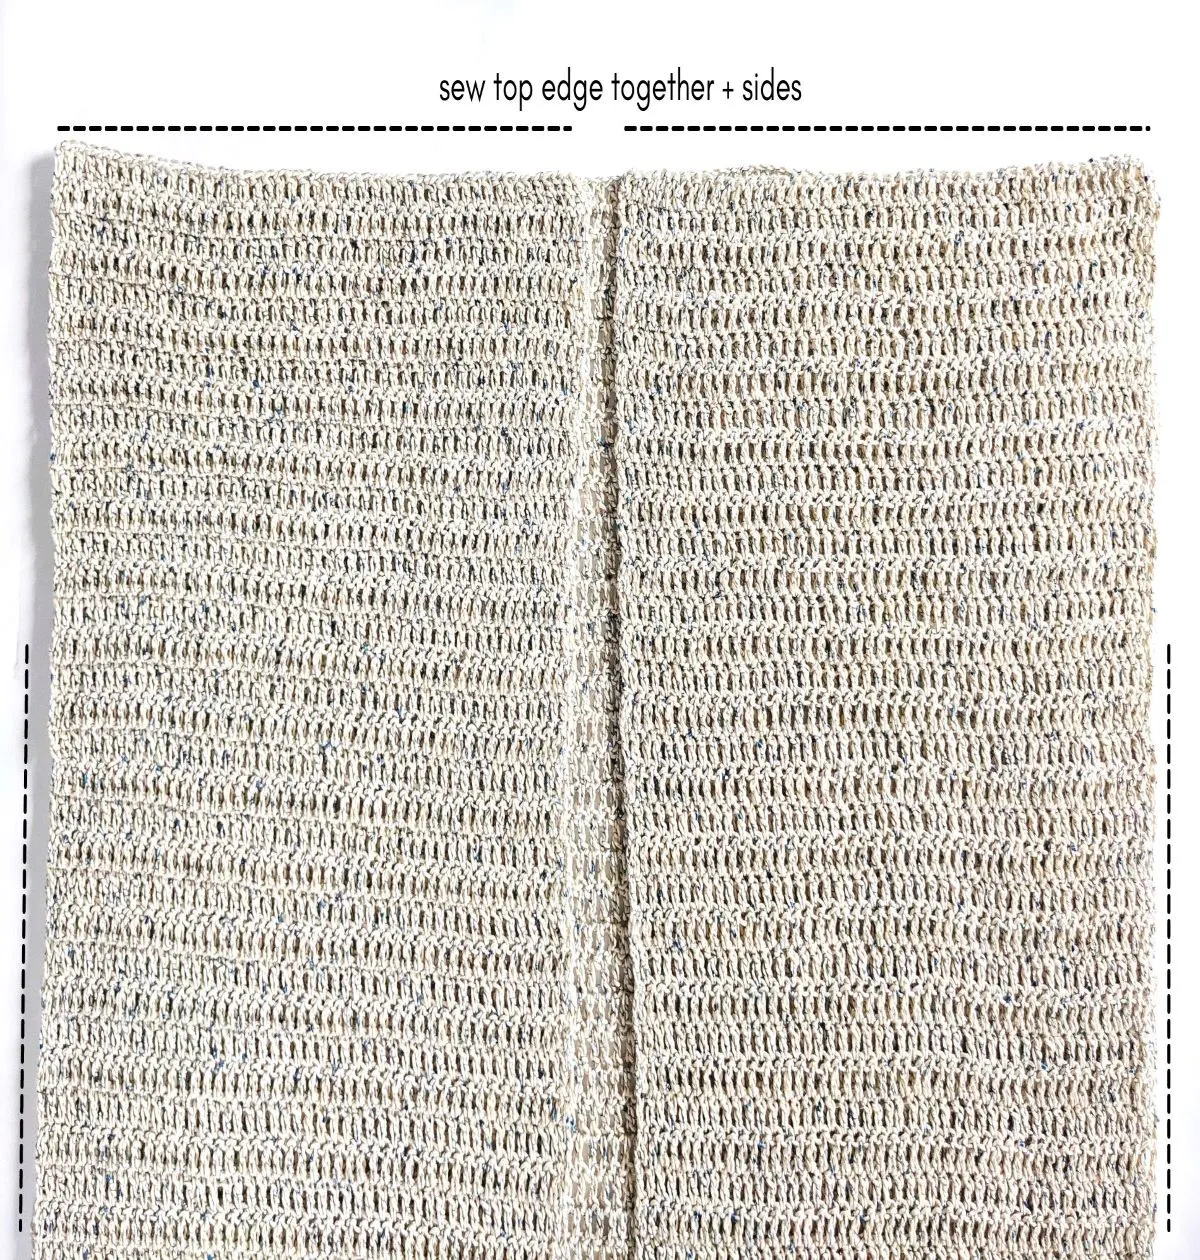
With the body portion of your cardigan sewn up, it’s time to sew on the sleeves.
Take your sleeve panel and fold it together. Using your long tail end from your panel, seam the sides at the edge together. Now you have a sleeve, repeat this process for the other sleeve panel using the whipstitch method.
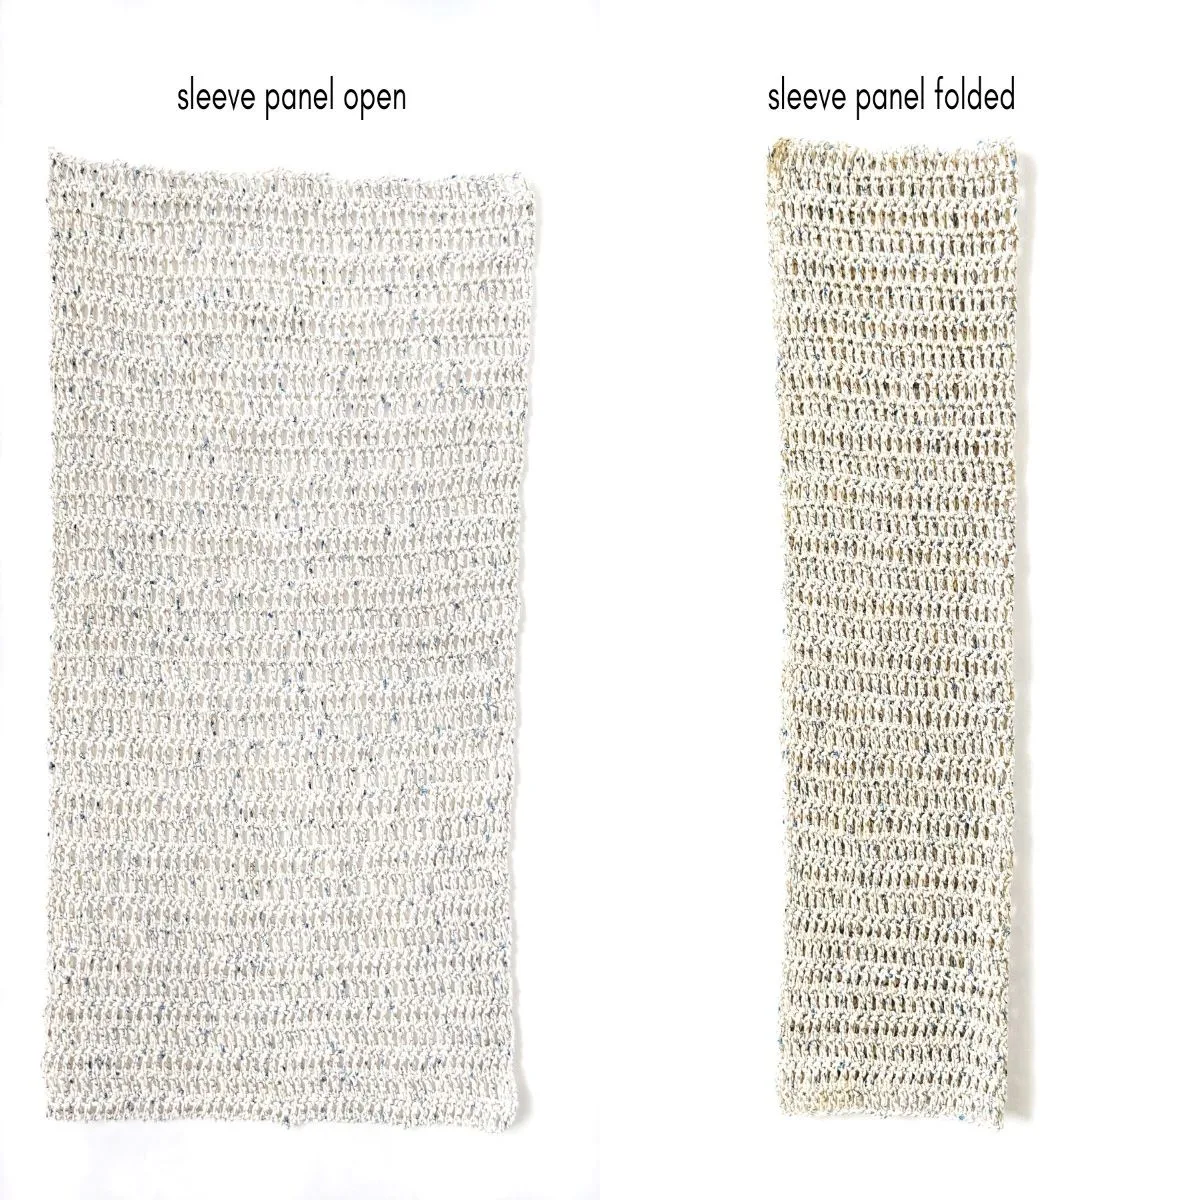
Once you have seamed your sleeve panels, it’s time to connect them to the body of the cardigan. Keeping your body piece wrong side out and turning your sleeves right side out, insert your sleeve on the inside of the armhole.
Then using the whipstitch method, sew the sleeves onto the armhole opening of the front and back panel. Making sure to seam only the edges together. Repeat this process for the other sleeve.
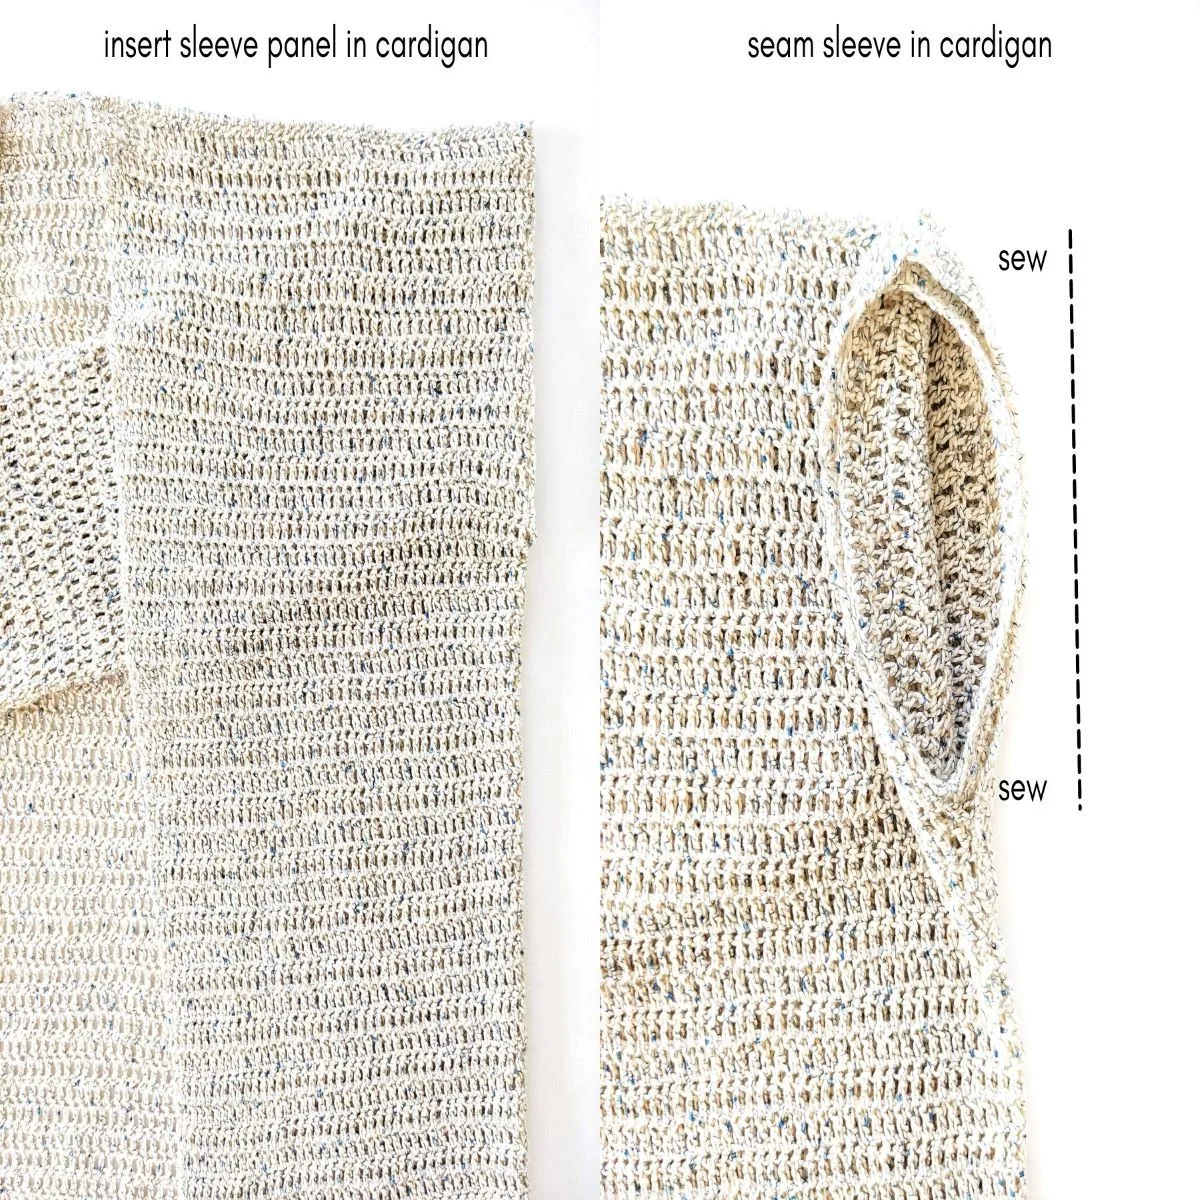
Finally, weave in your ends. Your crochet cardigan is done!
I hope you enjoyed this easy beginner crochet cardigan pattern and don’t forget to share it with me on Facebook or Instagram.
I would love to see your cardigan!
Greta
Sunday 24th of March 2024
For some reason my sides are longer than the back. I hate when things like this happen. Any suggestions? Thanks
Greta
Wednesday 27th of March 2024
@Nicky, thanks. I actually made the back longer.
Nicky
Monday 25th of March 2024
Hi there, I'm thinking it might be your tension. You could do a couple of different things, you could first frog the sides and redo them (keeping an eye on your tension) or you could also wet block your sides and lay them out carefully so that they are the same size. I hope that helps! 😊
El Jay
Tuesday 5th of March 2024
I'm wanting to make this cardi but wear a size larger than XL.....is there a base chain multiple to make larger sizes? Or is it an any multiple works/crochet to size?
Nicky
Thursday 7th of March 2024
Hi there, so since this cardi is made using double crochets, it doesn't require a multiple. So you can start with any chain amount and you can add additional rows as well. Just keep in mind that if you do add additional rows, that you add them to all the panels. I hope that helps! 😊
Leah
Saturday 4th of November 2023
Can you show me how you stitch the whole sweater please? I don’t know how you stitch them together 😞
Nicky
Tuesday 7th of November 2023
Hi there, in the video tutorial I explain how to stitch the cardigan together.
Marla
Thursday 13th of April 2023
This looks like the perfect project for me! Where can I find the video tutorial for this?
Nicky
Tuesday 25th of April 2023
Hi there, you can find the video tutorial on our YouTube channel at JewelsandJones. The blog post should also have the video tutorial. I hope you enjoy making it! 😊✨
Andrea L
Saturday 4th of March 2023
I want to try this as my first attemp at clothes. But I cant find the video tutorial for seaming it? Thank you.
Nicky
Wednesday 8th of March 2023
Hi there, this is definitely a great project to get started with as it's for beginners. I would recommend searching on YouTube for some different crochet seaming methods. I like to use the whipstitch method.