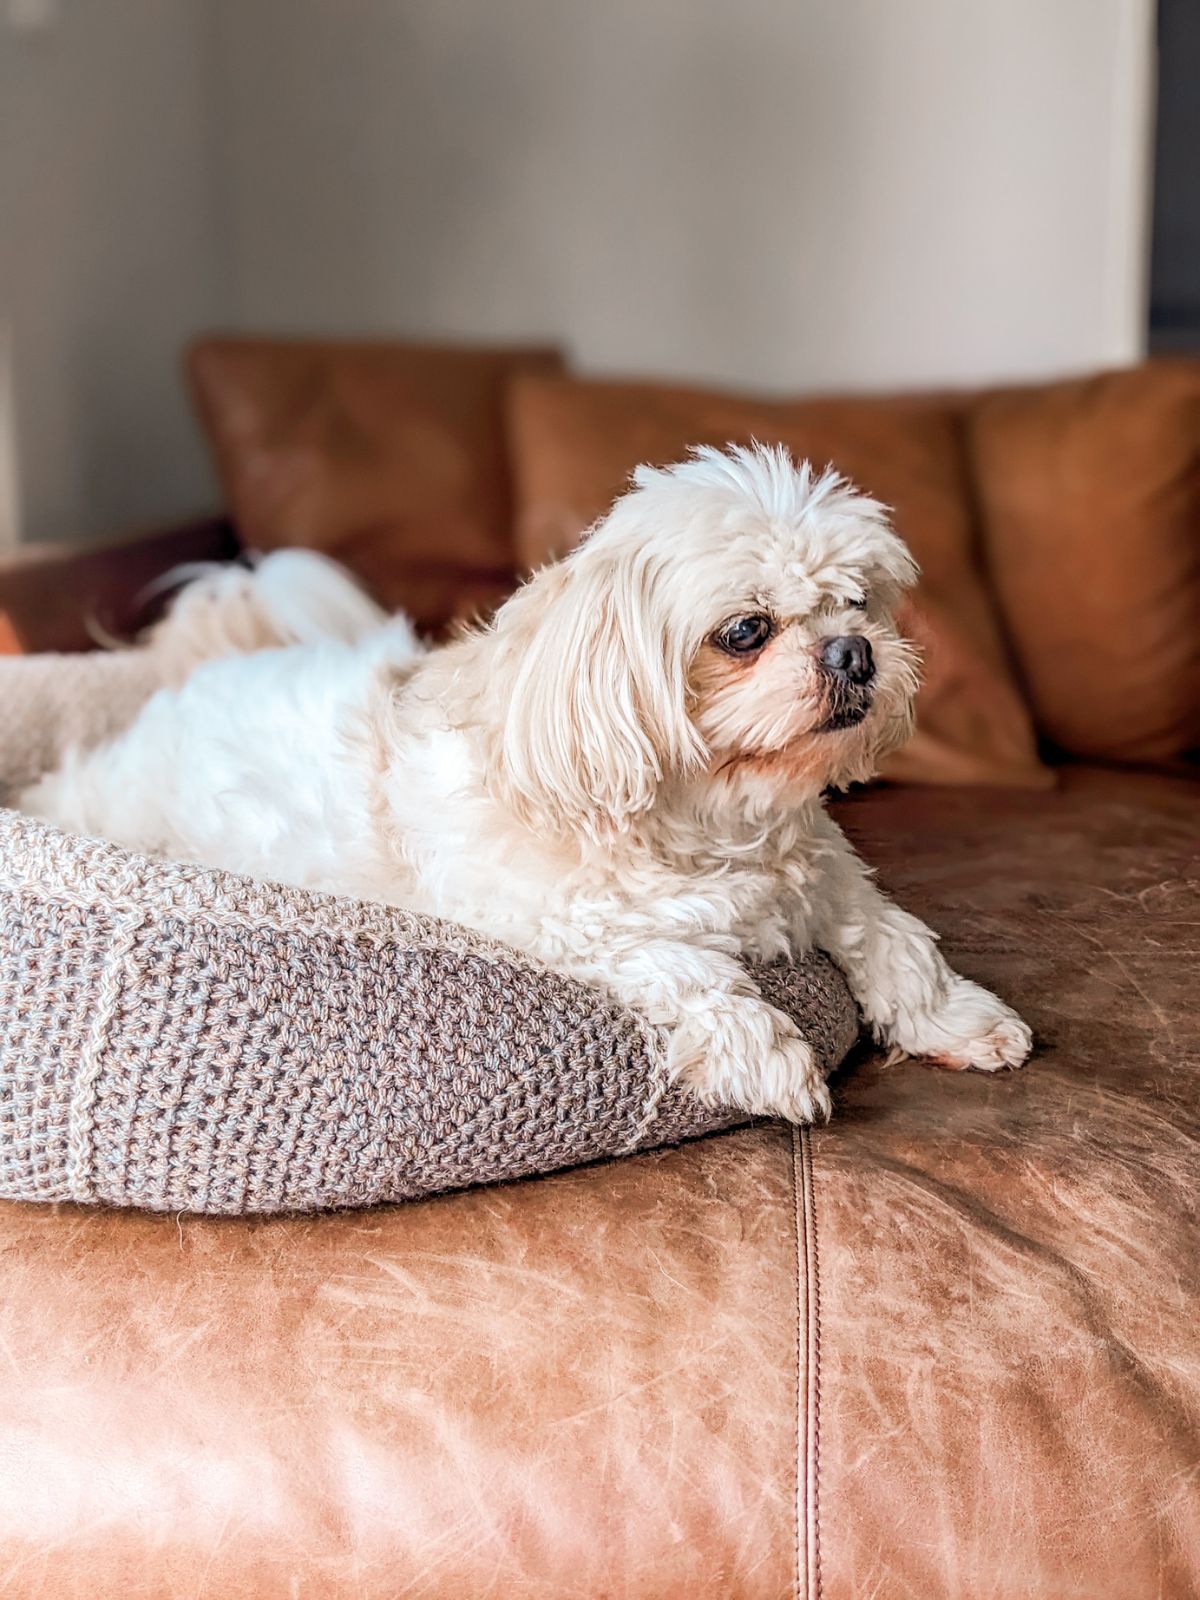
In need of a cute, yet comfy bed for your dog? Well, look no further, today's post is going to show you how to crochet a simple dog bed using granny squares.
This crochet dog bed is easy and fun to make! It's perfect for an adventurous beginner or an advanced crocheter looking to make a cozy dog bed for their furry friend.
You can find the free crochet dog bed pattern by scrolling down or you can purchase an ad-free, printable PDF pattern here.

This post contains affiliate links, which means I make a small commission at no extra cost to you. See my full disclosure here.
Crochet Dog Bed
My latest free pattern is for all the animal lovers out there. Whether you have a dog or a cat, this crochet pattern works for both pets.
So if you need a cute comfy crochet bed for your furry friend, don't hesitate to get started. All you need for this crochet dog bed is some yarn, a hook, and some fiber fill.
You're also going to need to know some basic crochet stitches, like chain, slip stitch, and single crochet. If you need to brush up on these skills, make sure to check out our YouTube channel.
Overall, this crochet dog bed is very easy and simple to make. So let's talk real quick about how this pattern comes together.
How to Crochet a Dog Bed?
You'll first start by making two large moss stitch squares and sixteen small moss stitch squares. Then you will seam the two large squares together to create the bottom of the dog bed.
After that, you'll seam the small squares together to create the outer edge of the bed.
Once you have these two things complete, all that's left to do is seam the two pieces together to create a dog bed. And that's it.
How to Change the Size of Your Crochet Dog Bed?
So now that we know how to make a crochet dog bed, let's talk about how to alter the size to make it bigger.
You can make this crochet dog bed bigger two different ways: you can either use a different weight yarn or you can add additional rows to the bottom base of your dog bed.
If you choose to use a different weight yarn, make sure to go for a bulkier yarn. A bulkier yarn will increase the size of your dog bed. If you choose to add additional rows to the bottom base, you might have to add additional squares to the outer edge (to accommodate for the increased rounds).
And that's how you can change the size of your crochet dog bed. Now, let's talk yarn!
The Yarn You'll Use for This Crochet Dog Bed?
For this crochet dog bed pattern, I used Lion Brand Re-Spekt yarn. This yarn is classified as a light dk weight yarn that's made from recycled polyester, acrylic, and cotton.
I really enjoyed working with this yarn and definitely recommend it for this pattern (or any other home decor project). One thing that I found is that the yarn is similar to a worsted-weight yarn, so you can certainly substitute this yarn for a worsted-weight version.
If you need a little bit of help picking out a different yarn, I would recommend checking out the website YarnSub.com. Yarn sub will provide a list of substitutions.
Alright, let's start our pattern.

Free Crochet Dog Bed Pattern
Description:
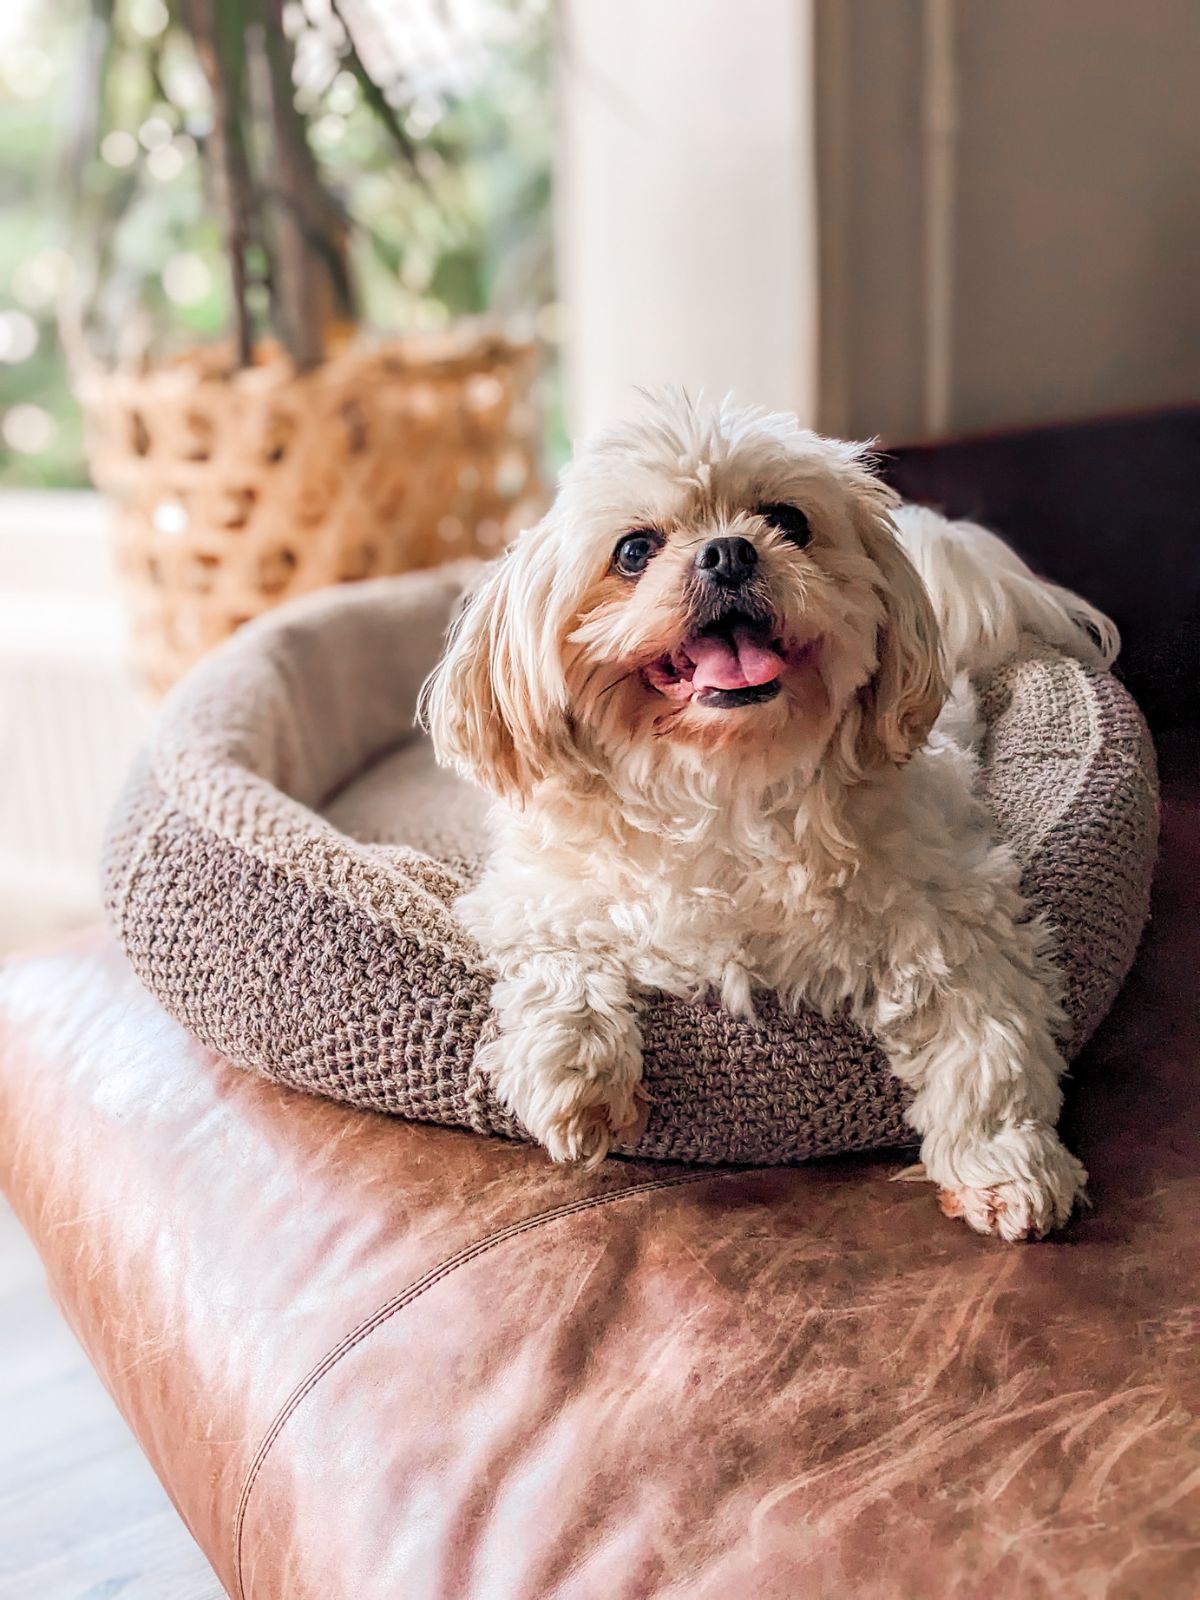
Make your pup the comfiest bed in the house with this free crochet dog bed pattern. This crochet pet bed is cozy, comfy, and reversible!
Perfect for an adventurous beginner or advanced crocheter looking to make their pet a one-of-a-kind dog bed. This crochet pattern is made entirely out of granny squares, making it fun and easy to make! It also allows for tons of customizations.
Materials:
- 3 skeins of Lion Brand Re-Spekt Yarn in the color Woodsmoke (Weight 3/ 3.5oz, 262 yds) a total of 786 yards or you can use another dk weight yarn (check note section of pattern for yarn substitution).
- 3 skeins of Lion Brand Re-Spekt Yarn in the color Pebble (Weight 3/ 3.5oz, 262 yds) a total of 786 yards or you can use another dk weight yarn (check note section of pattern for yarn substitution).
- Poly-Fil or Rectangular Poly-fil (both will work).
- 4.5 mm (G) crochet hook.
- Stitch marker.
- Darning Needle.
- Scissors.
Gauge:
10 rounds of moss stitch square = 2" inches.
One small moss stitch square is approximately: 7 1/2" inch x 7 1/2' inch.
One large moss stitch square is approximately: 14" inch x 14" inch.
note - squares will stretch by 1/2 to 1 inch when seaming it together.
Abbreviations:
ch – chain: Yarn over, pull through loop on hook.
sc – single crochet: Insert hook into stitch, yarn over and pull through, yarn over and pull through last two loops on hook.
ss – slip stitch: Insert hook into stitch, yarn over, pull through stitch and loop on hook.
Size of Dog Bed
Dog bed measures 19" x 19" inches.
This dog bed is made for small dogs.
Pattern Notes:
- Pattern written in U.S Terms
- Pattern is worked by making 2 large moss stitch squares and 16 small moss stitch squares.
- Once all squares have been made, you will then attach them together using the zig zag slip stitch method to create two different pieces. These two pieces will then be seamed together to create your dog bed.
- I used the opposite color of my square to seam the dog bed together. However, you can also use the same color yarn as the square when seaming your pieces together.
- The Moss Stitch Square is made by turning after each completed round (You will bring your working yarn over the stitch and then work the square per the instructions). Each round is joined together by a slip stitch. Click HERE for a step-by-step photo tutorial.
- Pattern calls for a dk weight yarn, however, this yarn feels more like a worsted weight yarn. You can either use a dk weight yarn or a worsted weight yarn.
- You can make this dog bed using one color or two colors. If you choose to make the dog bed in two colors, it makes the bed reversible.
Moss Stitch Granny Square Pattern
With Lion Brand Re-Spekt color Pebble, make 1 large moss stitch square and 8 small moss stitch squares. With Lion Brand Re-Spekt color Woodsmoke, make 1 large moss stitch square and 8 small moss stitch squares.
You will have a total of 2 large squares and 16 small squares.
Follow the pattern down below for a large moss stitch square.
Large Moss Stitch Square:
Round 1: Chain 2, * Work 1 single crochet in the 2nd chain from the hook, chain 2, make another single crochet in the same chain, and chain 1. Repeat from * 3 more times for a total of 4 corners. Slip stitch to first single crochet of the round to join the work. Turn your work.
Round 2: *Work 1 single crochet in next side space, and chain 1. Then skip the next single crochet and work (1 single crochet, chain 2, 1 single crochet, chain 1) in the corner space. Repeat from * 3 more times for a total of 4 corners. Then slip stitch to first single crochet to join the work. Turn your work.
Round 3: Work 1 single crochet and 1 chain in each chain space, and work (1 single crochet, chain 2, 1 single crochet, chain 1) in each corner space. Then slip stitch to first single crochet to join the work. Turn your work.
Round 4 – Round 34: Repeat round 3.
Follow the pattern down below for a small moss stitch square.
Small Moss Stitch Square:
Round 1: Chain 2, * Work 1 single crochet in the 2nd chain from the hook, chain 2, make another single crochet in the same chain, and chain 1. Repeat from * 3 more times for a total of 4 corners. Slip stitch to first single crochet of the round to join the work. Turn your work.
Round 2: *Work 1 single crochet in next side space, and chain 1. Then skip the next single crochet and work (1 single crochet, chain 2, 1 single crochet, chain 1) in the corner space. Repeat from * 3 more times for a total of 4 corners. Then slip stitch to first single crochet to join the work. Turn your work.
Round 3: Work 1 single crochet and 1 chain in each chain space, and work (1 single crochet, chain 2, 1 single crochet, chain 1) in each corner space. Then slip stitch to first single crochet to join the work. Turn your work.
Round 4 – Round 16: Repeat round 3.
Once you have finished making all the squares, make sure to work in any ends. It'll make the next process a lot easier and faster!

Assembling Your Squares Together
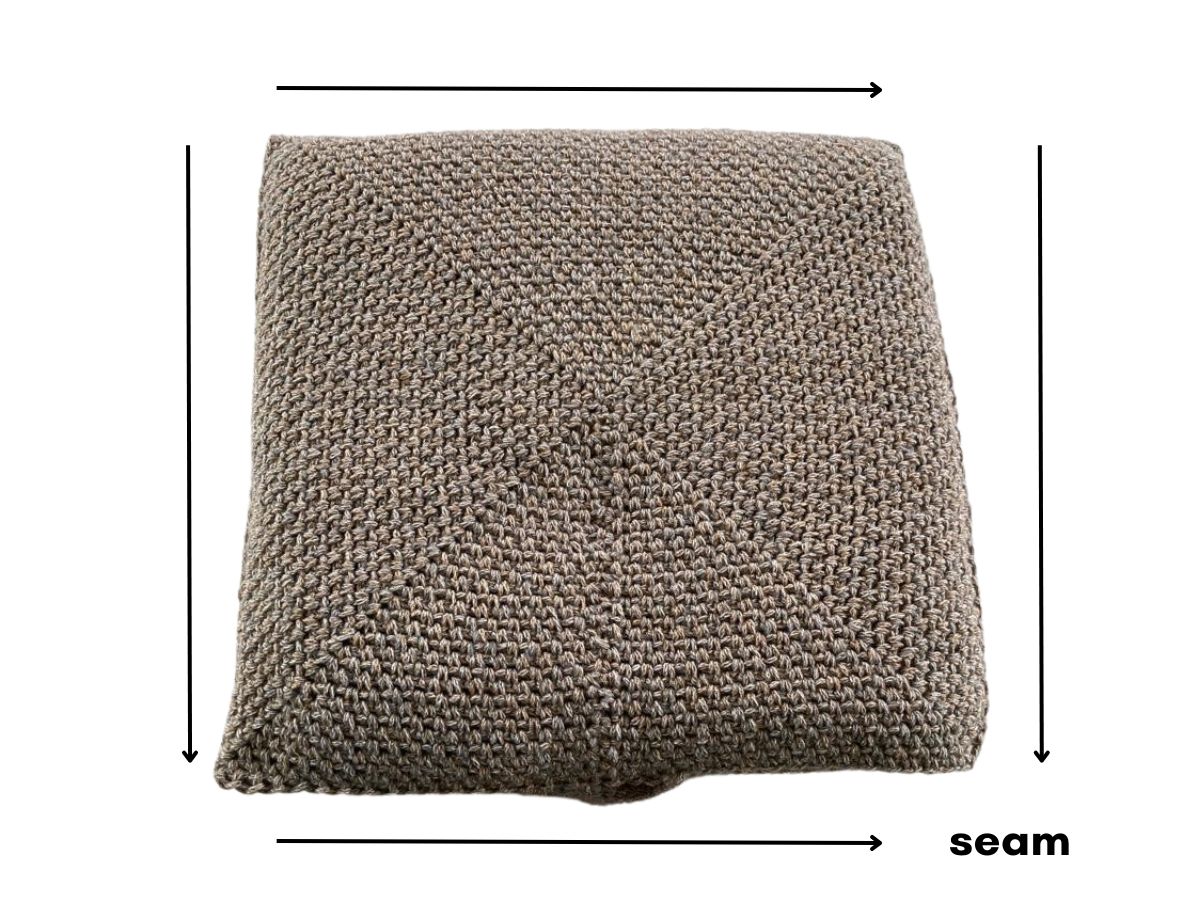
Bottom Base (2 Large Squares)
Step 1: Grab your 2 large squares and lay them on top of each other. Then grab your darning needle + yarn, and use the zig zag slip stitch method (link in notes section) to close 3 of the sides of the square.
Once you have closed 3 sides, fill it with poly-fil and then close the remaining side.
Outer Edge (Small Squares)
Once you have seamed your large square together, it's time to seam the small squares together.
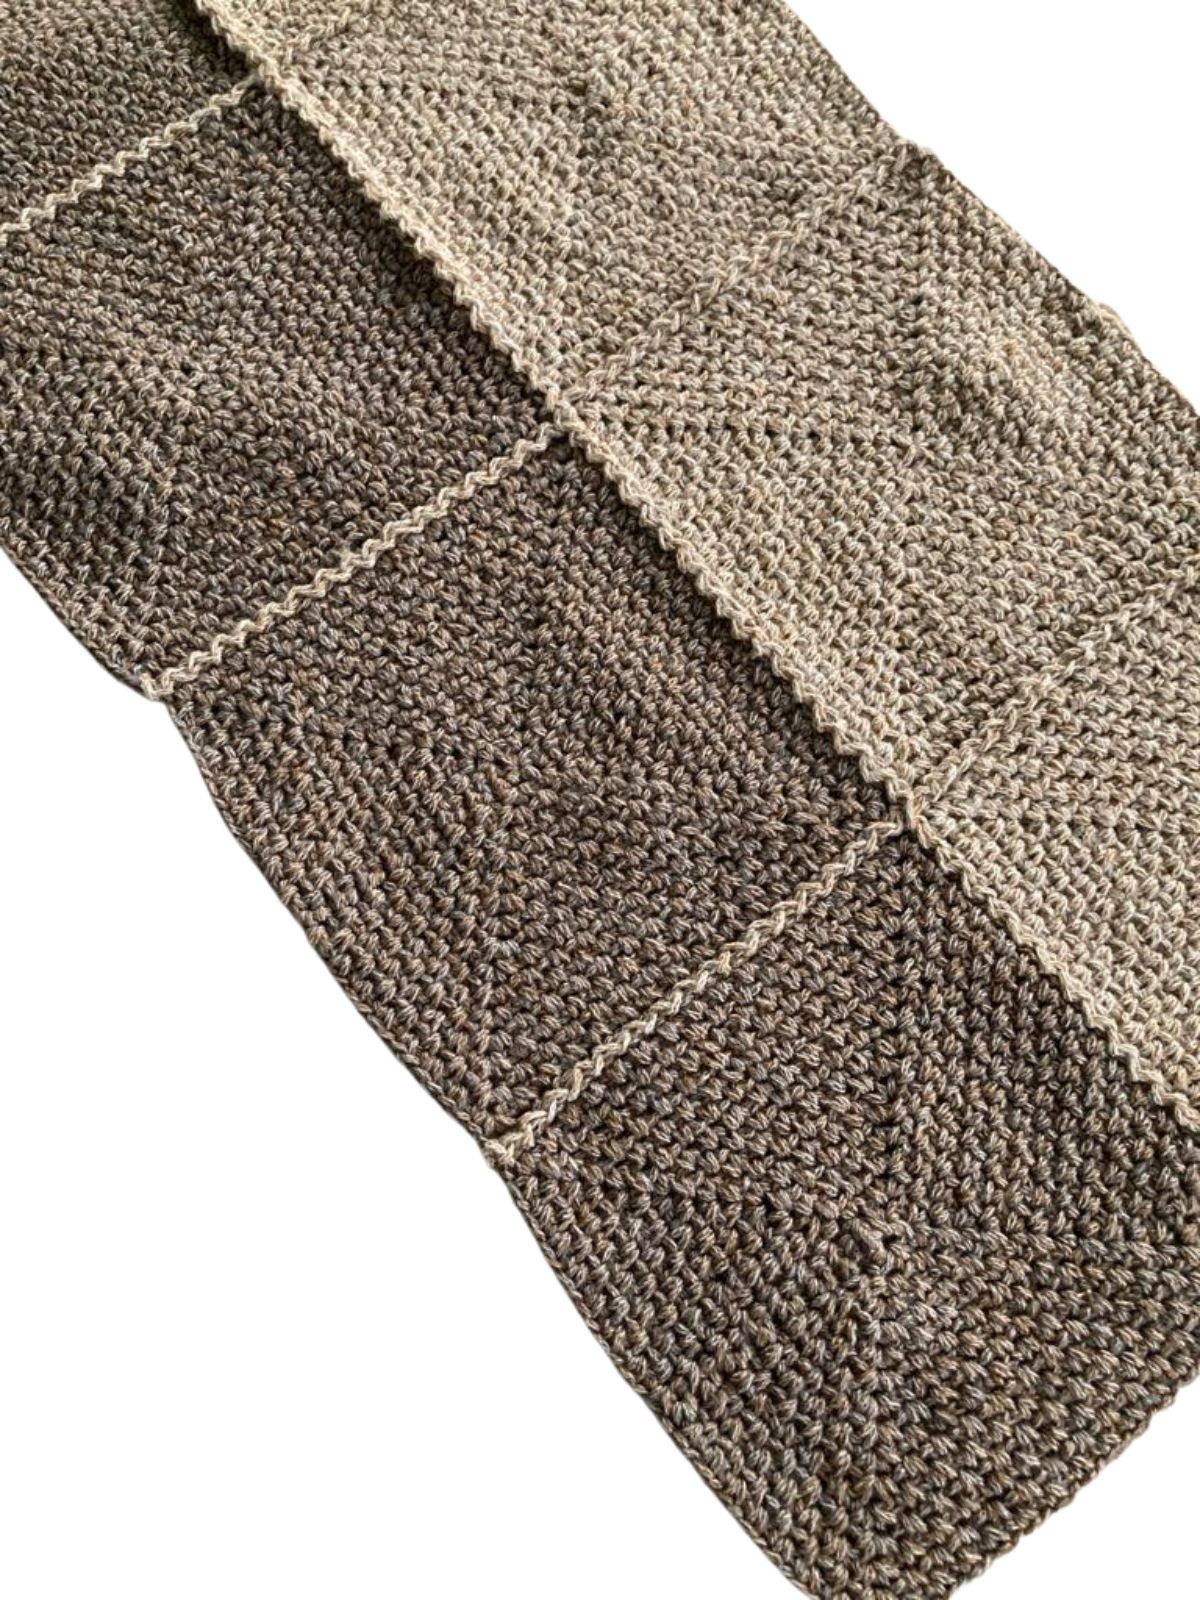
Step 2: Start by first grabbing 8 squares in the color Pebble and lay them vertically, then seam each square together using the zip zag slip stitch method.
Then repeat the process using the other squares in the color Woodsmoke.
note - you will have a long strip (refer to photo down below).

Step 3: Once you have both of the 8 squares seamed together, it's time to seam the two strips together. So grab one of them and lay it next to the other. Then seam together in the middle using the zig zag slip stitch.
Once you have seamed the two long strips together, fold it over, and seam the other sides of the square together. You're essentially creating a long tube.
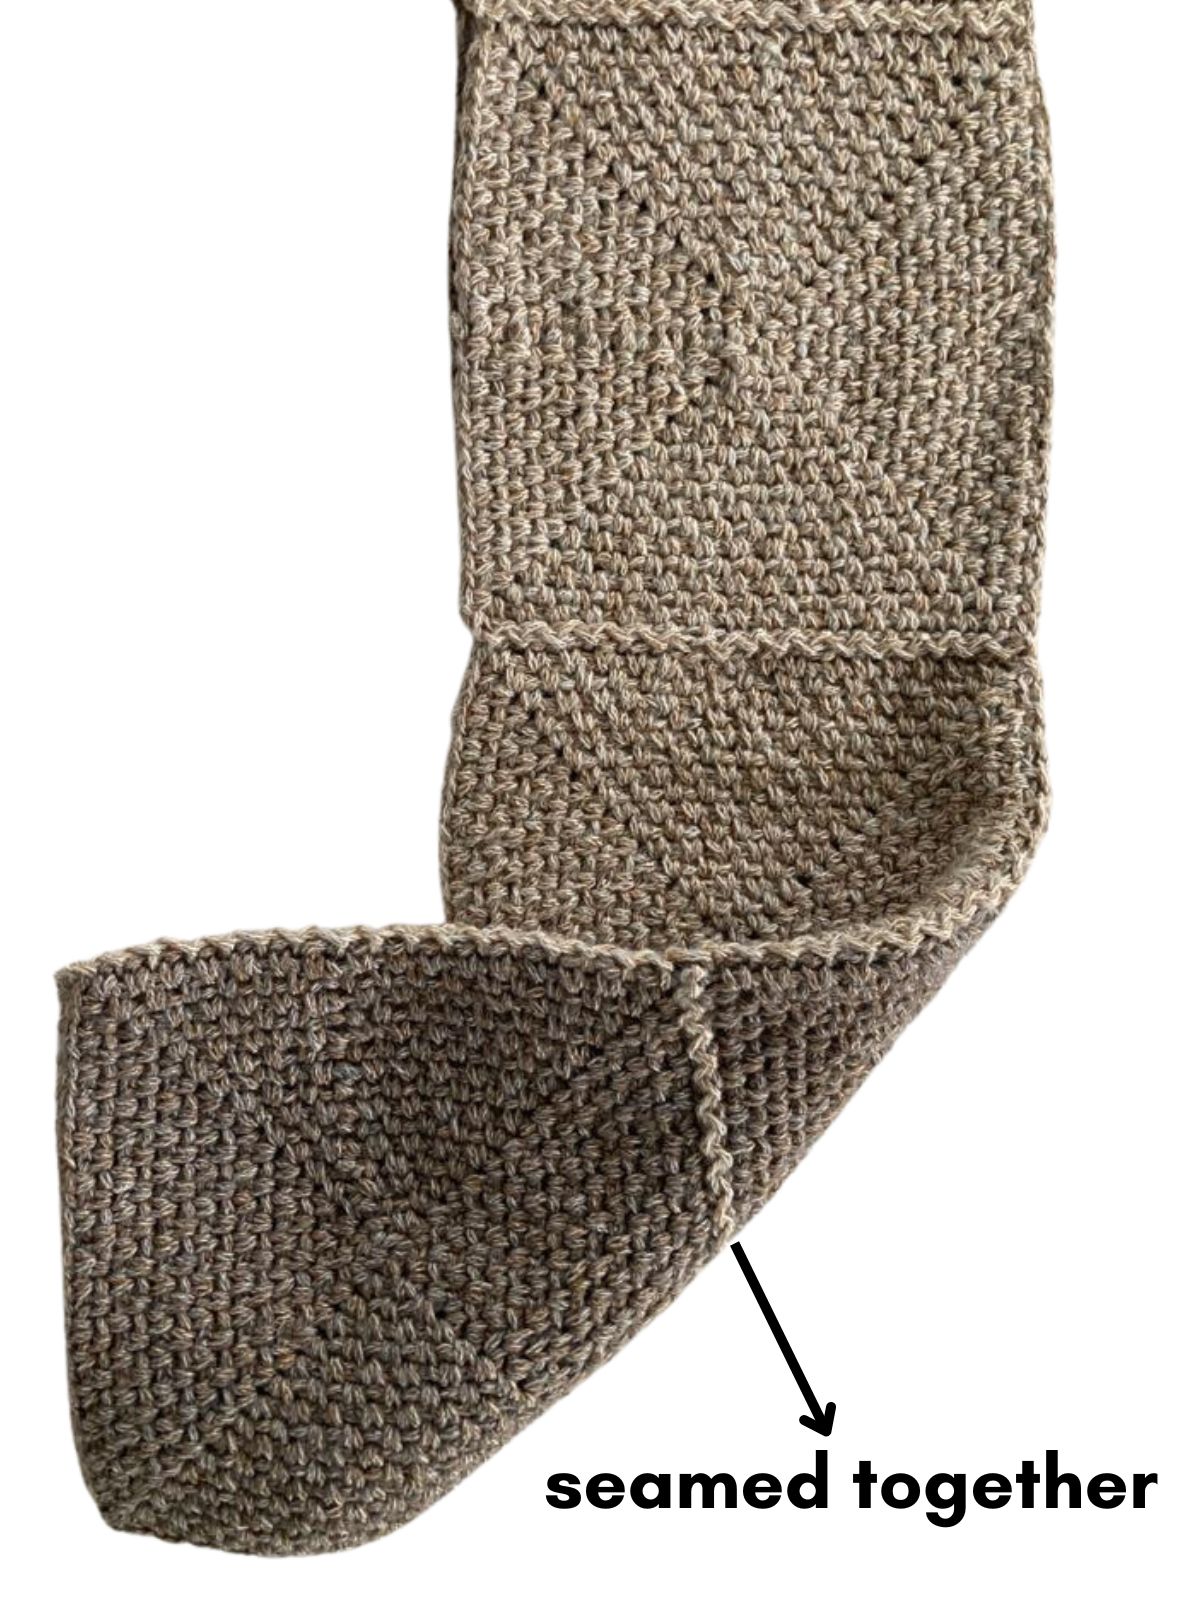
Once you have seamed the sides together, you should have two openings left (on either side). Now fill your tube up with poly-fil and seam the remaining sides together to create a circular tube.
Seaming Your 2 Pieces Together
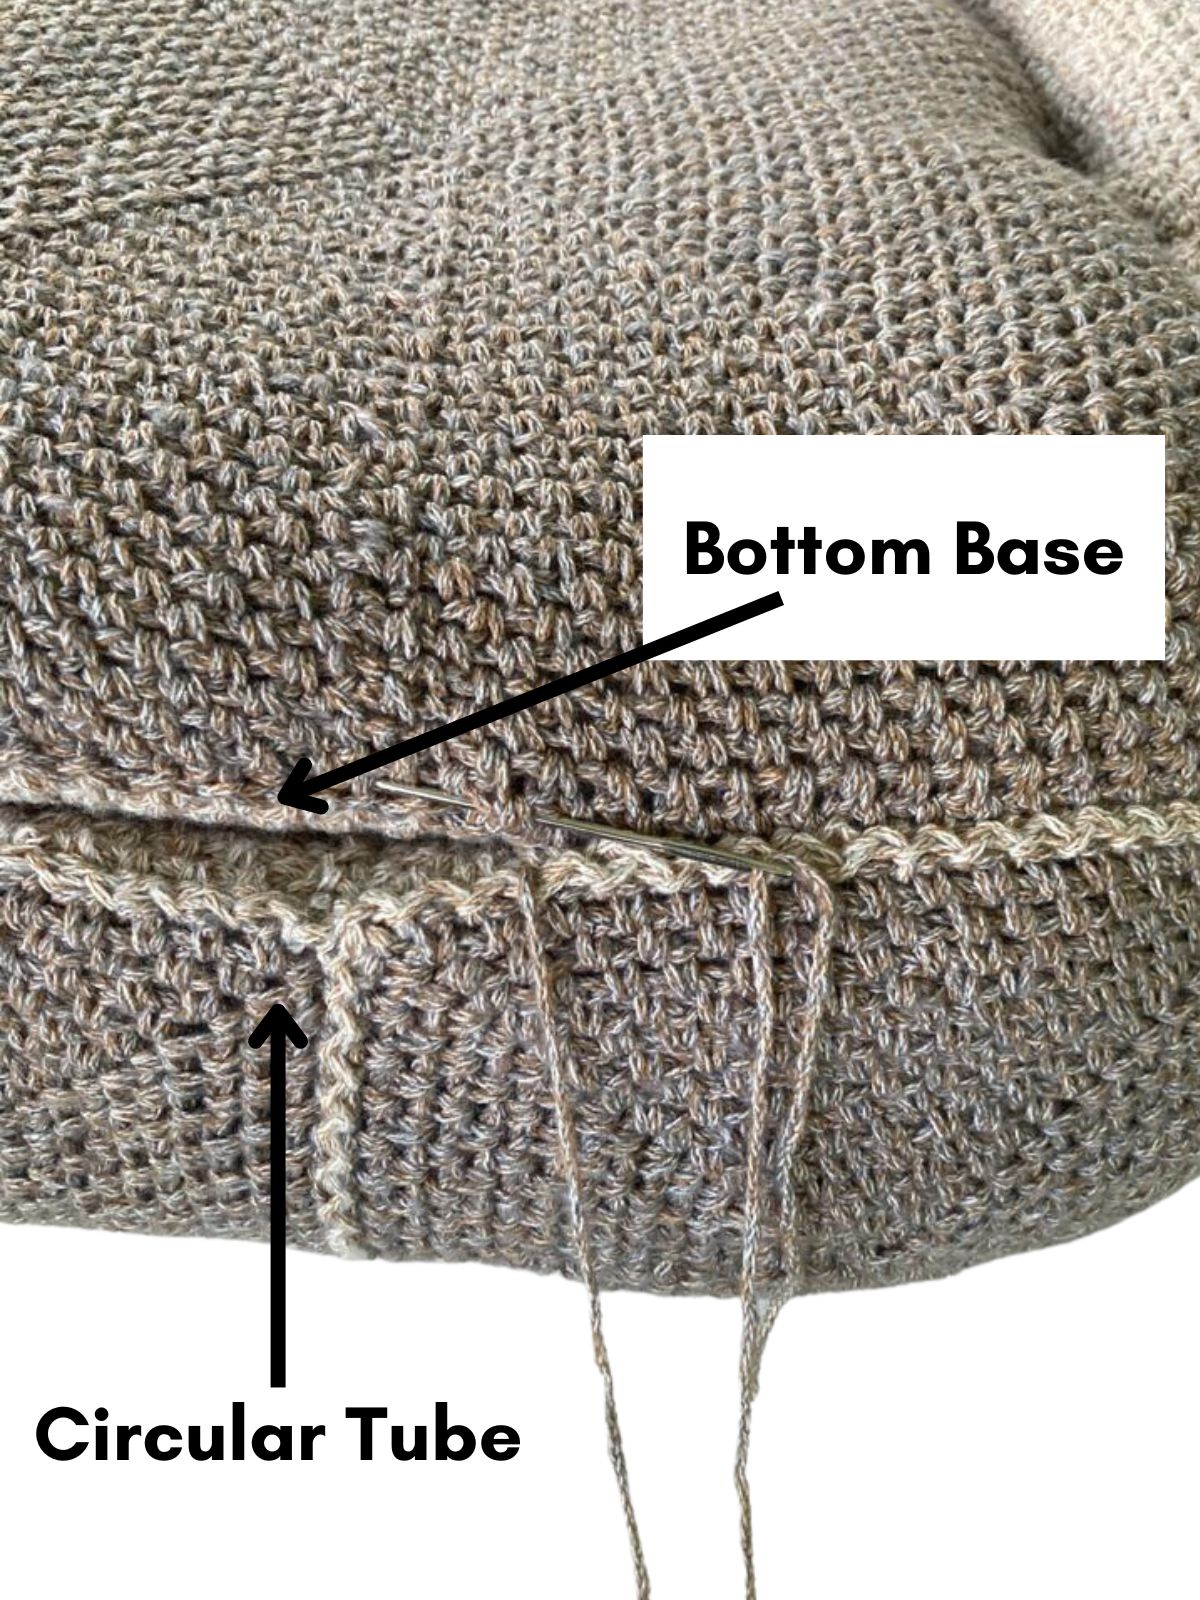
Now you will seam the bottom base (large squares) to the circular tube (small squares).
Step 4: Start by grabbing your bottom base and lay that on top of the circular tube. Then carefully seam the bottom base along the edge of the circular tube using the zig zag slip stitch seaming method.
note - if you're using two colors of yarn, make sure you have the same color squares on one side.
Once you have completed step 4, you're finished! All that's left to do at this point is to work in any remaining ends.
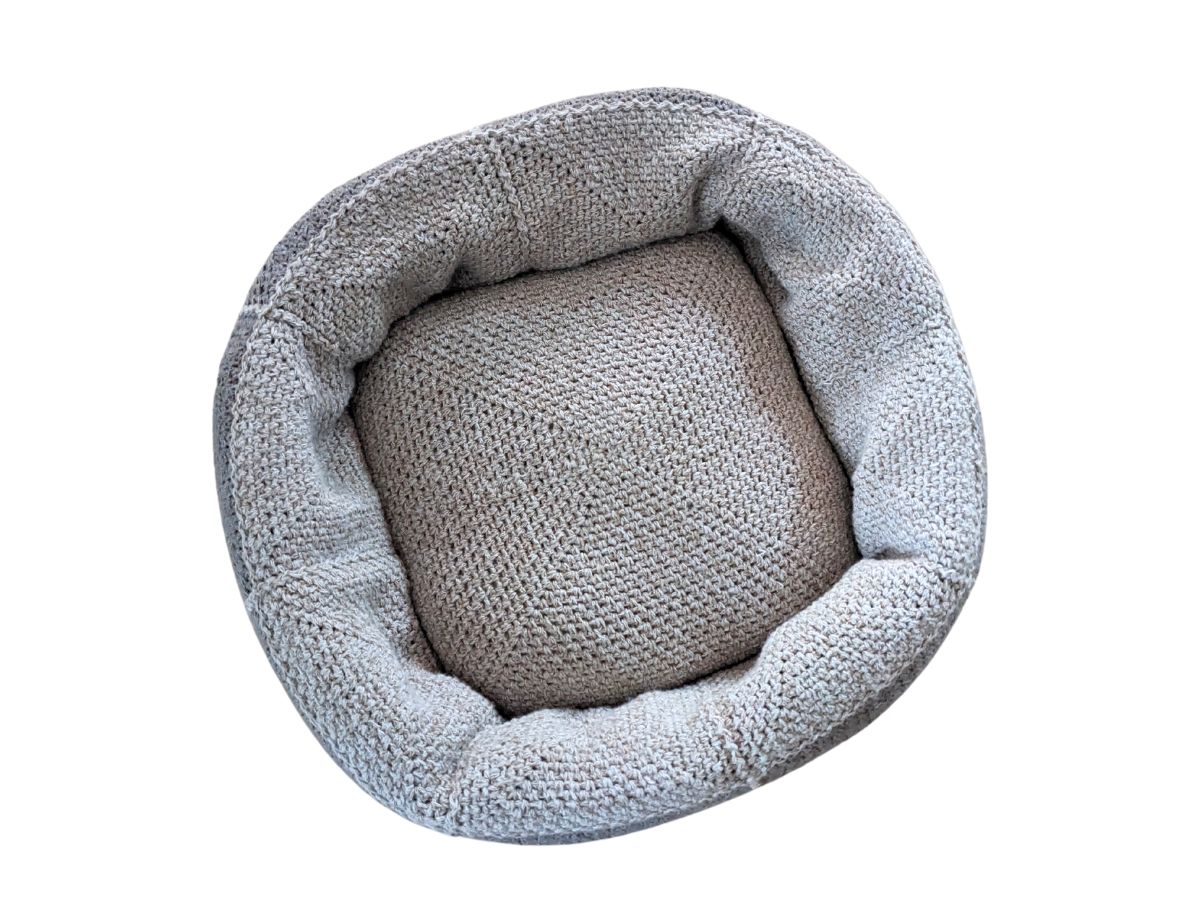
I hope you enjoyed making this crochet project and that your furry friend gets lots of use out of it.
Don't forget to share and pin it for later!
